Probes and Biopsy 13-31
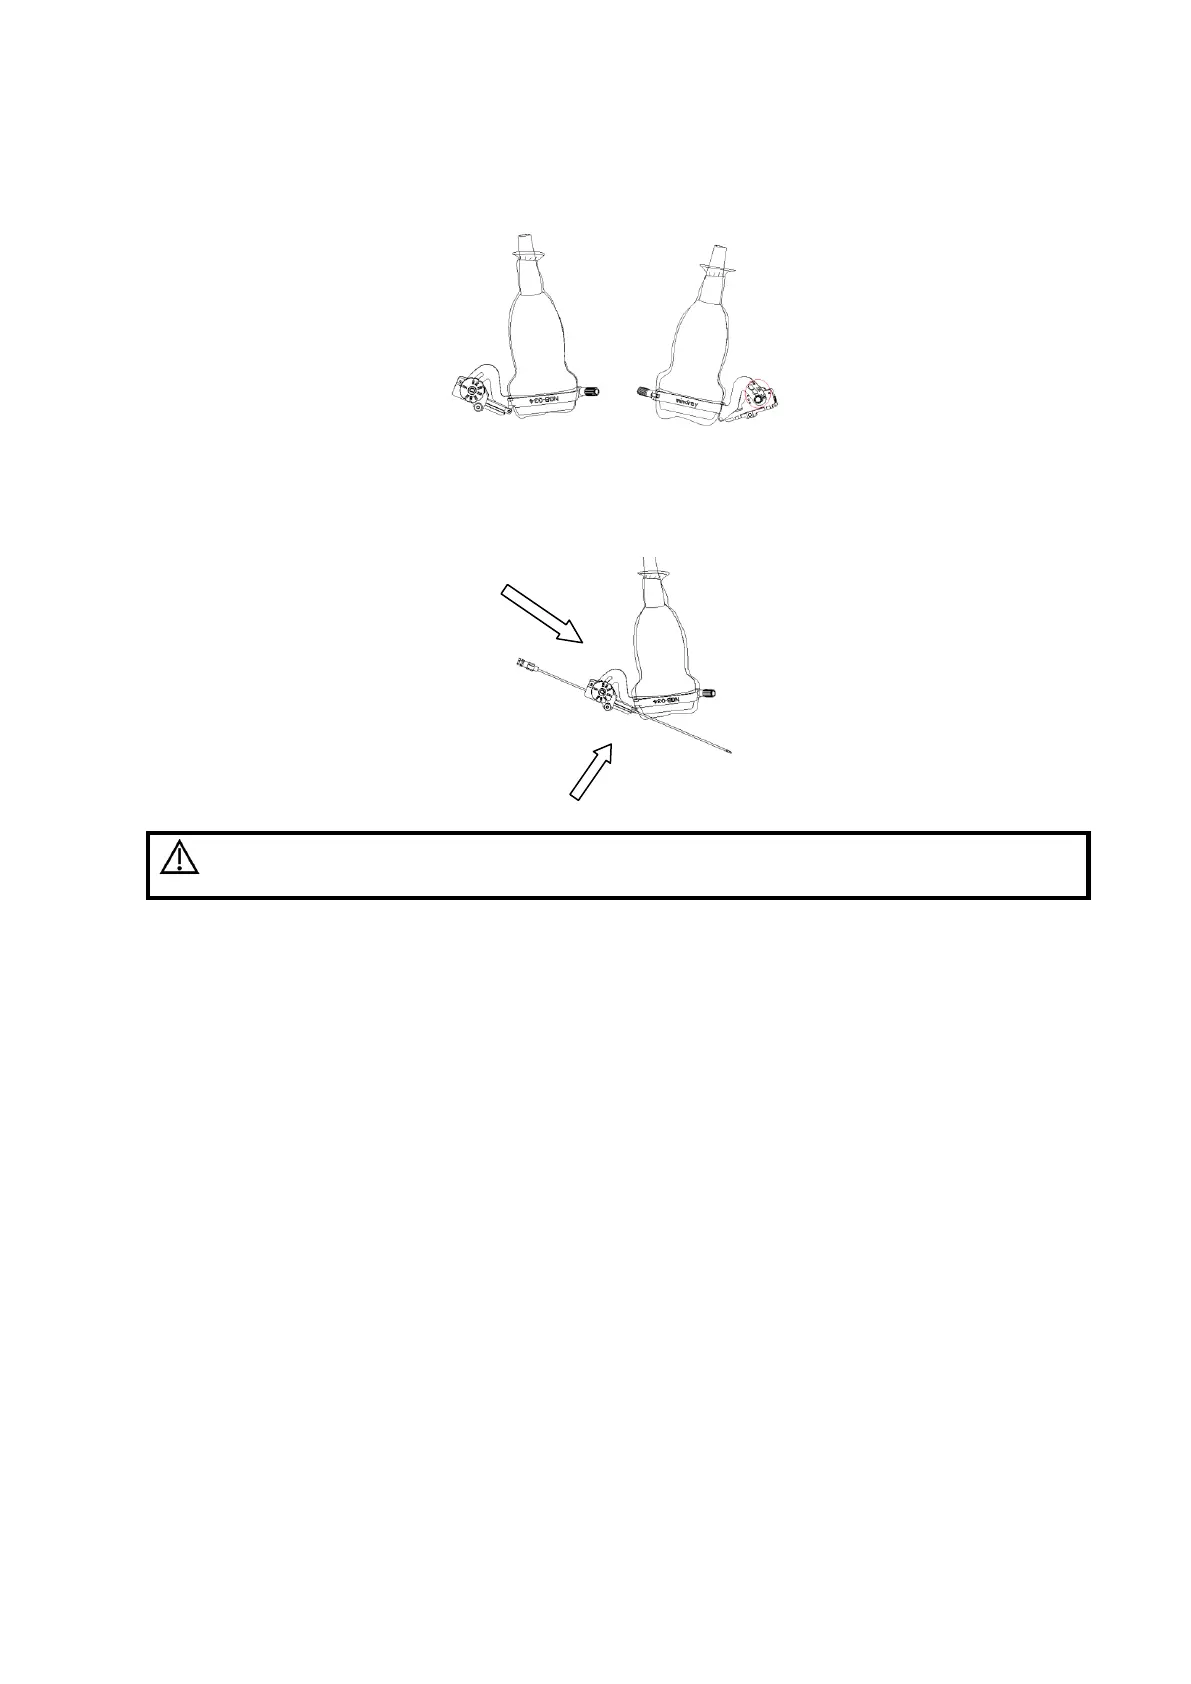
(3) Tighten the pinch nut of the needle-guided bracket to confirm that the needle-guided
bracket is properly installed on the transducer.
(4) Adjust the dial scale to the required needle type shift.
(5) Adjust the needle angle to the proper shift as required (loosen the nut first, and then
tighten the nut based on the shift you need).
(6) Pull the lock pin and close the V-shaped cover to fix the lock pin in the groove of the
needle type adjusting base, so as to install the needle into the guiding hole.
Ensure that all guide parts are seated properly prior to performing a
biopsy.
13.2.4 iNeedle (Needle Visualization Enhancement )
In the course of biopsy, the metal needle attached to the probe is punctured into the tissue with a
certain angle; because of the needle acoustic impedance, the ultrasonic beam cannot penetrate
the metal needle, a reflecting boundary is formed. As in Figure 1, if the deflection angle is very
large, the needle display is not clear.
In the condition of deflected ultrasonic transmission, the beam direction is perpendicular to the
needle direction, and the reflection direction will be the same with the needle, as shown in Figure 2,
when the needle display in the ultrasound image is very clear. The system provides an additional
deflection transmission that is approximately perpendicular to the metal needle, as the normal
transmission (perpendicular to the transducer surface) is contained as well. And the deflection
angel can be chosen by users.
iNeedle is an option.