13-32 Probes and Biopsy
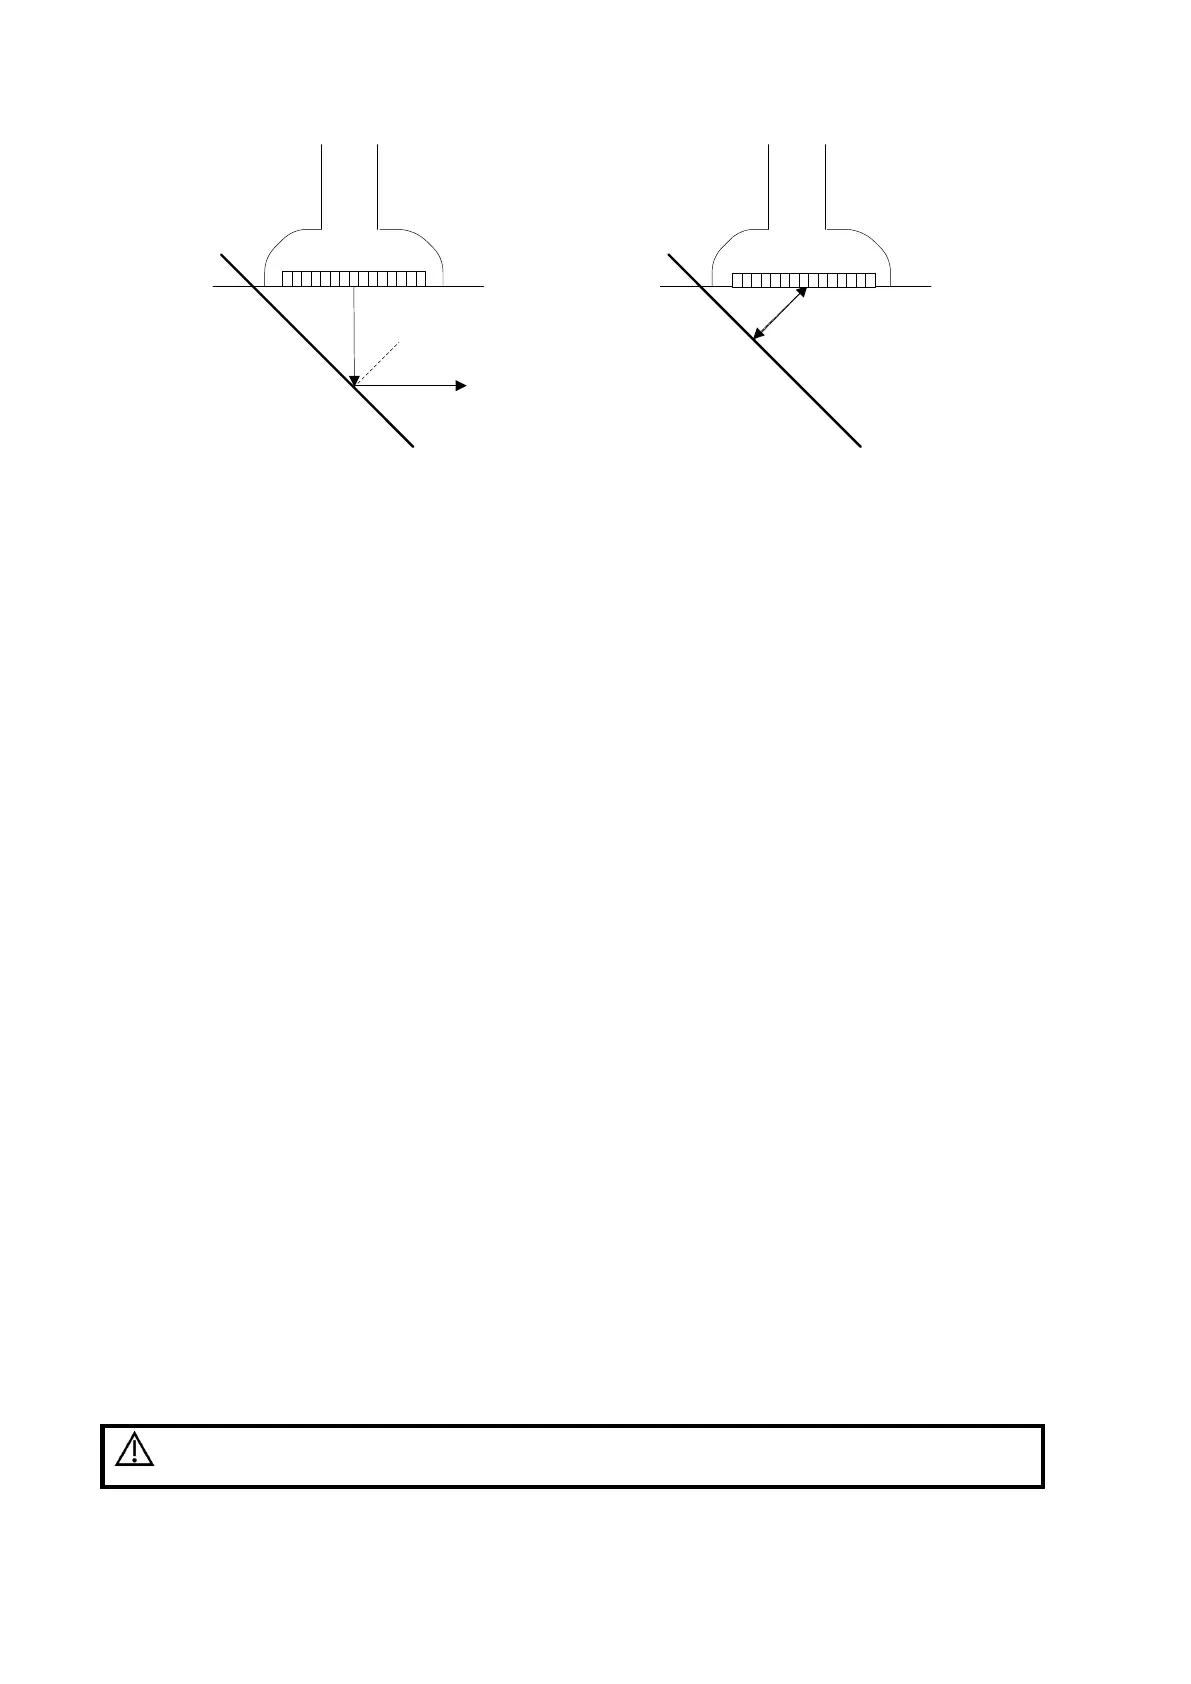
Figure 1 Figure 2
To enter/exit iNeedle
To enter iNeedle
Touch [iNeedle] item in B page on the touch screen.
Or, you can assign a user-defined key for entering iNeedle.
Open iNeedle in Biopsy status
1. Perform scanning and locate the target, press <Biopsy> (<F11>) to enter the screen.
2. Touch [iNeedle] to enter the status; available adjusting parameters are displayed on the menu.
To exit iNeedle
Press the user-defined key or touch [iNeedle] to exit the status and enter B mode.
Needle Steer
This function adjusts the biopsy needle angle via changing the steer angle of the
scan line. The iNeedle affecting region changes correspondingly.
Rotate the knob under [Needle Steer] item on the touch screen.
B/iNeedle
This function is used to display B image and iNeedle image synchronously.
To turn on or off the function, touch [B/iNeedle] on the touch screen.
Tips: iZoom (full-screen magnification) is available on iNeedle status.
13.2.5 Verifying the Biopsy Guide Line
Adjusting the needle mark is necessary before every biopsy procedure.
1. Confirm that the needle-guided bracket has been installed securely in the correct position.
2. Prepare a container filled with sterile water.
3. Place the head of the probe in the sterile water, and get a biopsy needle into the needle guide.
4. When the biopsy needle appears on the image, confirm that the biopsy needle is displayed at
almost the same position as the selected needle mark.
1. Prior to each biopsy procedure, be sure to verify the guide line.