6-4 Display & Cine Review
Auto Review
Reviewing all
a) In manual cine review status, tap to activate auto cine review.
b) Review speed: in auto cine review status, tap to select different speeds: 1/10x, 1/5x,
1/4x, 1/2x, 1x.
c) In auto play status, tap to stop auto play.
Setting the Auto Review Region
You can set a segment of cine loop which can be reviewed automatically. After the auto
review region is set, the auto cine review can only be performed within this region; but the
manual cine review can be performed beyond this region.
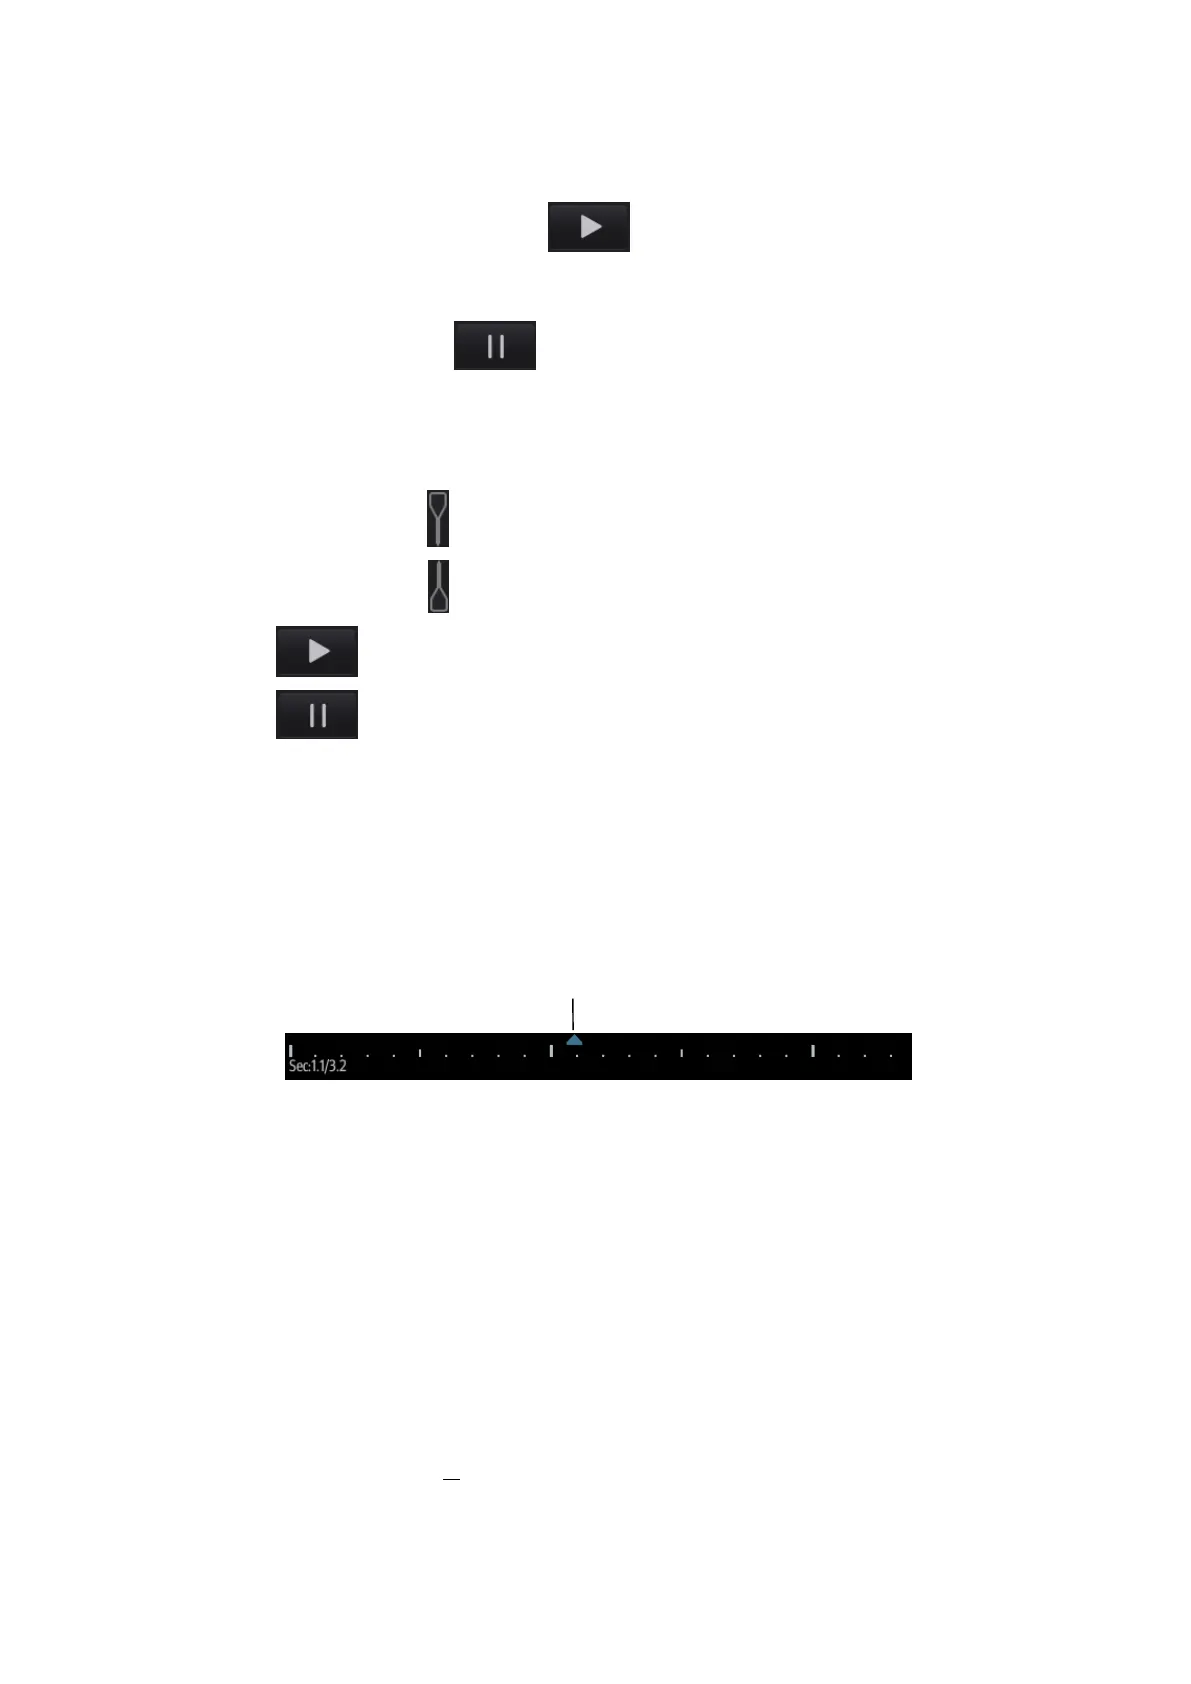
a) Set first frame: drag to the frame as start point.
b) Set end frame: drag to the frame as end point.
c) Tap to start play and select the speed.
d) Tap to end auto play.
Tip: When the cine file is saved, only images within the auto review region are saved.
6.5.3 Linked Cine Review
Linked cine review reviews images captured at the same moment.
B+M
Duplex mode (B+PW/CW)
Triplex mode
The frame mark on the time mark of the M/PW/CW image indicates the corresponding 2D image.
6.6 Image Compare
Perform the following steps to perform image compare.
1. Tap [iStation] to enter the iStation screen, and select the exam to be compared.
2. Tap [Compare] to enter the Compare screen, and select the images to be compared.
Tip: for B/B+COLOR/B+TVI/B+POWER/B+TEI mode image, you can select at most 2 images;
for PW/M/CW/TVD/contrast single mode image, you can select at most 2 images.
3. Tap [Done] to enter image comparison mode.
4. Review images from different image windows. Tap the single-frame image to switch the active
image window; or, tap the cine twice to switch the active image window.
The window with the highlighted “M” mark is the currently activated window.
5. Save the image if necessary.
Frame synchronization mark