System Preparation 3-9
See the printer’s operation manual to select the port, or try to use the default port of
the system.
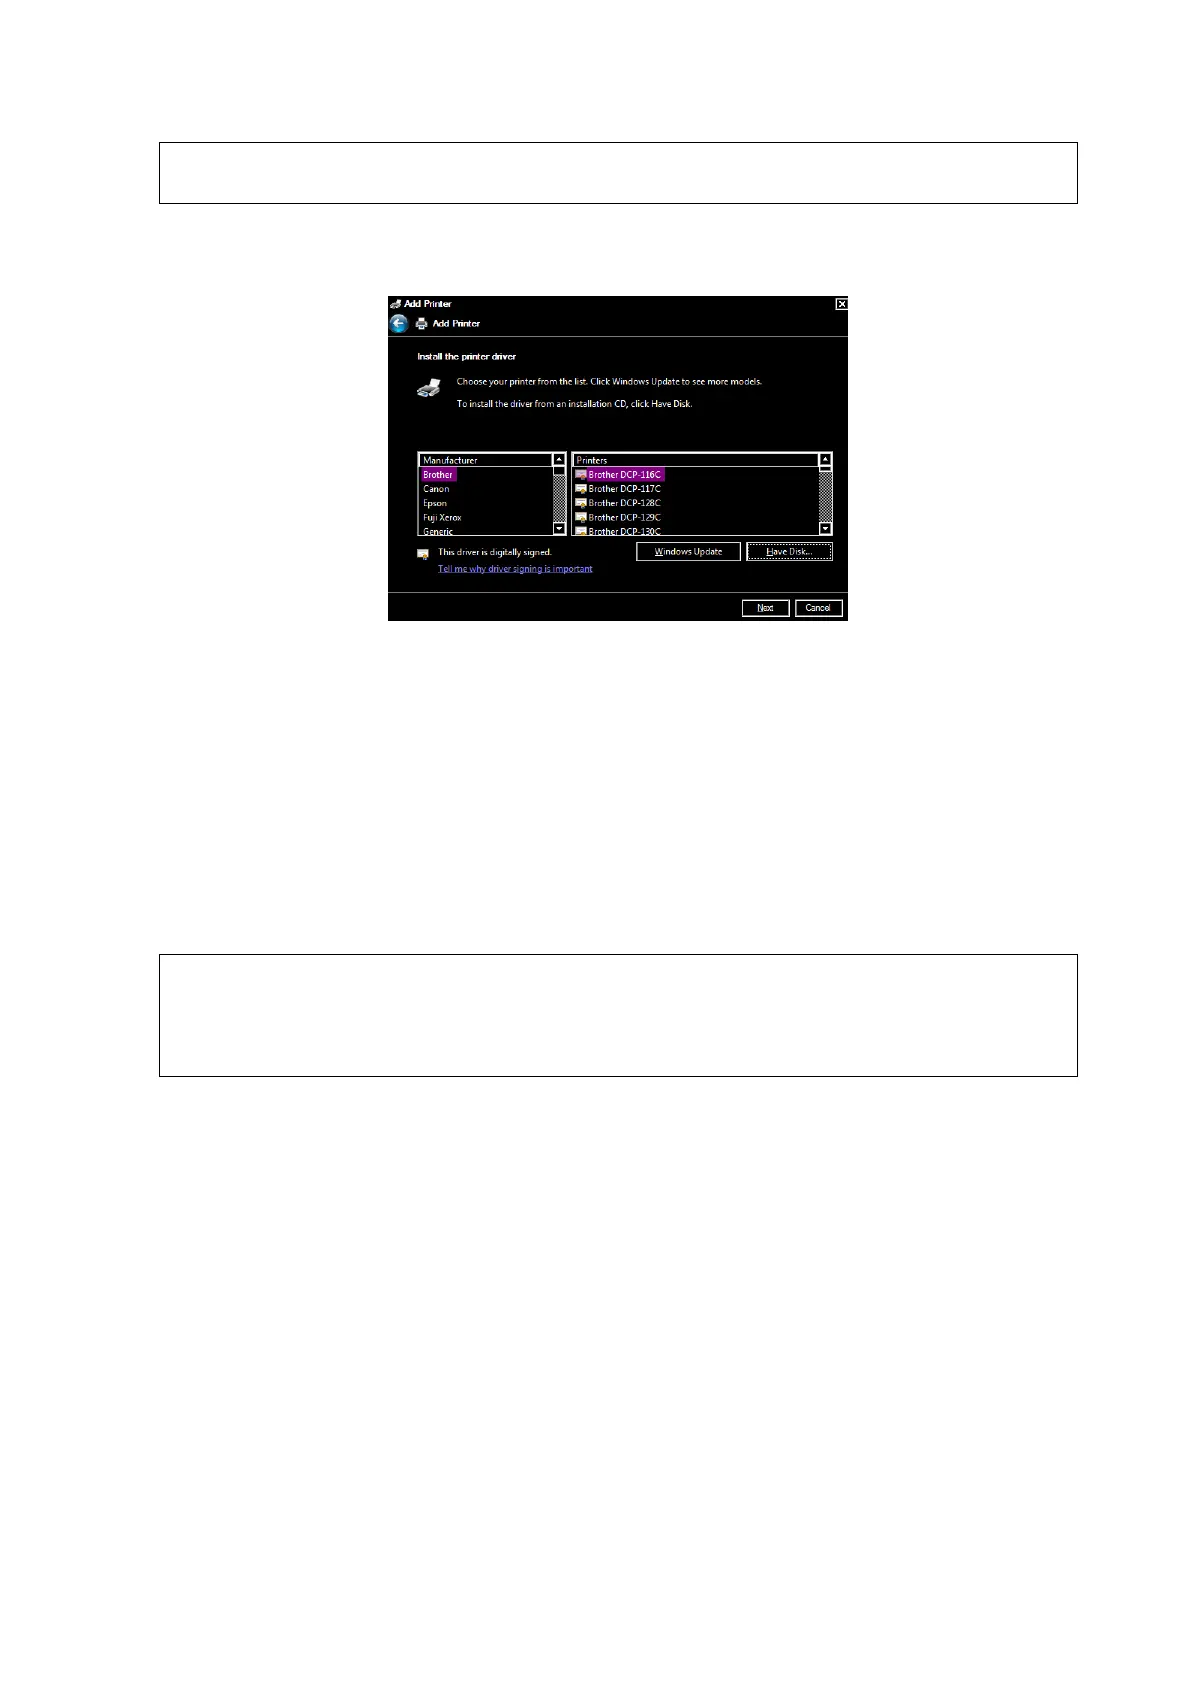
6. Tap [Have Disk] to find the driver path (the installation type should be WIN7 64), and then tap
[Next] to install the driver.
7. Complete the operation according to the tips on the screen. Tap [Finish] to end the installation.
Add network printer
1. As the system is connected into a LAN, open [Setup] -> [System] -> [Peripheral] screen.
2. Tap [Add Printer], select [Add a network, wireless or Bluetooth printer].
3. The system starts to search all available printers within the network. Select the target printer and
tap [Next], the system tries to connect to this printer.
4. When the connection is successful, the system prompts the dialogue box, tap [Next] according to
the screen tips and then tap [Finish].The printer is installed successfully.
Tips: the system has combined many types/brands of printer drivers, if targeted printer driver is not
included in the system, you may need to install the driver for the network printer. Please use the
optical disk or USB flash drive with the driver to install according to the system prompts.
When you install the printer’s driver, you must specify the specific path for installation.
A vague path may result in longer searching times.
The network printer functions depending on the configured network environment in the
hospital, please consult the network configuration manager in case of failure.
Please refer to the accompanying manuals of the printers for details.