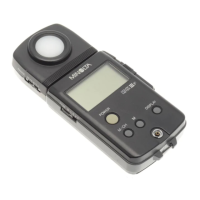
8
Move the cursor using the key and set the value
using the numeric pad.
Input range: 0.01 ≤ X, Y, Z ≤ 160
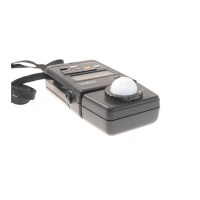
9
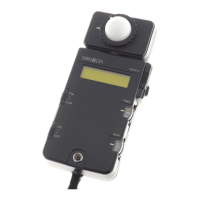
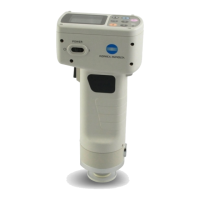
Place the measuring head vertically above a target
specimen.
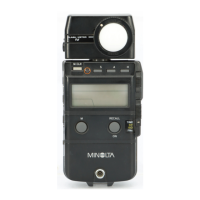
10
Press the Measure/Enter key
(or measurement
button on the measuring head) after making sure the
ready lamp is ON.
Do not move the measuring head during measurement.
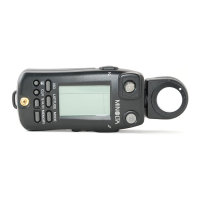
11
Once measurement is complete, set the calibration channel name using the
key and the numeric pad.
(How to set the calibration channel name)
1) Select input mode using the key.
• Pressing the key changes the input modes in the following order: upper case Latin
letters → numbers → lower case Latin letters.
2) Move the cursor using the key and input the color difference target color name using
the numeric pad.
• The name is up to 9 characters (see P.20 “As input keys” for details.)
12
Once settings are complete, press the Measure/Enter key
 Loading...