15
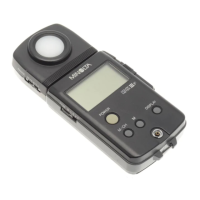
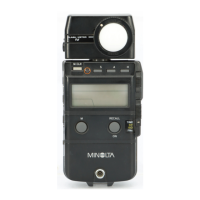
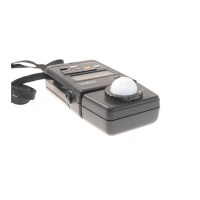
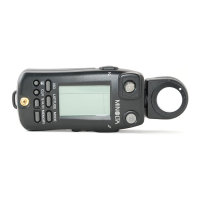
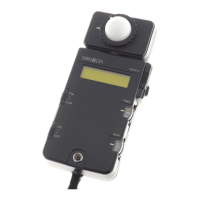
Names and Functions of Parts
<Measuring Head>
1. Power switch : Turns ON and OFF the power.
2. RS-232C terminal : Connect the RS-232C cable when transmitting data back and forth to
the data processor or a PC.
3. AC adapter terminal : Connect the connector plug for the AC Adapter (AC-A17) here when
using the adapter.
4. Measurement button : Press this to measure.
5. Battery chamber cover : Open and close when replacing batteries. When inserting the 4 AAA
size batteries, make sure their polarity orientation is as shown.
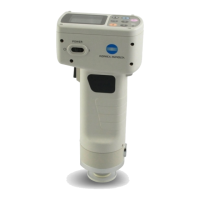
6. Light projection tube : The CR-400 light projection tube can be replaced with the optional CR-
A33a, c, d, and f light projection tubes. The CR-410 light projection
tube can be replaced with the optional CR-A33e light projection tube.
7. LCD : Displays measurement data and setting items.
8. Ready lamp : Ready to measure (and fully charged) when green. Always check the
lamp before measuring.
9. Tripod socket : For attaching a tripod to fix the measuring head.
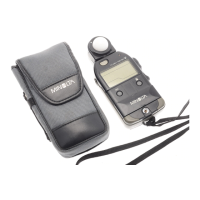
10. Wrist strap attachment : The wrist strap is attached.
MEAS.
RS 232C
DC-IN
5V 2.8A
POWER
9
6
7
5
*
4
3
1
2
8
10 10
CR-400
Head
CR-410
Head
1
9
6
*
WARNING : Do not remove covers.
WARNUNG : Niemals das gehäuse öffnen.
(Do not disassemble or modify the instrument.)
 Loading...