56
3300 ICP Technician’s Handbook
4. Replace the cover on the controller.
5. Set the controller cabinet onto the mounting brackets and slide the
controller cabinet into the cabinet.
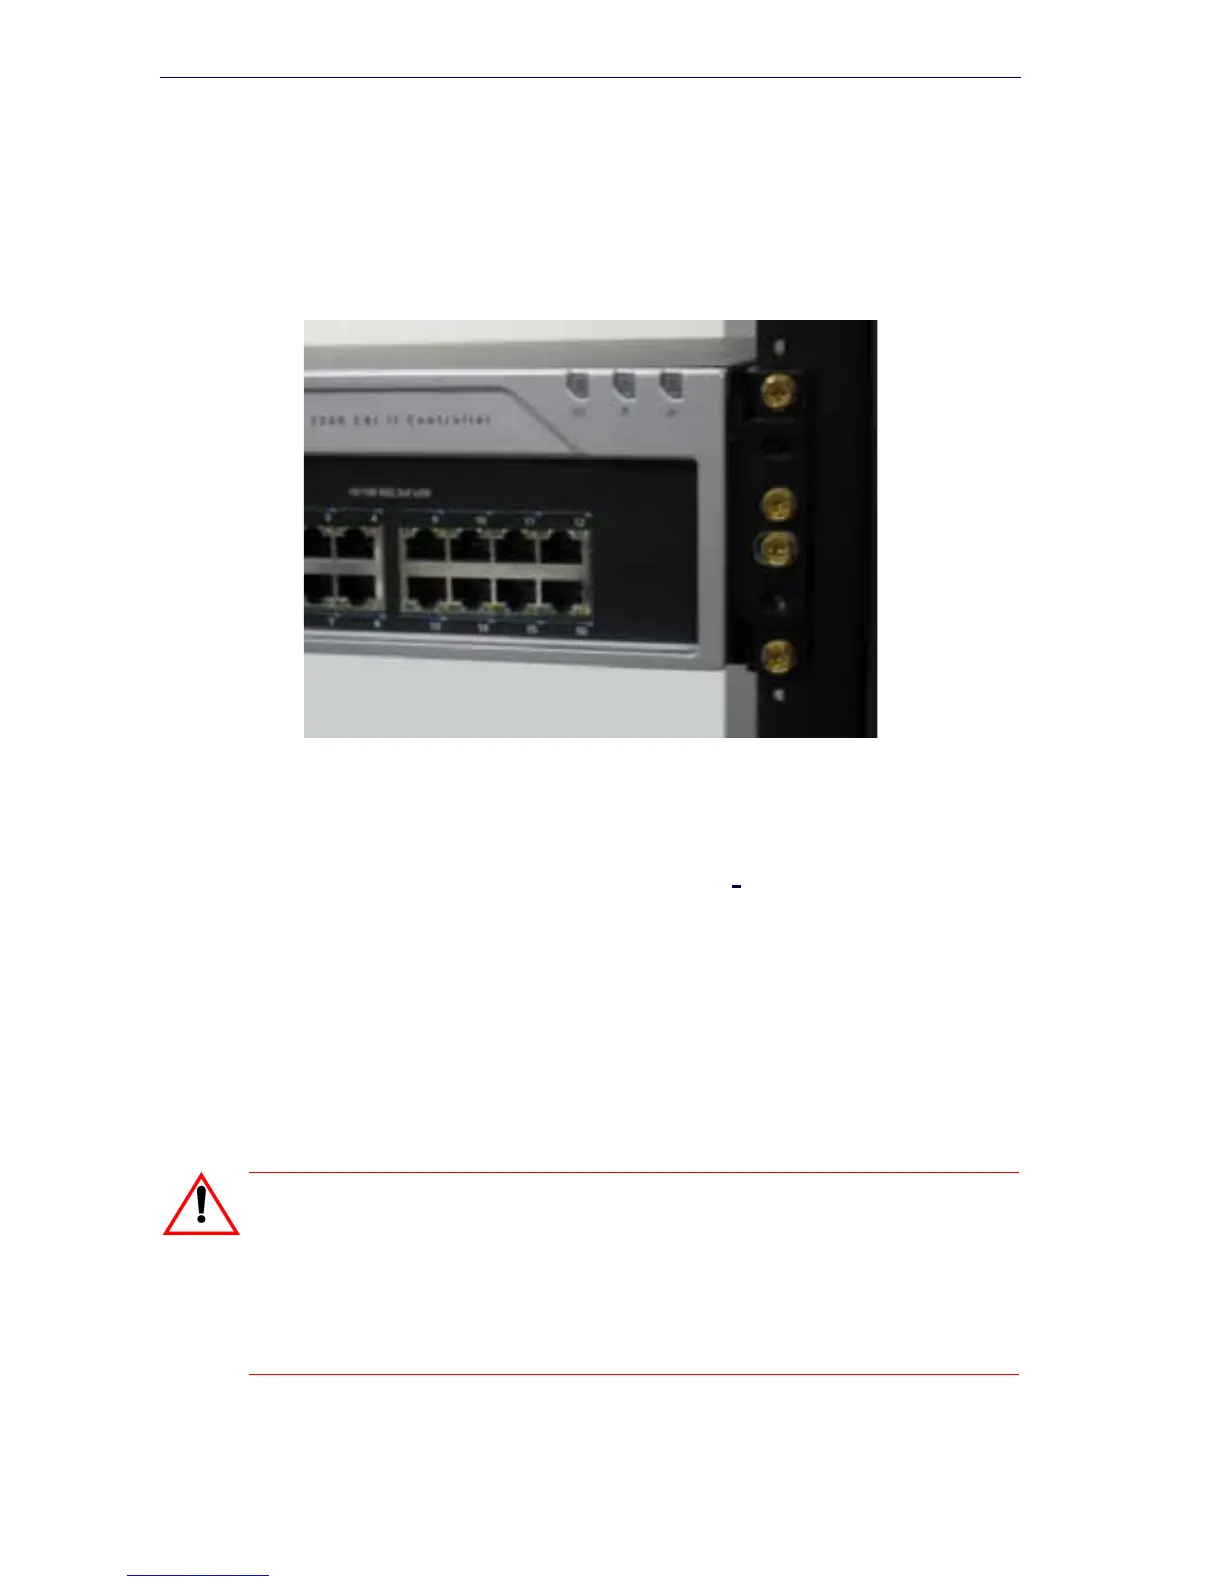
6. Fasten the angle brackets to the rack frame. Install four screws in each
bracket (see Figure 20).
Figure 20: CX II/CXi II Controller Rack-Mount Installation - Fastening
Angle Brackets to Rack Frame
Wall Mount the CX/CXi and CX II/CXi II Controller
Required parts and tools:
• Wall mount bracket (supplied)
• Two #6 screws and washers (CX/CXi) (supplied)
• Two #4 metric screws (CX II/CXi II) (supplied)
• Drill, screwdriver(s), and two #10 screws for anchoring bracket to
backer board.
CAUTION: Make sure the wall material is capable of support-
ing the weight of the unit. It is recommended that you mount
the supplied bracket onto a backer board of 3/4" plywood that
is securely fastened to the wall studs. DO NOT mount the
bracket directly onto drywall (sheetrock). Mitel is not respon-
sible for units damaged as a result of improper wall mounting.




 To Next Page