Chapter Four: Operation How To Setu
the Controlle
29
Chapter Four: Operation
How To Setup the Controller
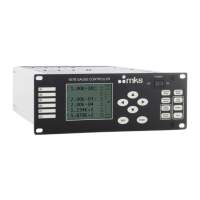
Before plugging in the AC line cord, turn the power switch OFF and perform the following steps:
1. Ensure that the voltage selector on the rear panel is in the proper position and that the
fuse has the proper rating.
The power and fuse ratings are listed in
Appendix A: Product Specifications,
page 45.
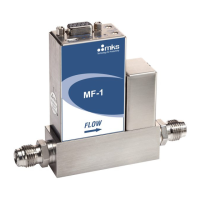
2. Place the INT/EXT and RANGE switches in the proper positions and turn the SET
POINT and MANUAL controls to zero.
3. Plug in the power cord and turn on the POWER.
The power LED should light.
4. Allow the system to warm up for at least 15 minutes.
5. Ensure the chamber pressure is less than the resolution of the transducer, and zero the
controller by setting the SET POINT at zero (fully CCW) and adjusting the ZERO
control for zero error on the meter (or adjust for 0000 reading on the optional DVM).
Note
1.
Temperature-controlled transducers, such as the 270/690 and 127 or
128 units, need approximately four hours to completely stabilize.
2.
If a 270 signal conditioner is used, the 270 Sensor Zero control can
be used for zeroing; the RESPONSE switch should be in the
NORMAL position.
6. Turn ON the gas source.