Instruction Manual #122162 42
• Any change made to a menu item is only activated after the enter key is
depressed.
• Any change made to the menu item is only stored in memory until the next
time the TIM-100/120 is powered OFF and ON. To permanently store values
in memory, follow the steps in Section 4.7.3 of this manual.
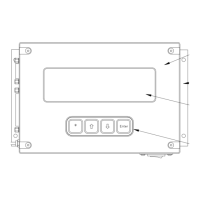
6.3.2 Manual Mode Pressure Set Point Changes
Follow the steps below to change the TIM-100/120 of the SENTRY 1000 or SENTRY 1510 set
point. The Sentry system is configured to measure and display pressure set points in units of
inches of water column for the SENTRY 1000 and units of millimeters of water column for the
SENTRY 1510.
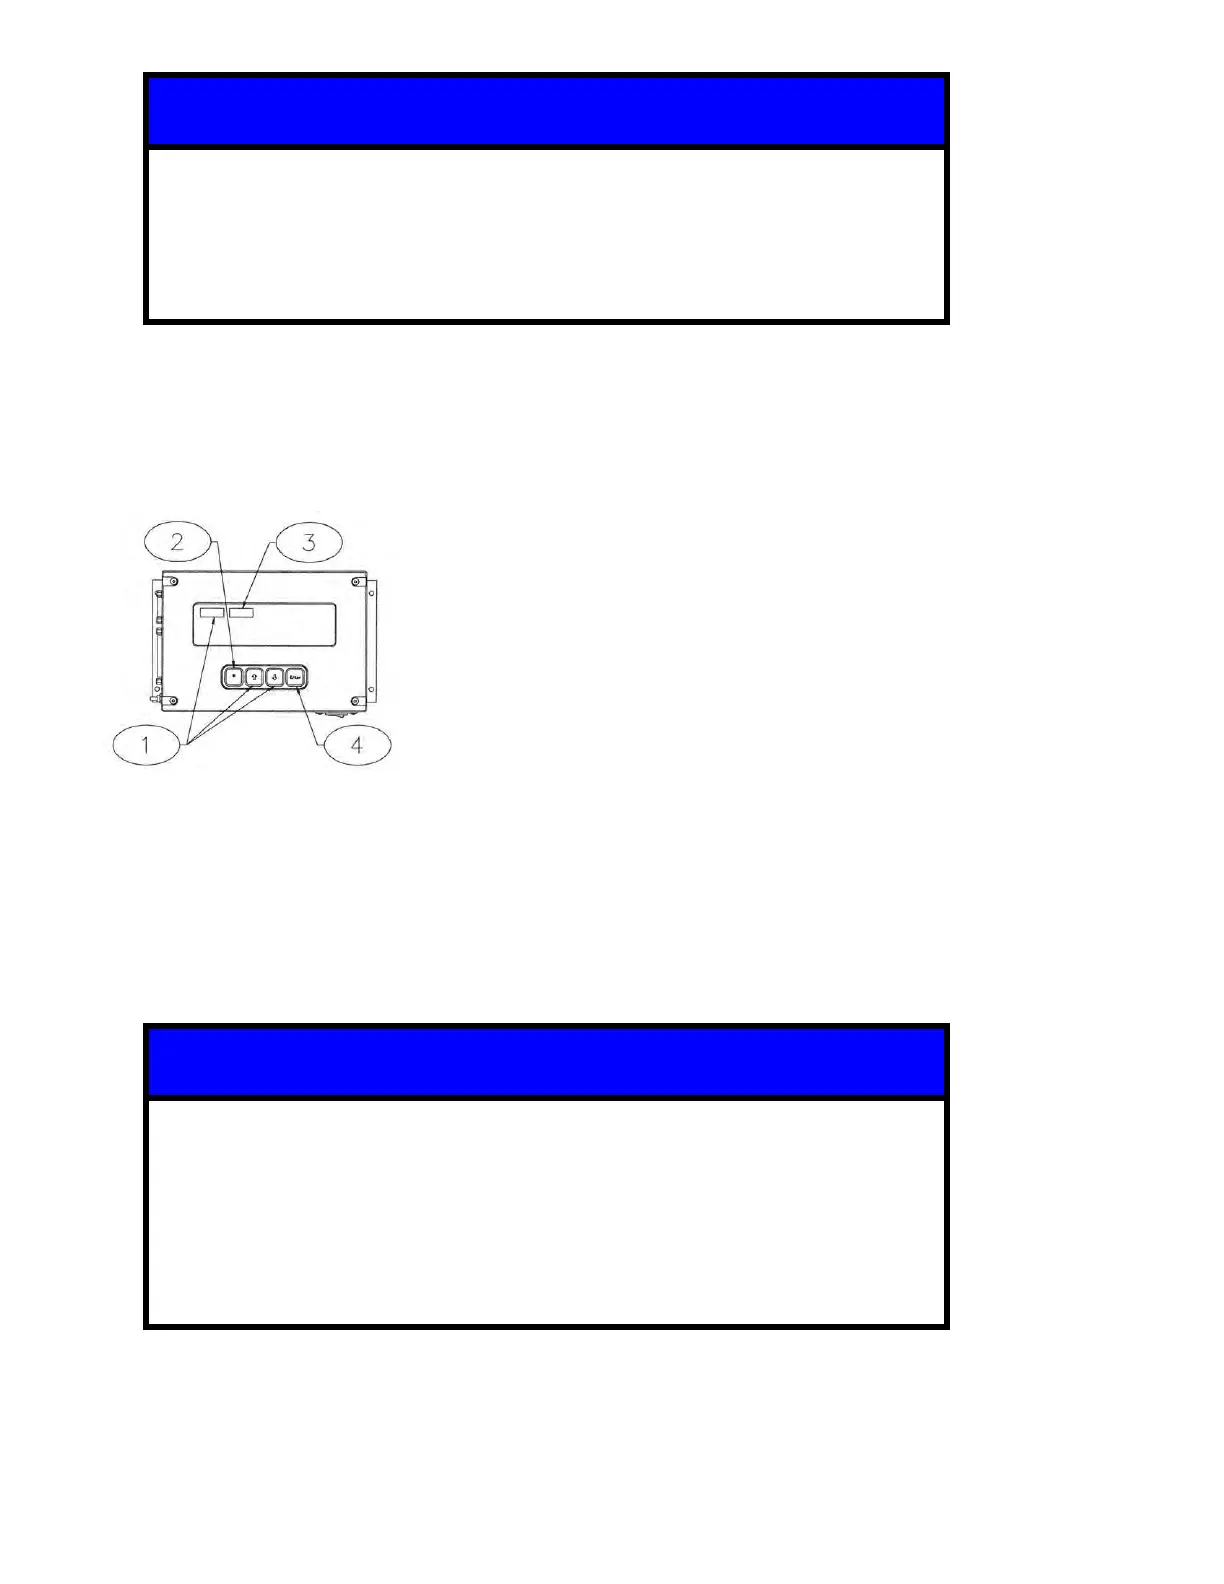
1. Using the up [] or down [] arrow keys on the SENTRY TIM-100/120 keypad, scroll
through the menu parameters until “PRES SP1” is shown in the top left corner of the display.
2. Choose the menu item by pressing on the star [*] key.
3. Using the up [] or down [] arrow keys on the SENTRY TIM-100/120 keypad, change the
displayed value to the desired value.
4. Press the enter [ENT] key to confirm selection.
• The SENTRY 1510 is provided in two pressure range configurations, 25.4
and 50.8 mm H
2
O.
• There is an implied decimal point to the left of the second digit on the TIM
display (2540 = 25.40 mm H
2
O, 5080 = 50.80 mm H
2
O).
• Any change made to the menu item is only stored in memory until the next
time the TIM 100/120 is powered off and on. To permanently store values in
memory, follow the steps in section 5.8.3.
 Loading...