80
Q26 Camera Manual: Installation
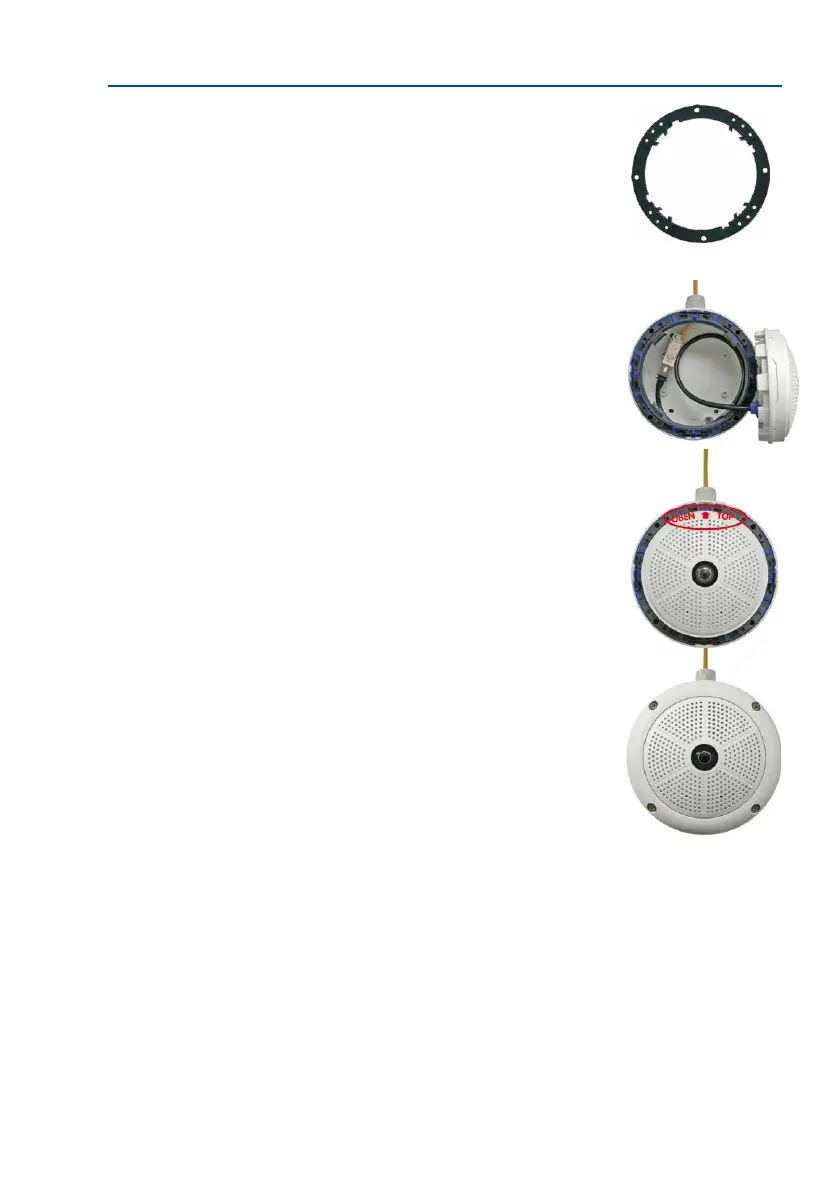
6. Remove the mounting ring: Separate the black mount-
ing ring from the camera housing (li the spring clip).
This ring is not required when mounting the camera to
the On-Wall set.
7. Connect the cable: Connect the on-site network cable
to the network cable passing through the On-Wall Set
using a standard connector. Excess cable can be stored
easily within the On-Wall mount.
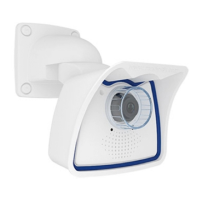
8. Attach the camera to the mount: The camera must be
seated rmly within the On-Wall mount. The tapered
guides at the back of the camera housing t exactly into
the openings of the On-Wall mount. Once, again, ensure
that OBEN / TOP arrow points in the correct direction.
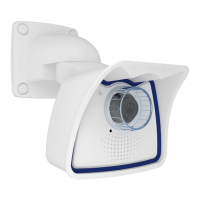
9. Attach the outer shell: Position the outer shell without
the rubber seal and tighten all four Allen screws using
the included Allen wrench.
10. Clean the lens: If necessary, gently clean the front of
the lens with a so cotton cloth. Do not apply excessive
pressure to the surface of the glass when cleaning the lens.
11.
Establish a connection to the camera, check the image: Establish a connection to the
camera as described in Section 3.1, «Manual and Automatic Operation – Overview»
and the following sections. The live image from the camera should be visible on the
computer monitor. Check image sections on the computer monitor as well.