92
Q26 Camera Manual: Installation
2.6.2 Procedure
1.
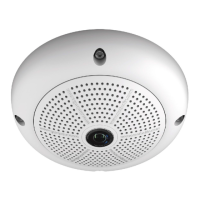
Remove the camera housing: Remove all four Allen screws
using the supplied Allen wrench and li o the outer shell.
The screws and outer shell will be needed again shortly.
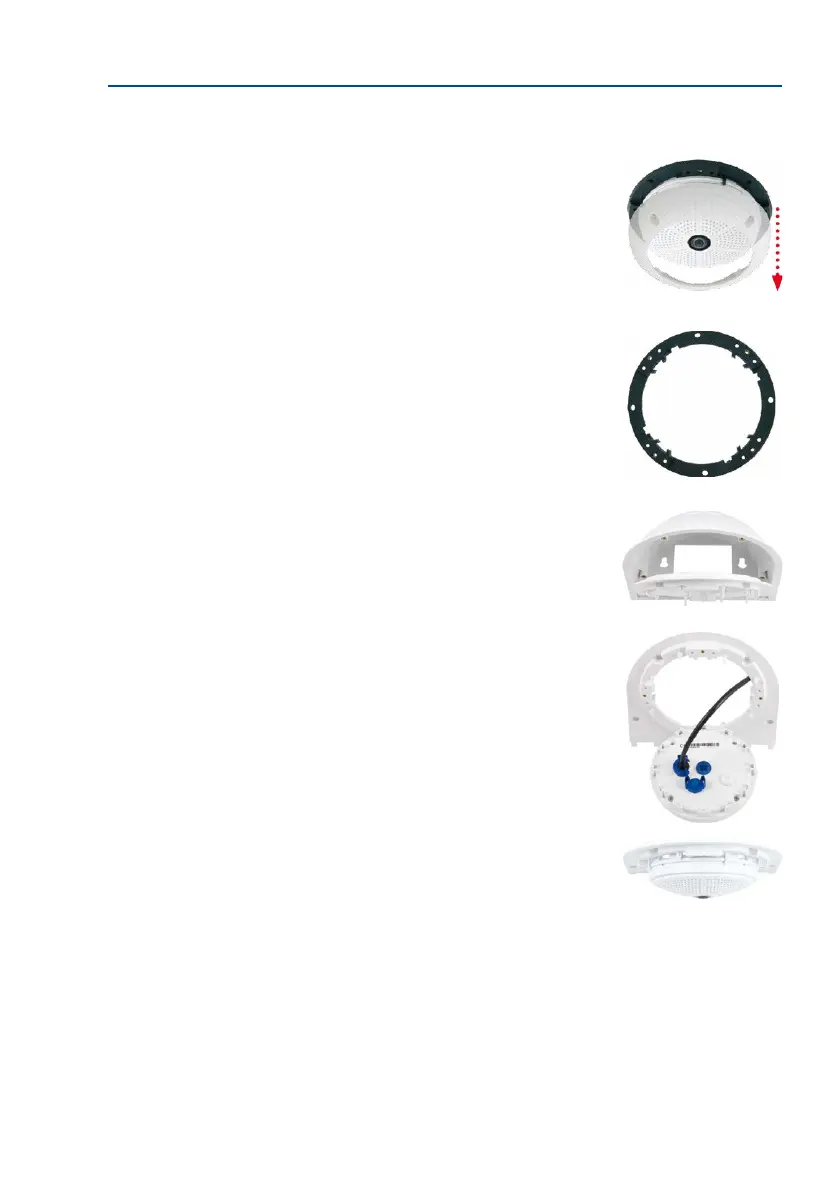
2. Remove the camera mounting ring: Separate the black
mounting ring from the camera housing. This ring is not
required when mounting the camera to the Wall Mount.
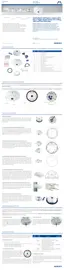
3. Separate the bottom plate from the Wall Mount: The
bottom plate is used to hold the camera and is only
attached and screwed into place during a later step.
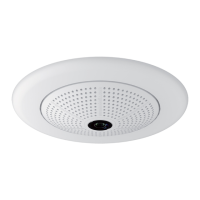
4. Pass the camera cable up through the bottom of the
bottom plate: Ensure the orientation is correct. The spring
clips should be on the underside of the bottom plate.
5.
Snap the camera into place on the bottom plate: Firmly
push the camera into the Wall Mount. The plastic spring
clips will snap into place when the trapezoidal elements
on the rear of the camera housing exactly match up with
the corresponding openings on the Wall Mount. Pay atten-
tion to the direction of the camera (OBEN / TOP arrow
pointing in the direction of the longer wall for ceiling
installation in rectangular rooms).