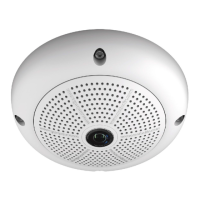
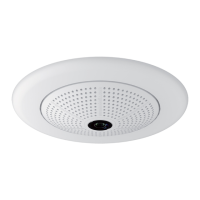
89
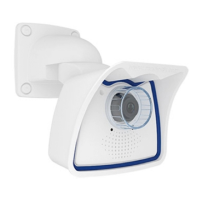
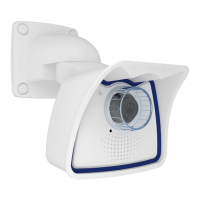
Installing the Wall Mount
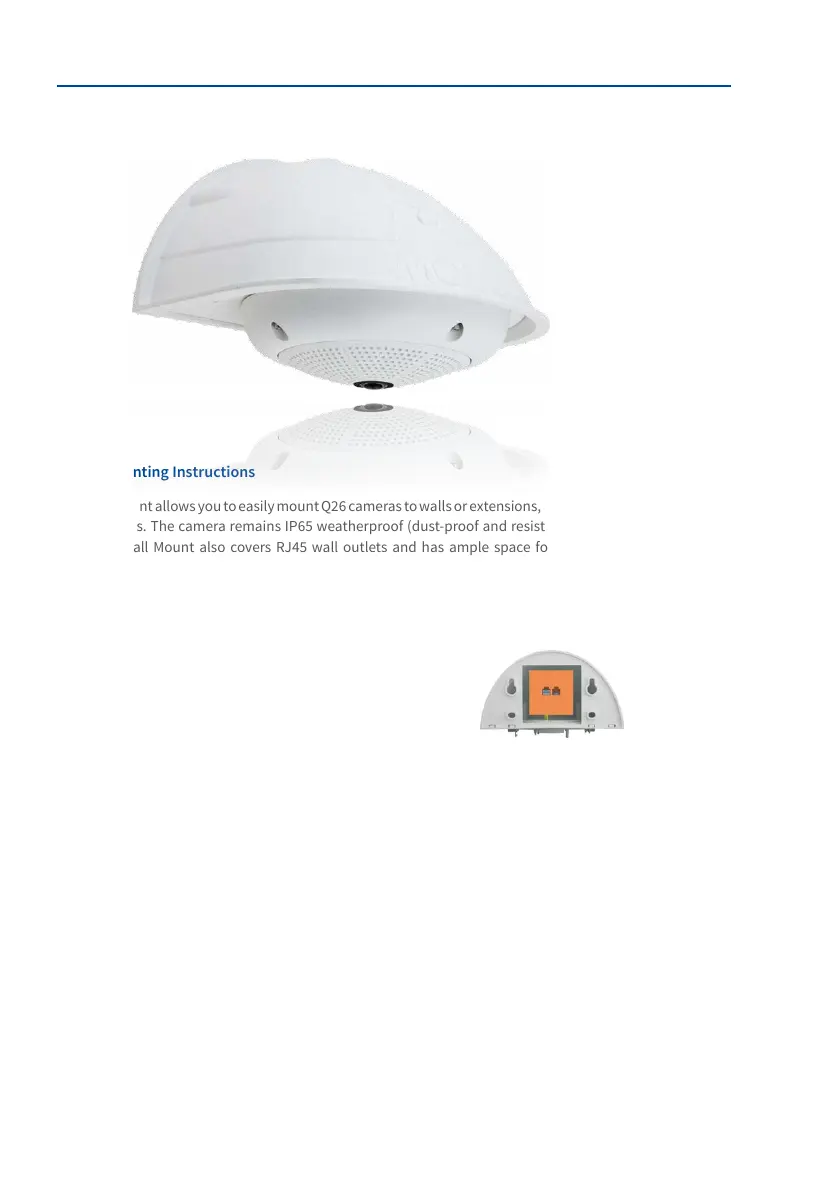
2.6 Installing the Wall Mount
2.6.1 Mounting Instructions
The Wall Mount allows you to easily mount Q26 cameras to walls or extensions, both indoors
and outdoors. The camera remains IP65 weatherproof (dust-proof and resistant to water
jets). The Wall Mount also covers RJ45 wall outlets and has ample space for additional
modules (WLAN, batteries, etc.).
Before mounting the MOBOTIX Q26 with the Wall Mount, you must prepare the network
connection and drill the holes for the xtures:
• The on-site network cabling is passed through the opening
in the back of the wall mount. The cable and the required
(standard) connector for the camera cable (patch cable) are
ideally protected by a robust wall sealing made from foam
rubber. Nothing is visible or accessible from the outside.
The Wall Mount may be mounted directly on top of ush
or protruding wall outlets. Maximum width x height of the
outlet: 88 mm x 80 mm.
• Only use the Q26 factory installed patch cable (50 cm cable length) or a MOBOTIX
cable of dierent length available from the range of accessories.
• All openings of the camera housing need to be closed o properly. This is the only way
to guarantee that the camera remains weatherproof.
• The included screw anchors should be used for the drill holes in the wall. Use the
supplied drilling template for the Q26 Wall Mount (available for downloading from
www.mobotix.com) to mark the position for drilling the holes and the holes through
which the cables will later be fed.
Direct installation over
on-wall and ush-
mounted wall outlets