87
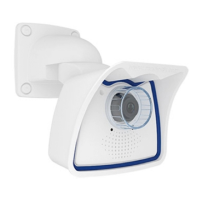
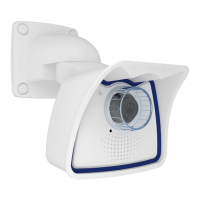
Mounting the Camera with the On-Wall Set
2.5.2 Procedure
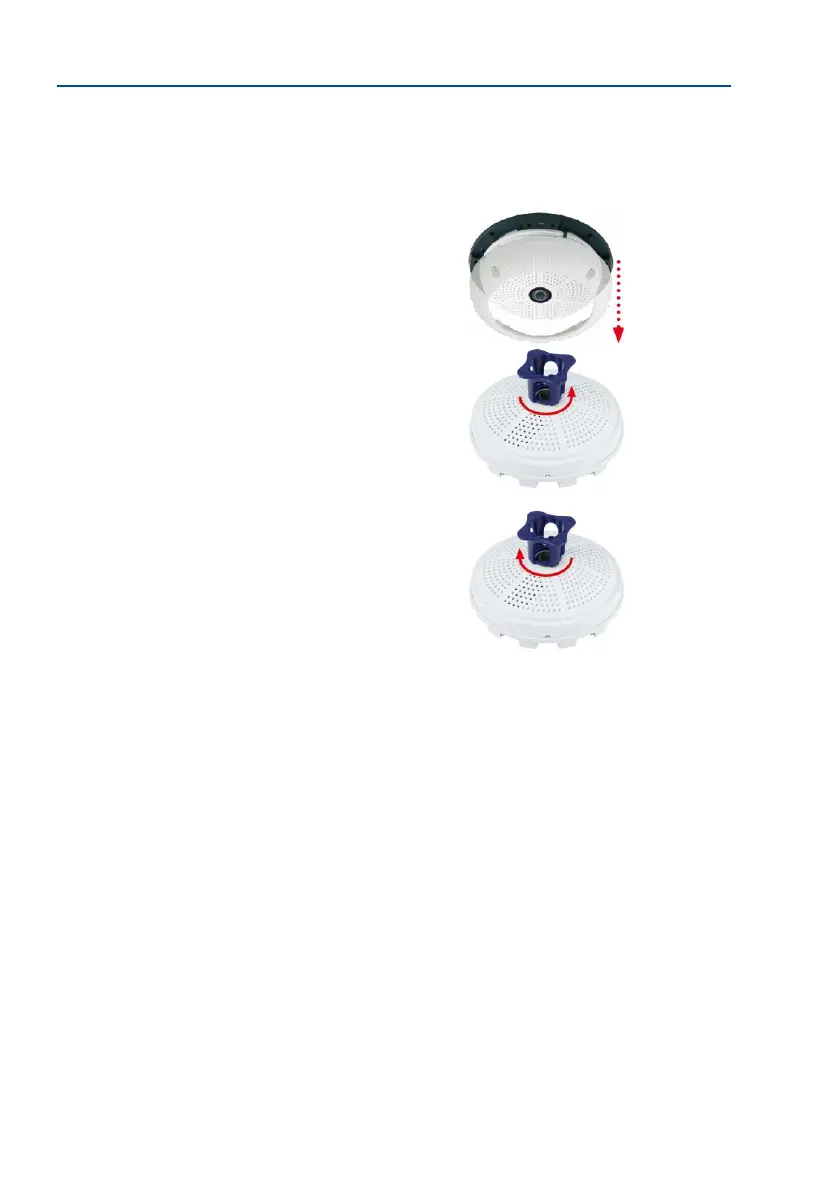
In order to install the Vandalism Set, replace the white plastic outer shell of the Q26, includ-
ing the Allen screws, with the stainless steel cover, the security screws and the four spacers
of the Vandalism set.
1.
Remove the outer shell: Remove all four Allen screws using
the supplied Allen wrench and li o the outer shell.
2.
Remove the lens gasket: Unscrew the lens using the lens
wrench (included with the camera) and remove the lens
gasket.
3. Replace the lens: Screw the lens back in using the lens
wrench.
4. Adjust the live image: Establish a connection to the camera as described in
Section 3.1, «Manual and Automatic Operation – Overview» and the following sec
-
tions. The live image from the camera should be visible on the computer monitor.
Select the highest available image resolution. Check image sections (image center and
focus) on the computer monitor and adjust the lens with the lens wrench if necessar y.
5. Clean the lens: If necessary, gently clean the front of the lens with a so cotton
cloth. Caution: Do not apply excessive pressure to the surface of the glass when
cleaning the lens!