93
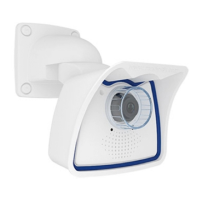
Installing the Wall Mount
6.
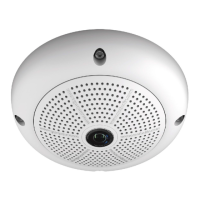
Mount the Wall Mount (without camera): Stick the black
wall sealing to the back of the Wall Mount (remove the
adhesive foil rst, the surface must be clean and free of
grease). Pass the network cable through the large square
opening and into the Wall Mount. Use the included screws
to install the Wall Mount (without the camera) at the
intended position. Pass the network cable through the
large square opening on back side of the Wall Mount.
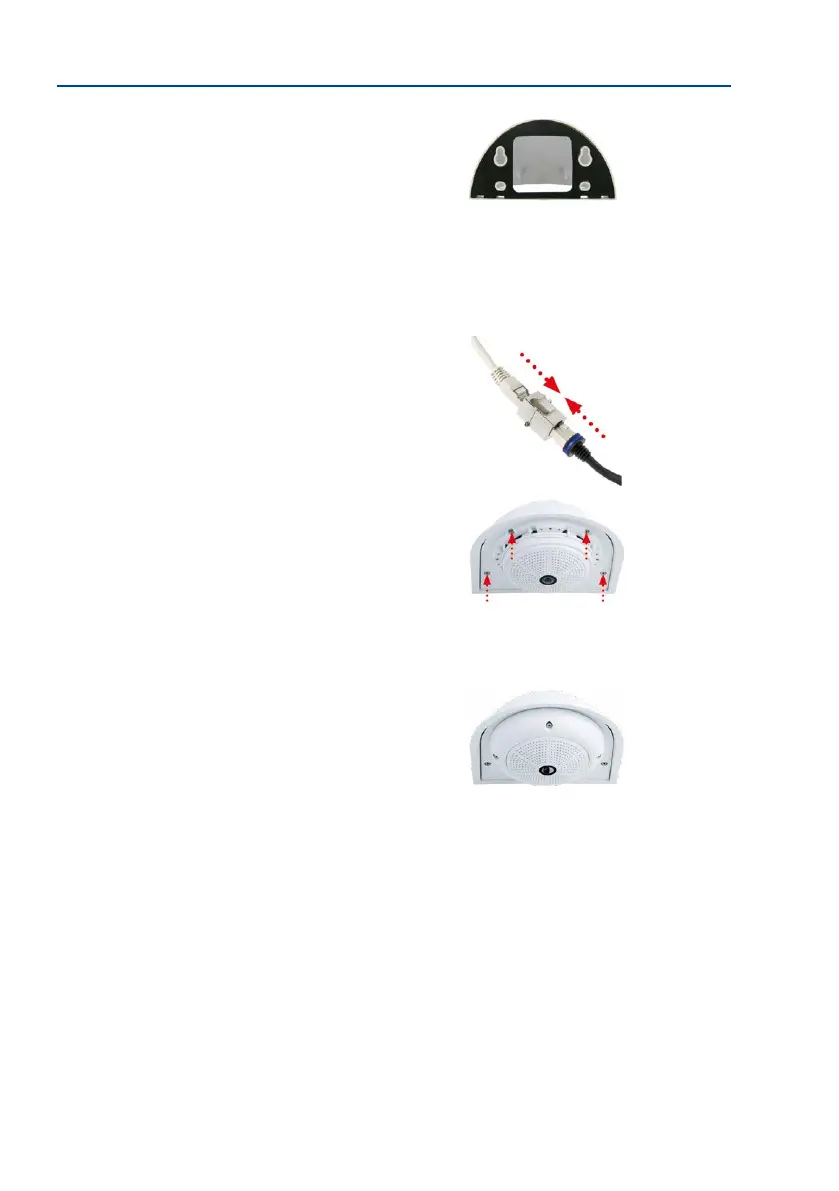
7.
Connect the cable: Prepare the on-site network cable for
connection with the camera patch cable using a standard
connector. Excess cable can be stored easily within the
Wall Mount.
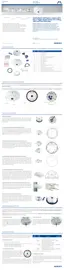
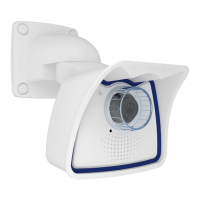
8. Install the bottom plate with the camera in the Wall
Mount: Connect the camera patch cable to the network
cable. Then mount the bottom plate with the camera in
the slots from below and x it in place on the Wall Mount
using the 4 Allen screws (Allen wrench included).
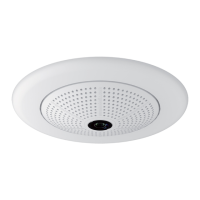
9. Attach the outer shell: Position the outer shell (without
the rubber seal) and tighten all four Allen screws using
the included Allen wrench.
10.
Clean the lens: If necessary, gently clean the front of the lens with a so cotton cloth.
Do not apply excessive pressure to the surface of the glass when cleaning the lens.
11.
Establish a connection to the camera, check the image: Establish a connection to the
camera as described in Section 3.1, «Manual and Automatic Operation – Overview»
and the following sections. The live image from the camera should be visible on the
computer monitor. Check image sections on the computer monitor as well.