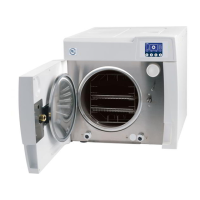
4. INSTALLATION
13
Teflon
Clip
raining tank
eplace th
pipe-fitting
by the plug
To the draining
plant
Pipe-fitting
Plug
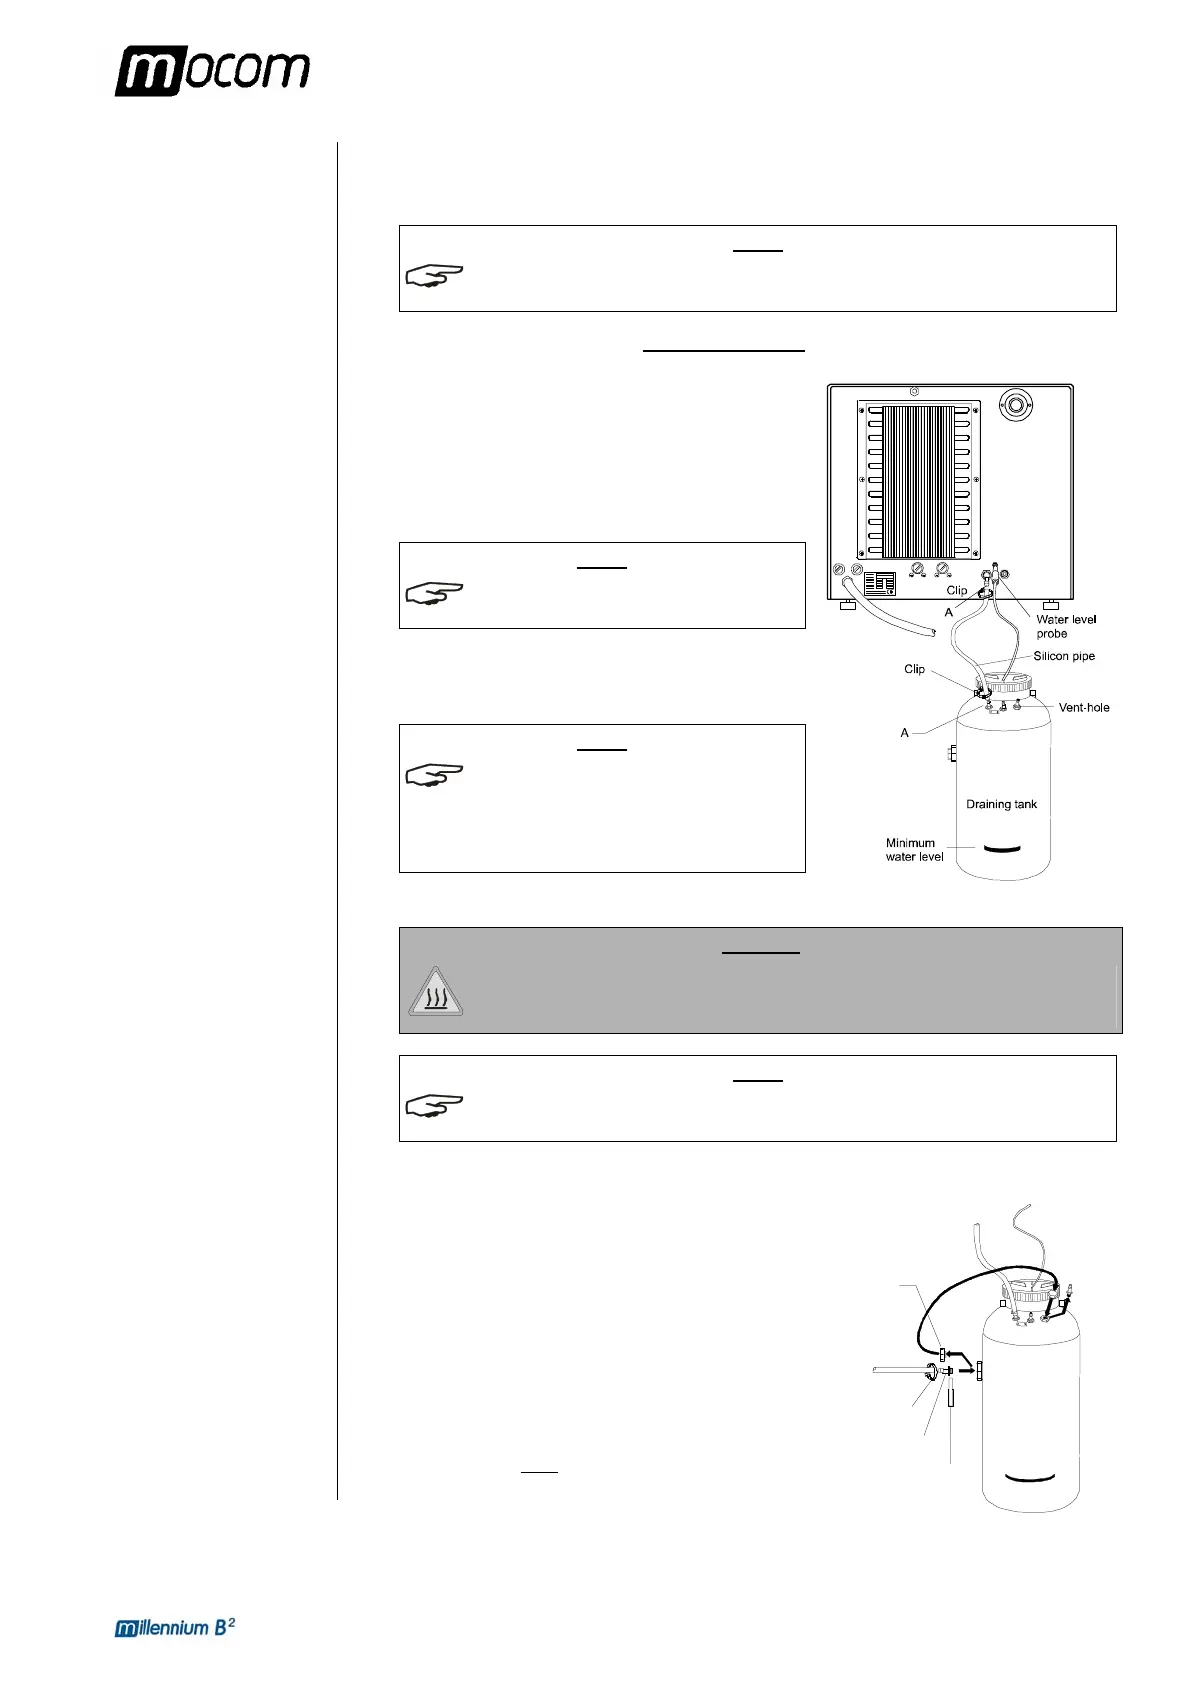
CONNECTING AN
EXTERNAL DRAIN
TANK
OPTIONAL, external
drain function)
Connecting the tank to
a central draining point
An external drain tank (supplied as an option) can be used to avoid having to periodically
empty the internal used water tank, which is then manually emptied or connected to central
drain system.
NOTE
CHECK THAT THE DRAIN SILENCER IS CORRECTLY INSTALLED INSIDE THE TANK,
CORRESPONDING TO CONNECTION
“A”.
Follow the instructions below for the correct connection of the tank:
– Insert the silicone tube (provided with the option) on
connector A on the machine; push the tube all the
way on and lock it with the plastic tie;
– Cut the silicone tube to measure, push the free end
on connector A on the drain tank and lock it with the
plastic tie;
NOTE
MAKE SURE THE TUBE IS NOT BENT,
CRUSHED OR OBSTRUCTED IN ANY WAY
.
– Connect the plug of the level sensor to the jack
(optional) on the back of the device (see figure);
NOTE
MAKE SURE THE PLUG IS CORRECTLY
INSERTED
. A POOR CONNECTIN IS
INTERPRETED AS A MAX LEVEL SIGNAL,
WITH A CONSEQUENT ALARM WHENEVER
YOU INSIST ON STARTING THE CYCLE
.
– Fill the tank with normal tap water up to the level marked on the container.
DANGER
HOT WATER AND STEAM UNDER PRESSURE COME OUT OF THE DRAIN
CONNECTORS. CONNECT ALL THE ELEMENTS OF THE DRAIN CIRCUIT
CAREFULLY TO AVOID PROPERTY DAMAGE AND/OR INJURY.
NOTE
FOR THIS OPTION SETTING, REFER TO CHAPTER “CONFIGURING THE DEVICE – SETTING
THE WATER DRAINING MODE
”..
To avoid having to periodically empty the draining tank, it
is possible to connect it directly to a central drain.
– Insert the screw plug in place of the free vent hose
union on the side connector of the draining tank;
– Screw the 1/8" hose union, supplied, on the side
connector; use a wrench to hold the connector to be
tightened;
– Use Teflon tape or connector sealant for a perfect
seal.
– On this tube union, insert a tube of suitable material
and dimensions (NOT
SUPPLIED); push the tube all
the way on and lock with the plastic tie provided.