Chapter 2: Unpack and Setup the Instrument
5054747 B 25
Item Description
3 Screw #3 fastens the lock to the microplate drawer
4 Microplate drawer
5 Microplate chamber door in open position
6 Microplate drawer transport lock
Figure 2-5: Microplate drawer transport lock (continued)
4. Loosen screws #2 and #3 until the lock comes free of the microplate drawer (4) and you
can remove the lock from the instrument. The screws have retaining washers that
prevent them from being removed from the lock. Store the transport lock in the
accessories tool box included with the microplate reader.
5. Gently push the microplate drawer (4) back inside the instrument and close the chamber
door (5).
6. Save the original carton, foam inserts, accessories tool box, and transport locks in case
you must ship the instrument in the future.
Remove Transport Locks - Alternate
CAUTION! The instrument can be damaged if the transport lock is not removed
before the instrument is powered on.
If the rear of your instrument does not have the transport lock opening in the center,
perform the following steps to remove the transport lock. A transport lock is placed on the
transport slide to protect the instrument during shipment. You must remove the transport
locks before you power on the instrument.
If the rear of your instrument has a Transport Lock sticker in the center, see Remove
Transport Locks on page 23.
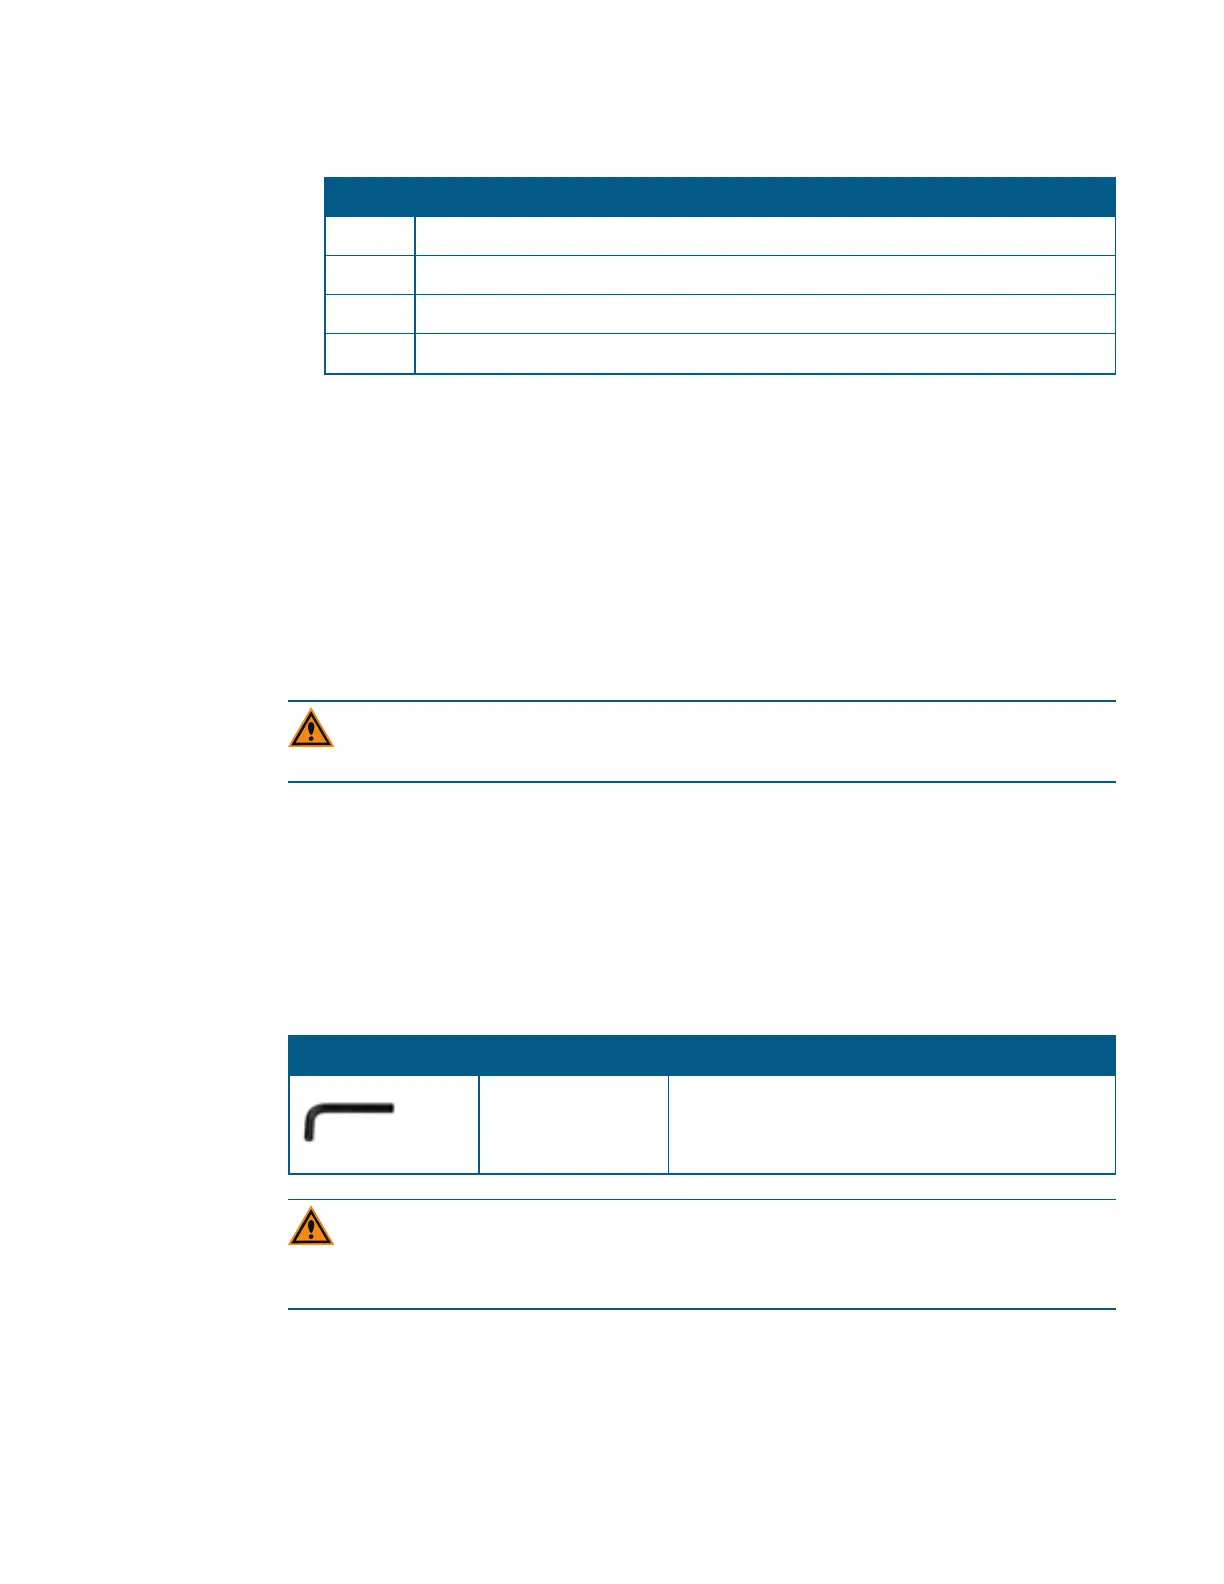
This procedure requires the following tool:
Illustration PartNumber Description
YW 000 044 Hex key, 4.0 mm
Table 2-4: Required Tool
CAUTION! Do not touch or loosen screws or parts other than those designated in the
instructions. Changes to other screws or parts can cause misalignment and possibly
void the warranty.
 Loading...