User Manual
28
6.3 Web Client Interface
6.3.1 Menu Bar
Menu bar: include [Live], [Playback], [Remote setting], [Local Setting] and [Logout] option on the left-up
corner.
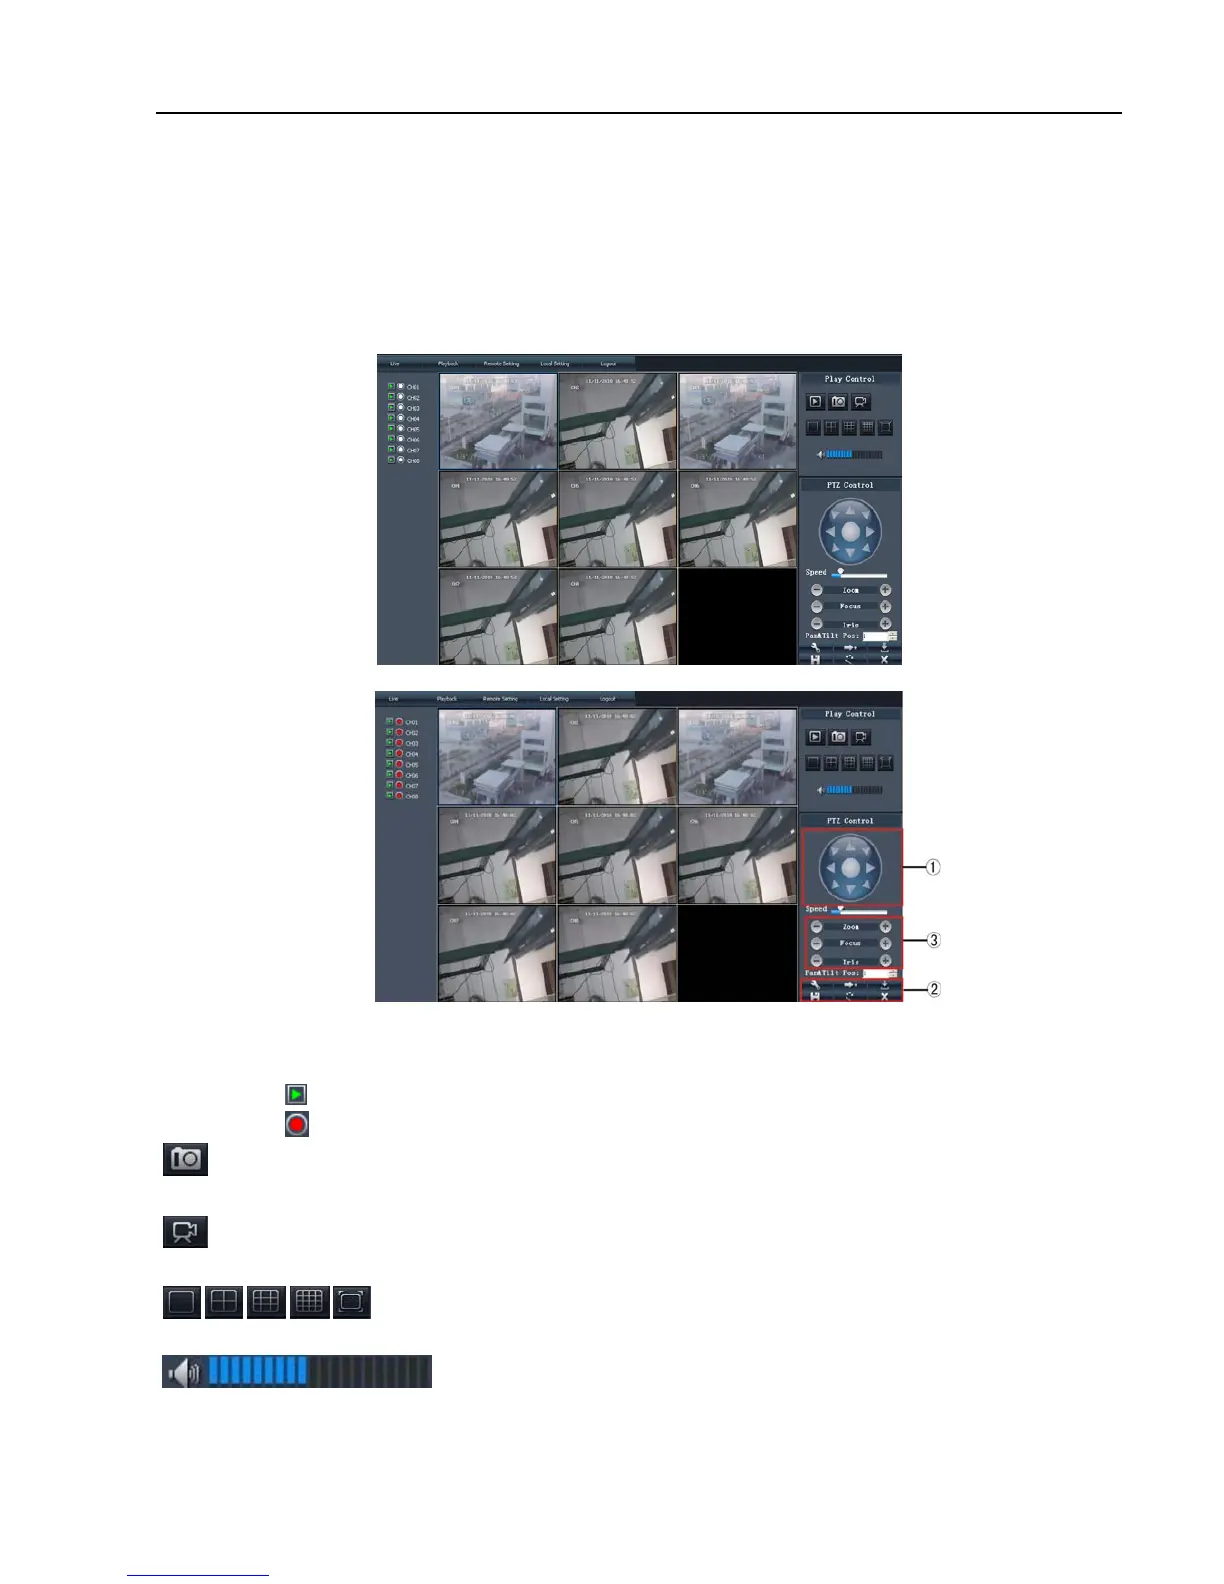
6.3.1.1 Live mode
After successful web client log-in, you will enter into the Live interface shown as Picture 6-3 and
simultaneously Audio / Video will be automatically connected well (Shown as Picture 6-2(a) and (b).
User can open or close live image by Play control bar, and select display modes, including full screen
mode, 4-split mode and 9-split mode.
Click the [
] icon of each channel to display the channel’s image.
Click the [
] icon to start manual record.
Capture:Clicking the button will capture the live image from one selected channel and save the image
with *.bmp format to PC.
Record:Clicking the button will remotely record the live images and automatically save the record to a
specified position.
CH display mode:The icons respectively stand for the Single CH display, Quad
display, 9-split mode, 16-split mode and full screen mode.
Volume Control: Click the icon or slide the volume control bar to adjust sound
volume.
Picture 6-2(a)
Picture 6-2(b)