19
TUTORIAL - CREATING A PATTERN IN KEYBOARD MODE
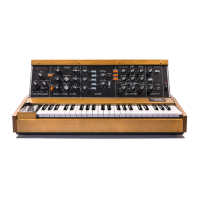
This is a tutorial that will walk you through the sequencing capabilities of your Mother-32 in
KB mode. Keyboard mode is the best place to start when learning to use the Sequencer. Before
starting, disconnect any patch cables and set all controls to the default positions found on Page 7.
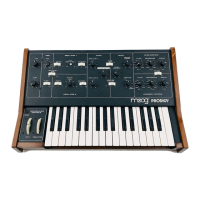
INITIALIZE THE CURRENT PATTERN
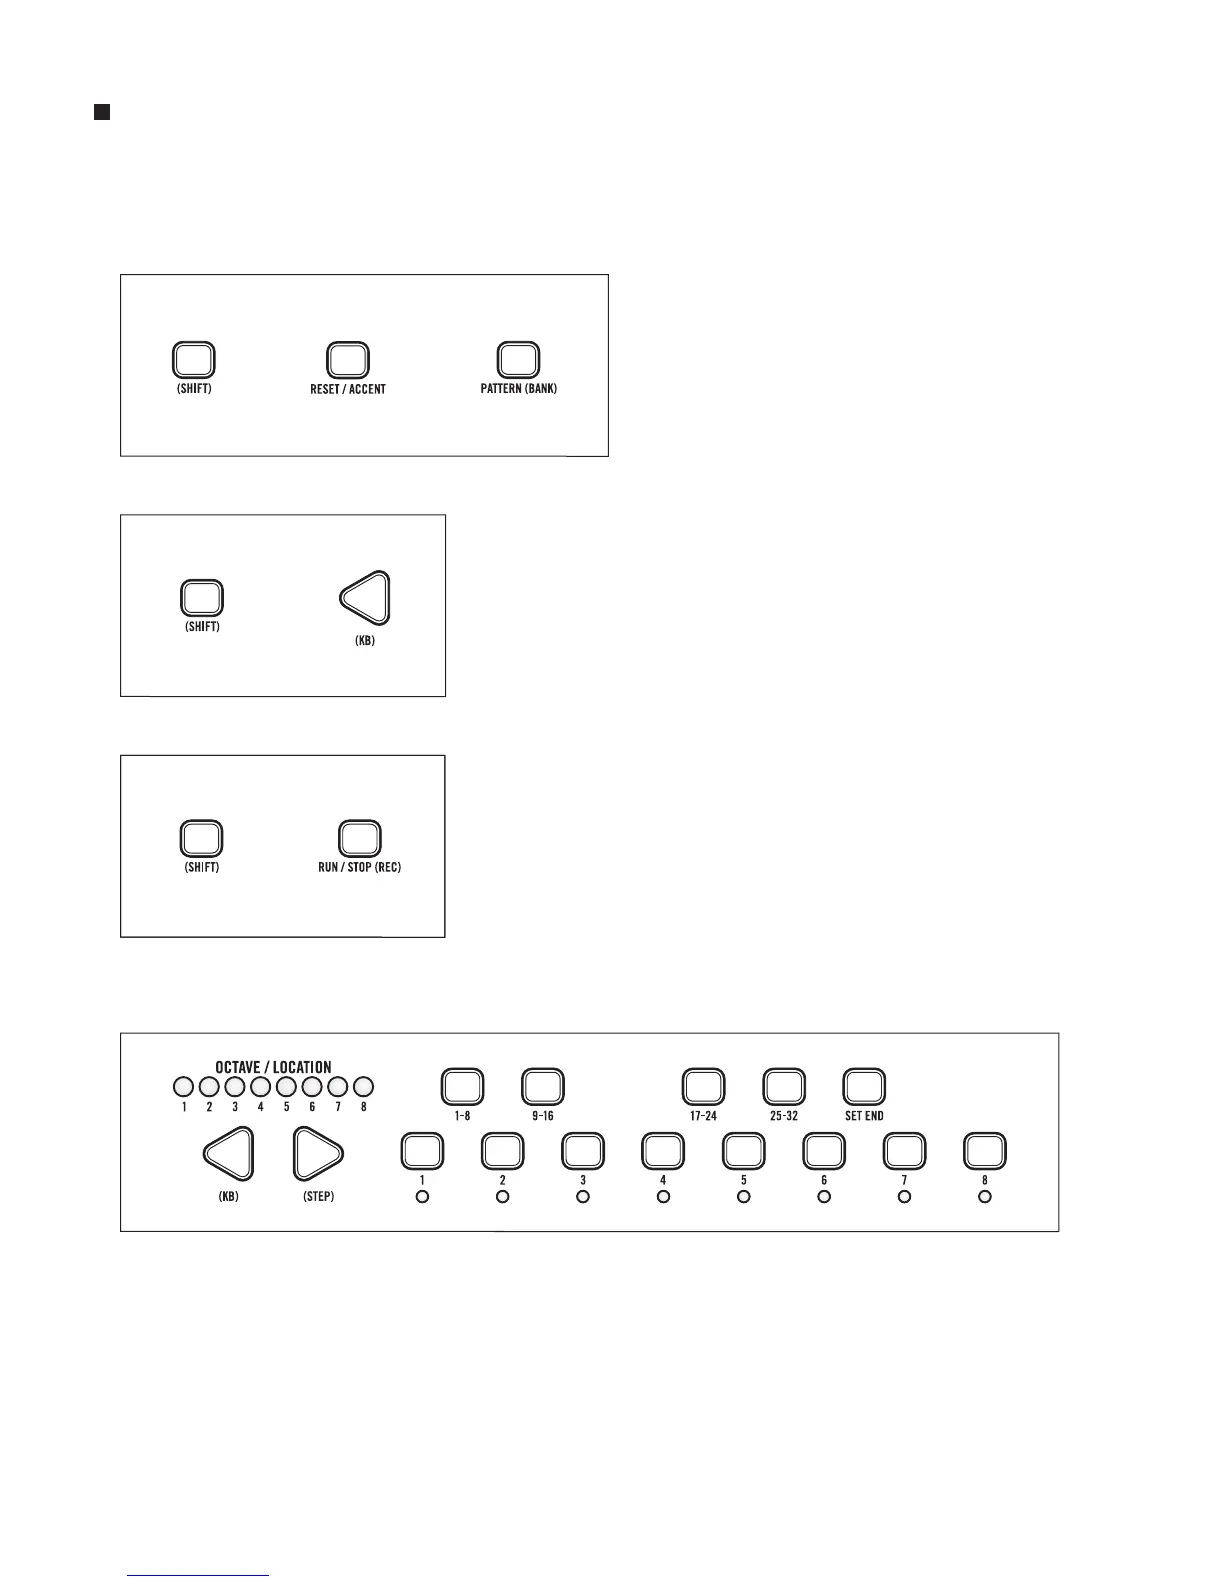
Press (SHIFT)+RESET+PATTERN
simultaneously to initialize the
current pattern.
NOW ENTER KEYBOARD MODE
Press (SHIFT)+KB to enter Keyboard mode.
ACTIVATE THE RECORD FUNCTION
Press (SHIFT)+(REC). The Tempo LED will change to solid
yellow indicating the Record function is active and the internal
clock is paused. Octave/Location LED 1 is lit green,
indicating you are on Page 1 of the pattern. Step LED 1 is blinking
(Step LEDs are located directly below Step buttons 1-8). During
the Record function, the current step being edited blinks.
ENTER A NOTE
Select an octave by pressing the LEFT/RIG HT arrows. Now play just one note on the Keyboard.
Step LED 1 will continue to blink, meaning you are still editing the rst step.
While the Step LED is blinking, you can modify any of the other parameters for that step
including Gate Length (note duration), Accent, Rest, Tie, Glide On/Off and Ratchet count.
NOTE: Octave/Location LEDs 5-8 indicate respectively, Glide On/Off, Ratchet, Accent and
Rest parameters, all of which are dened per-step.
+
+ +
+
+

 Loading...