SETUP AND OPERATION
Spot Welding Manual for Medar 4-2 MOTOMAN
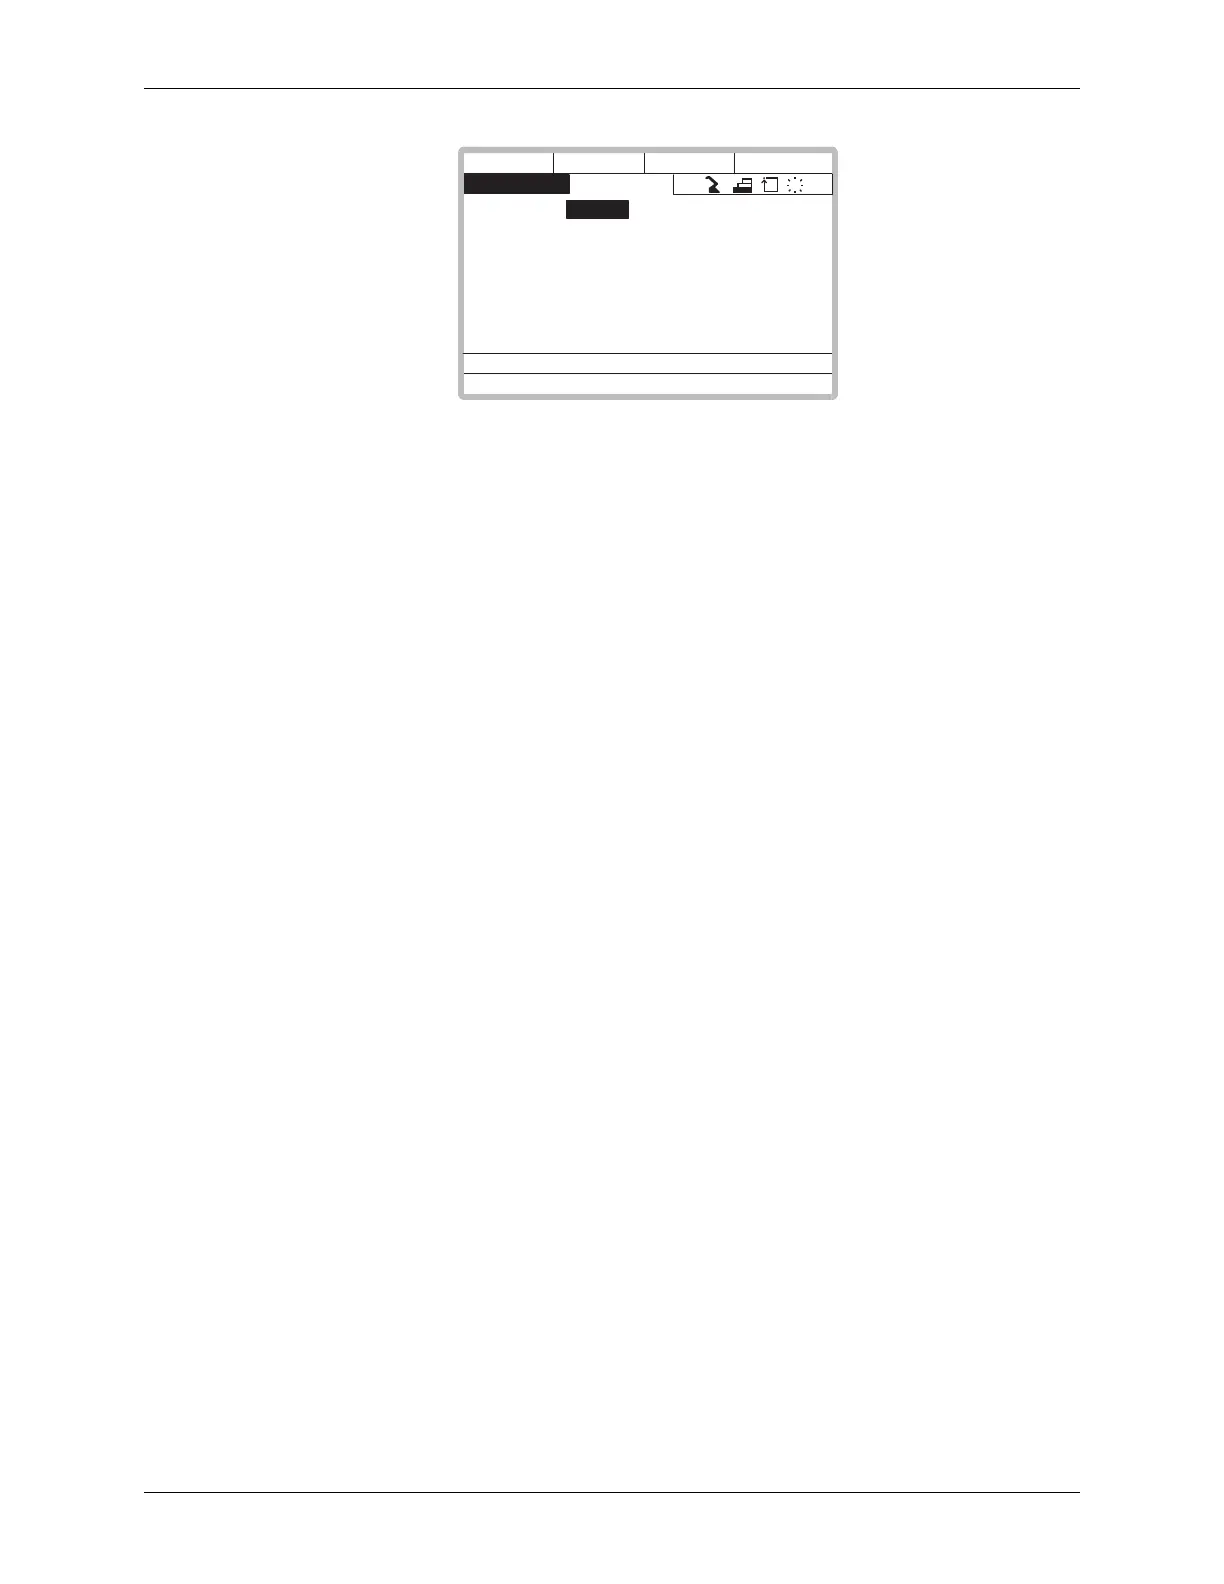
3. A list of parameters appears:
4. Press SELECT, type the number 370, and press ENTER. This will take you
to the S2C370 parameter for setting weld schedule edit security. The default
is zero for Edit Mode. Change the default to “1” to restrict file changes to
Management Mode.
5. Cursor down to parameter 371. This sets the weld schedule type. The default
is zero for ACC Simple Weld Schedules. To select the ACC Enhanced Weld
Schedules, change S2C371 to “2.” All 255 files will be displayed as either
simple or enhanced.
NOTE: After changing the weld schedule type, restart the XRC to download the new settings to the
Medar board.
6. Cursor down to S2C373 to set the weld type. The default is zero for AC
welding. Change the default to “1” for DC welding.
7. Press TOP MENU to return to the MAIN Menu.
Do not change the setting for S2C378 from 0 to 1 until you have powered on the
XRC one time and uploaded dynamic data. At power up, the Medar board copies
default setup data into its volatile memory. When S2C378 is set to 1, the XRC
downloads the most recent settings to the Medar board and overwrites the Medar
defaults.
To set up parameter S2C378 so that the XRC always writes the most recent
settings to the Medar’s volatile memory at startup, follow these steps:
1. Start up the XRC with S2C378 set to 0.
2. Turn universal output #188 ON and then OFF. This activates universal input
#188, which allows the XRC to upload dynamic data from the Medar board.
(See Table 4-1.)
3. Set S2C378 to 1. Now, every time the system is powered up, changes made to
the setup data will be automatically written to the Medar’s volatile memory.
4. To verify the system is set up correctly, change a setup parameter on the
Medar pendant. For example, change the “MAXIMUM PRIMARY
CURRENT” to a smaller value.
5. Download this setting on the Medar pendant.
6. Turn universal output #188 ON and then OFF. (Upload dynamic data)
7. Restart the system and verify that the setting for MAXIMUM PRIMARY
CURRENT still has the same value.
8. Repeat steps 4 - 6 to change the current maximum back to its original value.
EDIT DISPLAY
DATA UTILITY
R1
S
C
L
S2C000
S2C001
S2C002
S2C003
S2C004
S2C005
S2C006
S2C007
0
0
0
0
0
0
0
0
0000_0000
0000_0000
0000_0000
0000_0000
0000_0000
0000_0000
0000_0000
0000_0000
> 370
!
PARAMETER
 Loading...