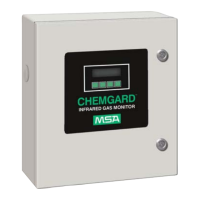
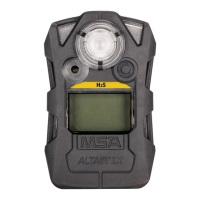
Chemgard Infrared Gas Monitor
Section 3, Display Screens
Using the Wireless Remote
Controller with the XP Unit
•
The four Controller keys correspond to the
same four pushbuttons shown in the Display
Screens.
•
The Calibrator mimics these buttons via an
infrared link through the front-panel window.
•
Point the Controller at the front-panel window
and push the appropriate key to obtain the
desired front-panel function indicated on the
display.
CAUTION
Do not use the Wireless Remote Controller
without fully reading and understanding all
operating instructions, labels, cautions,
warnings, and literature supplied with this
equipment. Failure to do so may result in
property damage, severe bodily injury or
death.
Purpose
The Wireless Remote Controller Transmitter
provides a source of digitally encoded infrared
energy for control of the Chemgard XP unit. Its
primary use is in hazardous and/or high security
areas where the wireless commands can effect
instrument adjustment and contr
ol without
breaking safety or security seals.
General Operation and Usage
Infrared energy is transmitted from the upper
center portion of the device when any one of the
four selector buttons is pressed. Although the
infrared transmission is not visible, operation is
indicated when the TRANSMIT LED is ON. A
flickering TRANSMIT LED is normal, and
corresponds to the encoded message. Power is
consumed by the Transmitter only when one of
the four buttons is pressed. Most visibly
transparent material will
also pass these infrared
signals.
Aim the red lens on the end of the Transmitter at
the target device, the desired function key is
pressed, and the RECEIVE LED on the target
turns ON to verify the infrared message is
received.
NOTE: If more than one button is pressed
simultaneously, the RECEIVE
ACKNOWLEDGE LED will turn ON, but
there can be no other response; this mode
serves as a test function only.
To ensure reliable operation, hold the Transmitter
no more than 12 inches (304.8 mm) from the
targe
t assembly, and point the red lens of the
transmitter at the RECEIVE ACKNOWLEDGE LED.
The range will be restricted in direct sunlight or
extremely high illumination areas.
Battery Installation and Replacement
CAUTION
Perform the following in a known safe area.
1. Remove the four screws from the bottom and
carefully open the case, keeping the top in
close proximity to the bottom so as not to
strain the interconnecting cable. Retain the
front plastic shield that is loosely held by
the top and bottom slots.
2. Note the polarity markings inside the holder,
and install a 9 Volt Alkaline Duracell, Inc.
MN1604 or an Eveready No. 522 type
battery in the battery holder. Properly
dispose of the battery.
3. Before re-assembling the case, individually
press each of t
he four keys, and verify that
the TRANSMIT LED lights in a blinking
pattern.
4. If it has been removed, place the front plastic
shield into its lower slot, and carefully align
it with the corresponding slot in the top
cover.
5. Re-install the four screws.