with the applicable requirements of the National Electrical Code
and/or any other local code requirements.
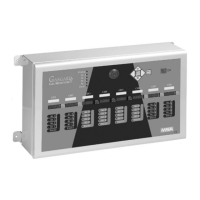
Visual Outputs
The unit comes equipped with the following visual alarms:
• front-panel LEDs for Fault, Caution and Warning (standard):
• Latched Alarms cause the front-panel LED to flash
• Unlatched Alarms cause the front-panel LED to turn ON.
Also, up to two top-mounted strobes can be added (optional):
• amber (follows Warning settings)
• red (follows Alarm settings)
Wiring for these options is factory-performed at time of purchase.
Horn/Alarm Acknowledge Button
• A reset push-button is mounted on the enclosure exterior.
• An internally-mounted terminal strip allows the user to wire an
external reset button.
• The reset button silences the audio horn and resets any latched
relays or alarms with alarm setpoints no longer exceeded.
• The reset button silences the horn but not the beacon(s) when
the alarms are latched and the gas concentration is still above
the alarm setpoint.
If installing a RESET push-button:
1. Route a two-conductor cable to terminal block TB13.
• Route this cable with DC power to avoid noise
interference from relay wiring.
2. Connect the two-conductor cable to the two positions of the
N/O momentary switch.
3. Identify the cable to enable proper connection at the button.
4. Route the cable to the push-button location; wire the button.
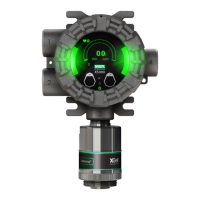
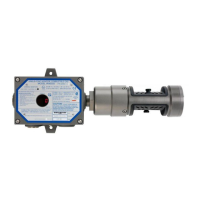
Remote Sensors
Electrical Connections for the Remote Sensor
Module
"
WARNING
Before wiring the Toxgard II Remote Sensor Module, disconnect the
power source feeding the Remote Sensor Module and the Toxgard
Chapter 1, Set-up
1-16
 Loading...