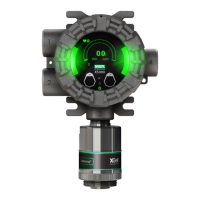
At the Toxgard II Remote Toxic Sensor Location
1. Open the Toxgard II Remote Sensor cover by unscrewing it.
"
WARNING
Before removing the cover of an explosion-proof Toxgard II Remote
Sensor, verify that the surrounding area does not contain a
flammable mixture of combustible gas and air since a source of
ignition is exposed; otherwise, an explosion may occur if a metal
object contacts the circuitry and produces sparks.
2. Route the cable from the Toxgard II Monitor through the
conduit opening and wire it to the terminal block in the
bottom of the sensor.
3. Verify the identity of each conductor cable and connect the
wire to the terminal block (FIGURE 1-10).
CONDUCTOR ID
TERMINAL BLOCK
LOCATION
ORANGE WITH
WHITE
1
WHITE WITH BLUE
3
WHITE WITH
ORANGE
4
WHITE WITH GREEN
5
GREEN WITH WHITE
7
BLUE WITH WHITE
8
• There are no connections to positions 2 and 6 of the
terminal block within the remote sensor.
• Do not connect the shield at the remote sensor.
4. Screw the conduit or cable grip or gland into the conduit
opening; relieve any excess slack in the cable.
5. Re-install the Toxgard II Remote Sensor cover.
"
WARNING
Do not allow the cover to remain off of an explosion-proof Toxgard
II Sensor. Since a source of ignition is exposed, an explosion may
occur if a metal object contacts the circuitry and produces sparks
in an atmosphere of combustible gas.
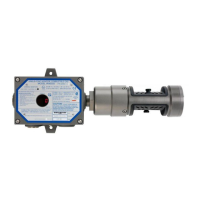
Pump Wiring
(FIGURE 1-12)
Dip Switch Settings
Many of the Toxgard II features can be set with the SW2 and
SW3 Dip Switches located on the main monitor printed circuit
Chapter 1, Set-up
1-22
 Loading...