procedure is complete, return these wires to their
original positions.
3. Remove the four screws from the face of the horn.
4. Carefully separate the body halves of the horn.
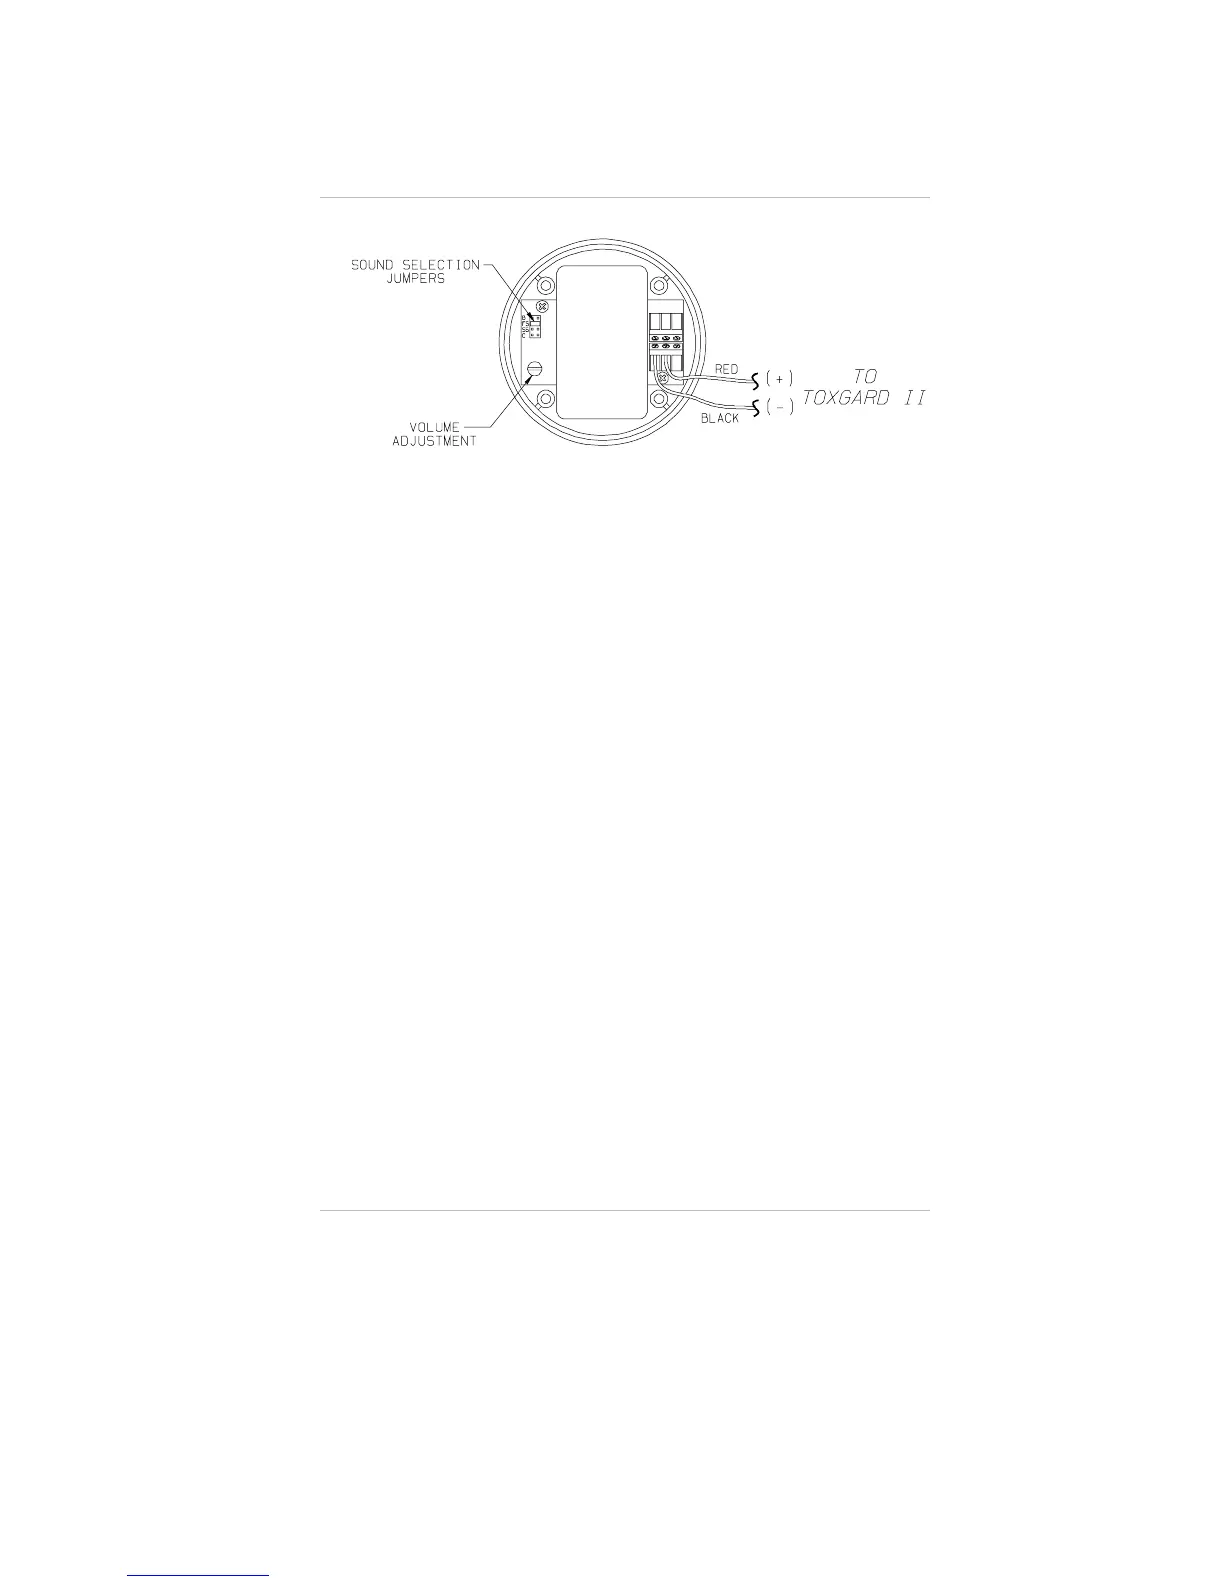
5. To change the sound of the Banshee Horn, move the
push-on jumper to the position to provide the desired
sound (FIGURE 1-13).
NOTE: The internal horn label shows which sound
corresponds with each position.
6. To change the volume of the Banshee Horn, use a small,
flat screwdriver to adjust the volume control shown on
FIGURE 1-13.
NOTE: The loudest volume is obtained in the fully
clockwise position.
7. When settings are complete, verify that the internal rubber
gasket lines up with the screw holes.
8. Carefully mate the two halves of the horn and place the
excess slack of the RED and BLACK wires inside the T.
9. Replace the four screws and tighten to ensure a
weatherproof seal.
10. Move the RED and BLACK wires connecting the horn and
the Toxgard II Monitor main pc board into their
original positions.
Figure 1-13.
Banshee Horn Audible Settings
Chapter 1, Set-up
1-31
 Loading...