49
Projector Adjustment and Connecting
• Step 1
“Attach the front cover and side cover”
If you have removed a cover, then attach the cover. Furthermore, if the covers are attached, check that they are attached
correctly.
When the covers are attached, “Tamper Fail” is cleared.
“Check that the equipment is correctly attached to slot”
If there are no devices mounted in slot, attach the blocking panel. Also, if a device is mounted in slot, check that it is
securely pushed all the way into the slot.
When the device is mounted correctly in slot, “Marriage Tamper Fail” is cleared.
• Step 2
“Log in to the projector with Advanced User or higher privileges using the buttons on the control panel”
Refer to “4-1-1. When You Use the Service Personnel Menu” (page 63) for details on logging into the projector with Advanced
User or higher privileges using the buttons on the control panel.
Once you login, “Service Door Tamper” is cleared.
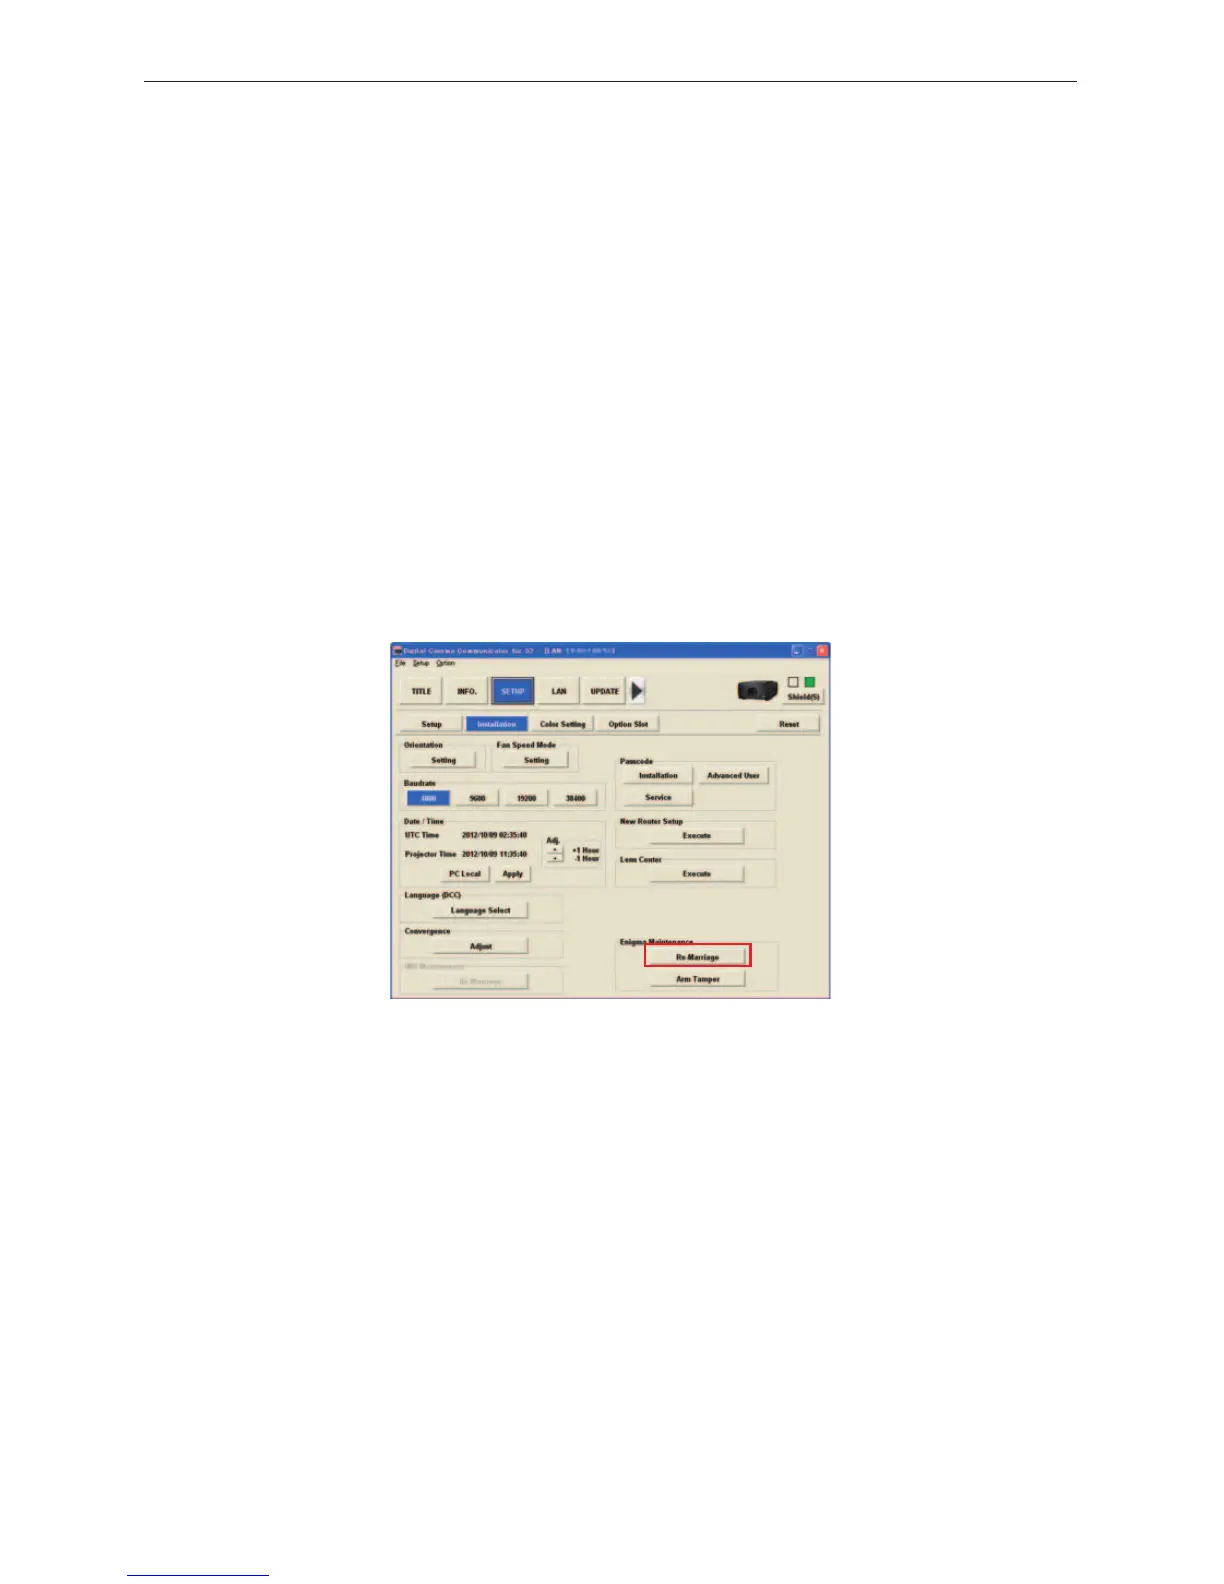
• Step 3
“Perform Re-Marriage using the Digital Cinema Communicator for S2”
DCC for S2 is used to perform re-marriage. Refer to “Digital Cinema Communicator for S2 Installation Manual” for details.

 Loading...


