Installing Options 5-19
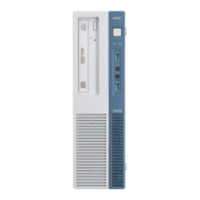
2. Align the tabs under the front edge of the cover with the
slots in the top edge of the chassis.
3. Pull the cover towards the rear of the chassis and set it
down over the chassis.
4. Check that the corners on the rear of the cover fit over the
back of the chassis.
5. Secure the top cover to the rear of the chassis with the
screw previously removed.
6. Replace the front panel (see “Replacing the Front Panel
— Minitower”).
7. Replace the side covers (see “Replacing the Minitower
Side Covers”).
Opening the Chassis Floor
Before replacing the system memory, processor, system
board, or expansion boards, you may need to open the hinged
chassis floor and slide out the system board for access to the
components.
To open the hinged chassis floor, use the following steps.
1. Remove the left side cover (see “Removing the
Minitower Side Covers”).
2. Swivel the two chassis feet inward, out of the way.
3. Place the system unit on its right side.
4. Remove the screw locking the chassis floor to the chassis
(see the following figure).
5. Grasp the top edge of the chassis floor and pull down to
open the floor. Opening the chassis floor also unplugs the
system board from its connector on the riser board.

 Loading...