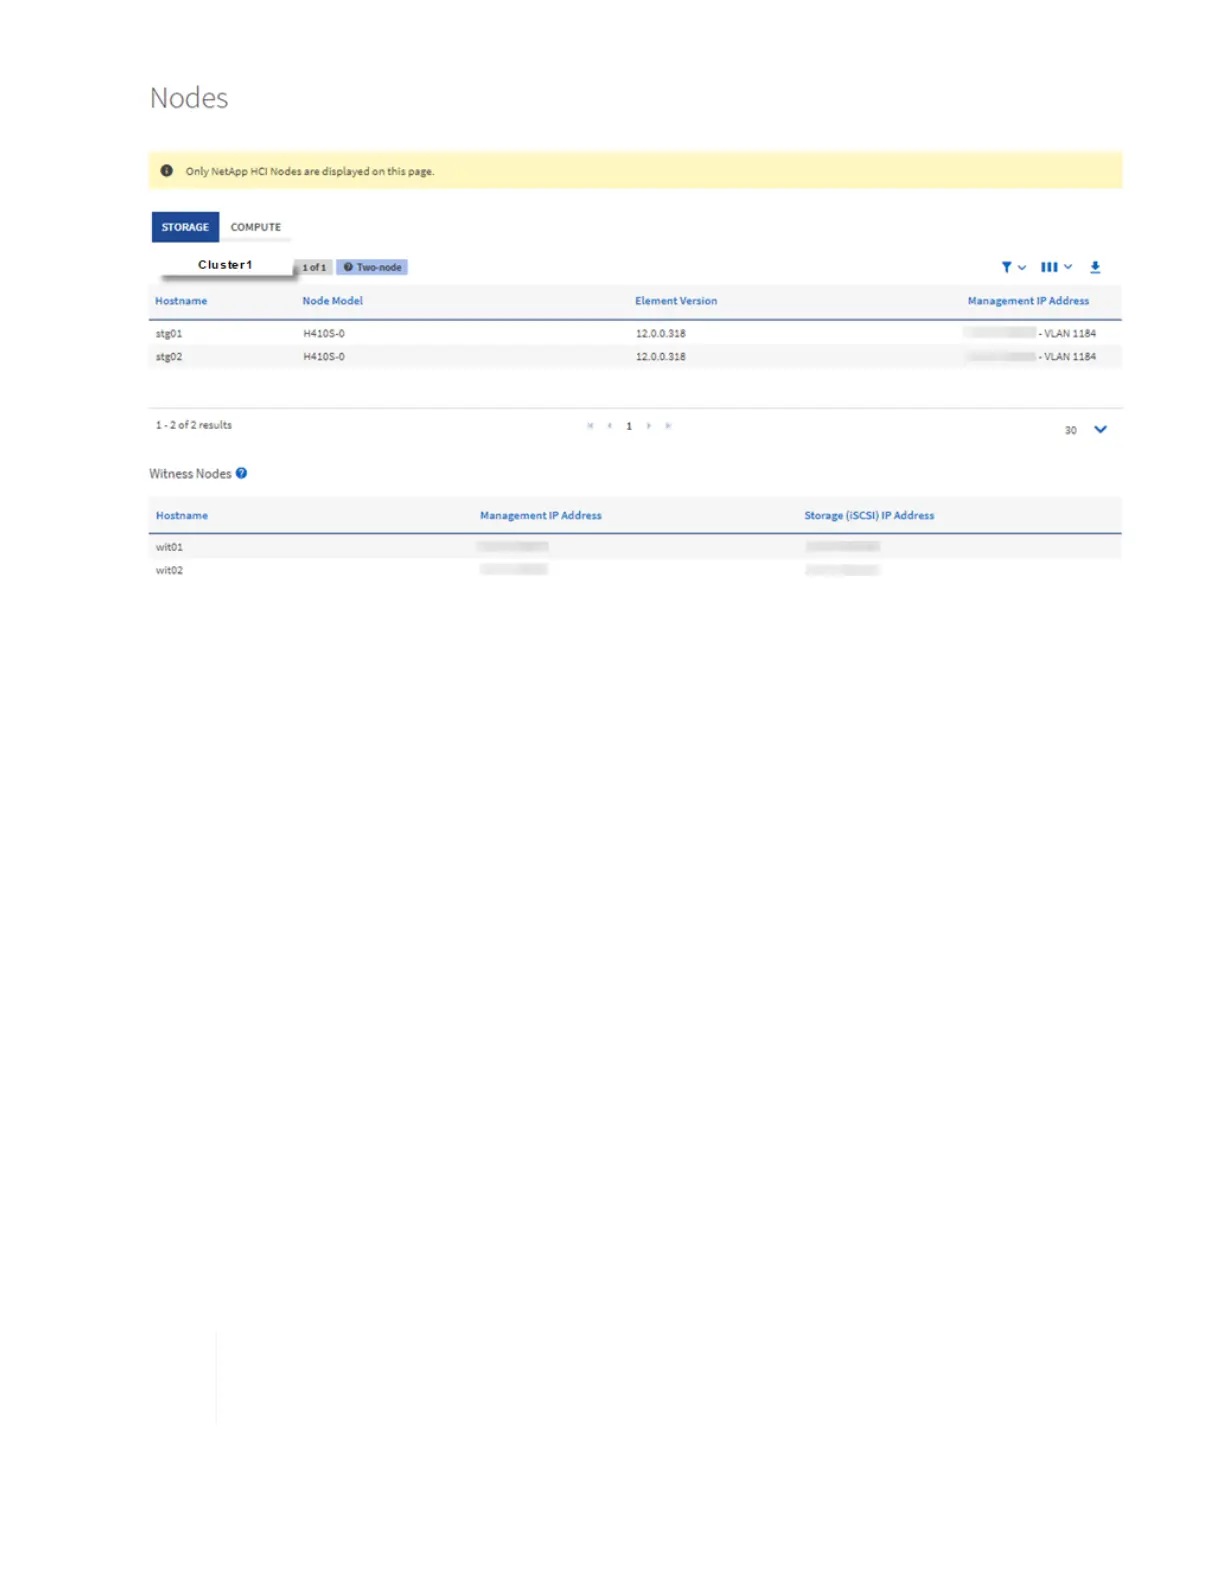
4. On the Storage tab of the Nodes page, review the following information:
a. Two-node clusters: A “two-node” label appears on the Storage tab and the associated Witness Nodes
are listed.
b. Three-node clusters: The storage nodes and associated Witness Nodes are listed. Three-node clusters
have a Witness Node deployed on standby to maintain high availability in the case of node failure.
c. Clusters with four nodes or more: Information for clusters with four or more nodes appears. Witness
Nodes do not apply. If you started with two or three storage nodes and added more nodes, the Witness
Nodes still appear. Otherwise, the Witness Nodes table does not appear.
d. The firmware bundle version: Starting with management services version 2.14, if you have clusters
running Element 12.0 or later, you can see the firmware bundle version for these clusters. If the nodes
in a cluster have different firmware versions on them, you can see Multiple in the Firmware Bundle
Version column.
5. To view compute inventory information, click Compute.
6. You can manipulate the information on these pages in several ways:
a. To filter the list of items in the results, click the Filter icon and select the filters. You can also enter text
for the filter.
b. To show or hide columns, click the Show/Hide Columns icon.
c. To download the table, click the Download icon.
d. To add or edit the stored BMC credentials for a compute node with BMC connection errors, click Edit
connection settings in the error message text in the BMC Connection Status column. Only if the
connection attempt fails for a compute node, an error message is displayed in this column for that
node.
To view the number of storage and compute resources, look at the NetApp Hybrid Cloud
Control (HCC) Dashboard. See Monitor storage and compute resources with the HCC
Dashboard.
Find more information