4.
Node model Steps
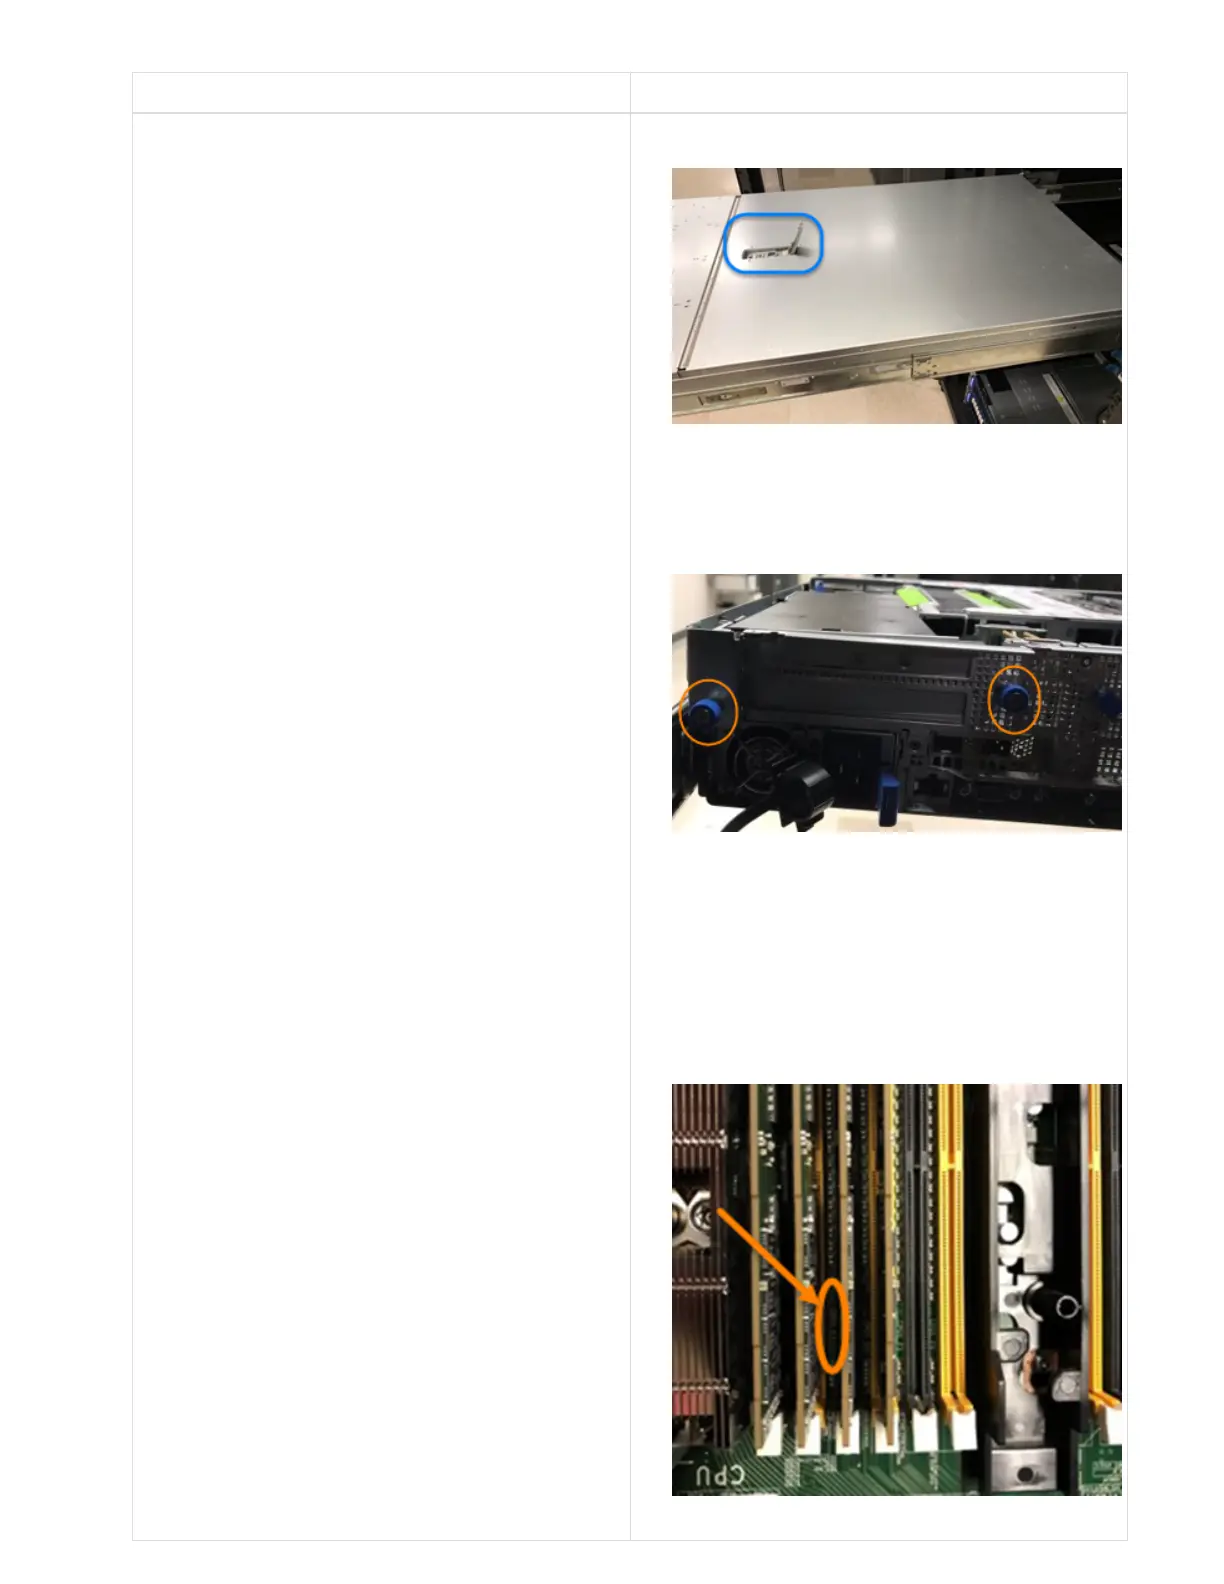
H610C 1. Lift the cover as shown in the following image:
2. Loosen the four blue lock screws at the back of
the node. Here is a sample image showing the
location of two lock screws; you will find the
other two on the other side of the node:
3. Remove both PCI card blanks.
4. Remove the GPU and the airflow cover.
5. Find the failed DIMM by matching the slot
number/ID you noted earlier with the numbering
on the motherboard. Here is a sample image
showing the location of the DIMM slot numbers
on the motherboard:
Press the two retaining clips outward, and
carefully pull the DIMM up.