Virtual Private Networking
120
N300 Wireless ADSL2+ Modem Router DGN2200v3
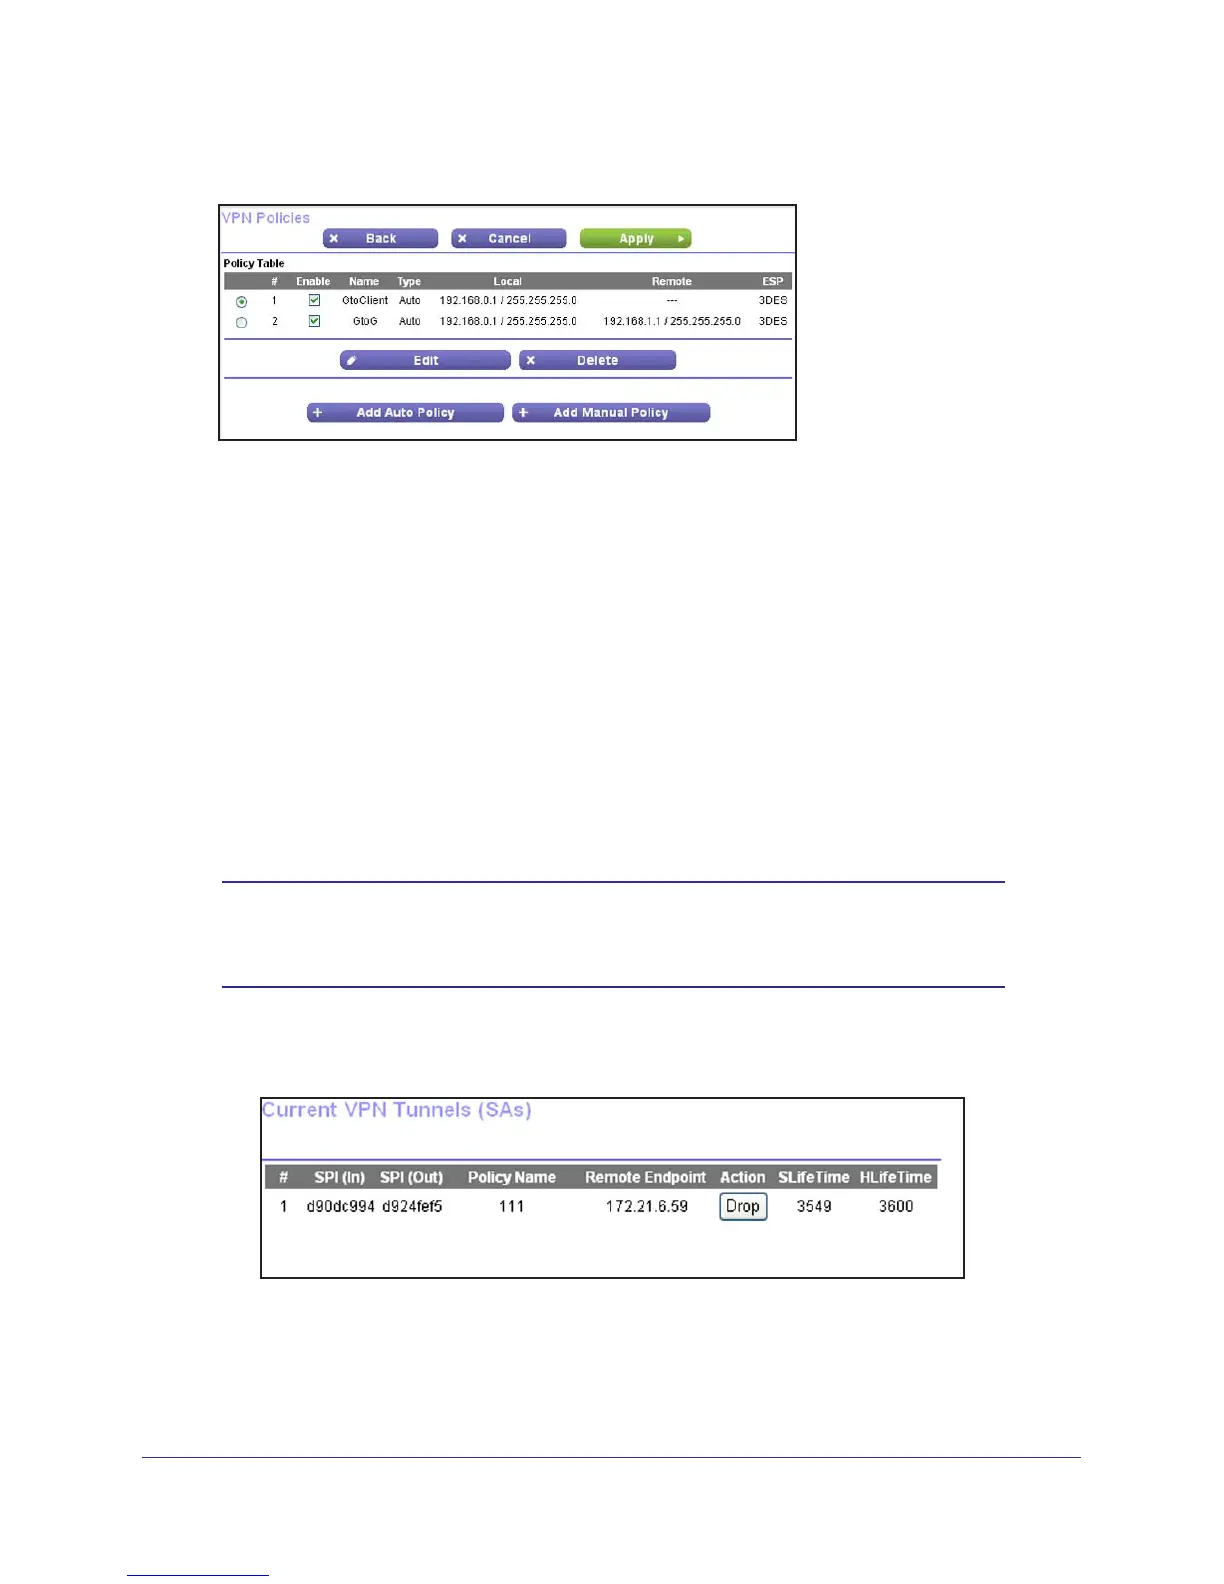
9. The VPN Policies screen displays, showing that the new tunnel is enabled.
Note: See Use Auto Policy to Configure VPN Tunnels on page 125 for
information about how to enable the IKE keepalive capability on an existing
VPN tunnel.
10. Repeat these steps for the gateway o
n LAN B, and pay special attention to the following
network settings:
• W
AN IP of the remote VPN gateway (for example, 14.15.16.17)
• LAN IP settings of the remote VPN gateway:
- IP address (for example, 192.168.0.1)
- Subnet mask (for example, 255.255.255.0)
- Preshared key (for example, 12345678)
11. Use the VPN Status screen to activate the VPN tunnel by performing the following steps:
Note: The VPN Status screen is only one of three ways to active a VPN
tunnel. See Activate a VPN Tunnel on page 121 for information
about the other ways.
a. Select Advanced >
Advanced - VPN > VPN Status, and click the VPN Status button
to display the Current VPN Tunnels (SAs) screen:
b. Click Connect for the VPN tunnel you want to activate. View the VPN Status/Log
screen to verify that the tunnel is connected.
 Loading...