GEO S12 HARDWARE SETUP PROCEDURE Page 35/106
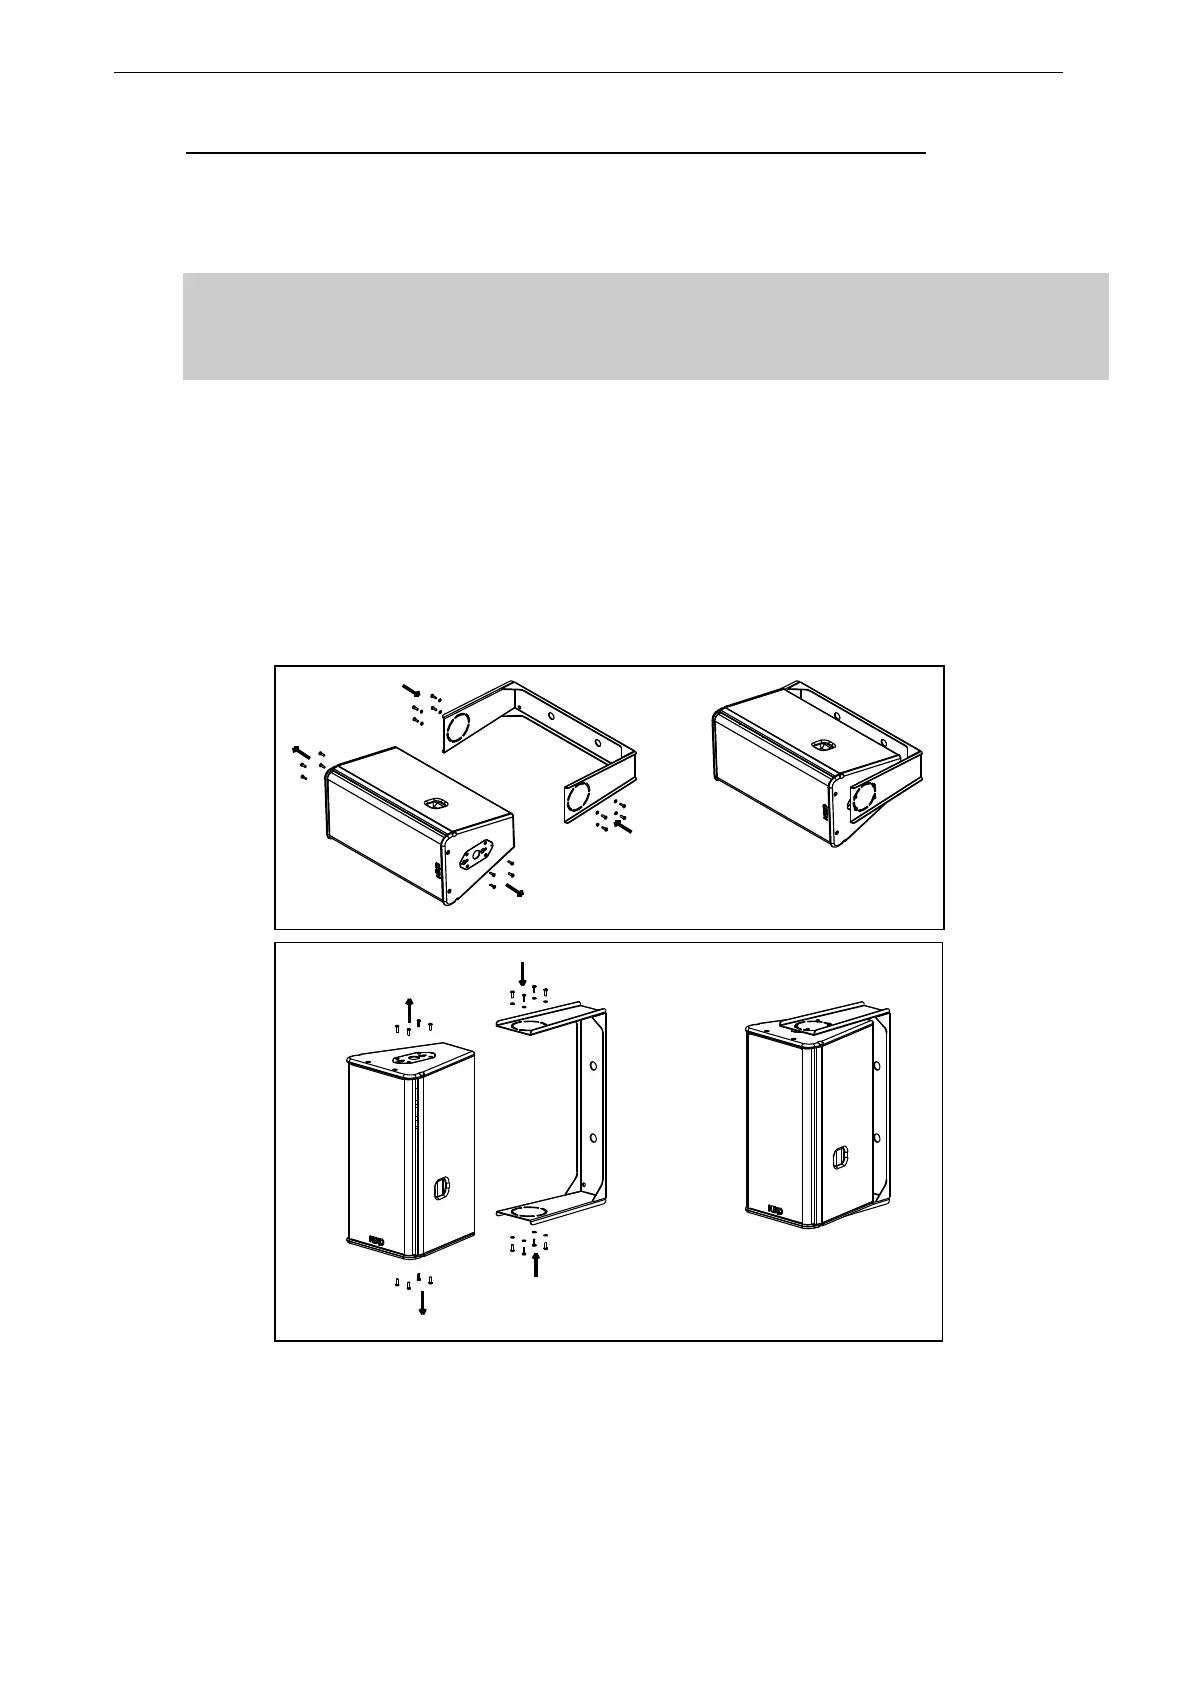
8.3.2 Single GEO S12 rigidly mounted on a wall or a ceiling (vertical or horizontal)
Required items
1 x GEOS12-UBRK (allows all angles to be implemented)
4 x 12mm diameter screws (not provided)
IMPORTANT
Ensure that the surface – wall or ceiling – is strong enough to hold 4 times GEO S12
weight and that the for screws 12mm diameter and corresponding plugs required to fix
the “U” bracket on the wall or under the ceiling are properly dimensioned.
Procedure
For screws 12mm diameter (not provided) are required to secure the “U” Bracket on the
wall or ceiling;
Remove the four TORX screws holding connector plates on both sides of GEO S12;
Position the GEO S12 inside the “U” Bracket to desired angle; “U” bracket oblong holes
must be properly aligned with panels holes;
Apply Loctite 243 or equivalent to the eight screws and washers from VNI-UBRK12 kit;
Connect “U” bracket to cabinet with these screws.