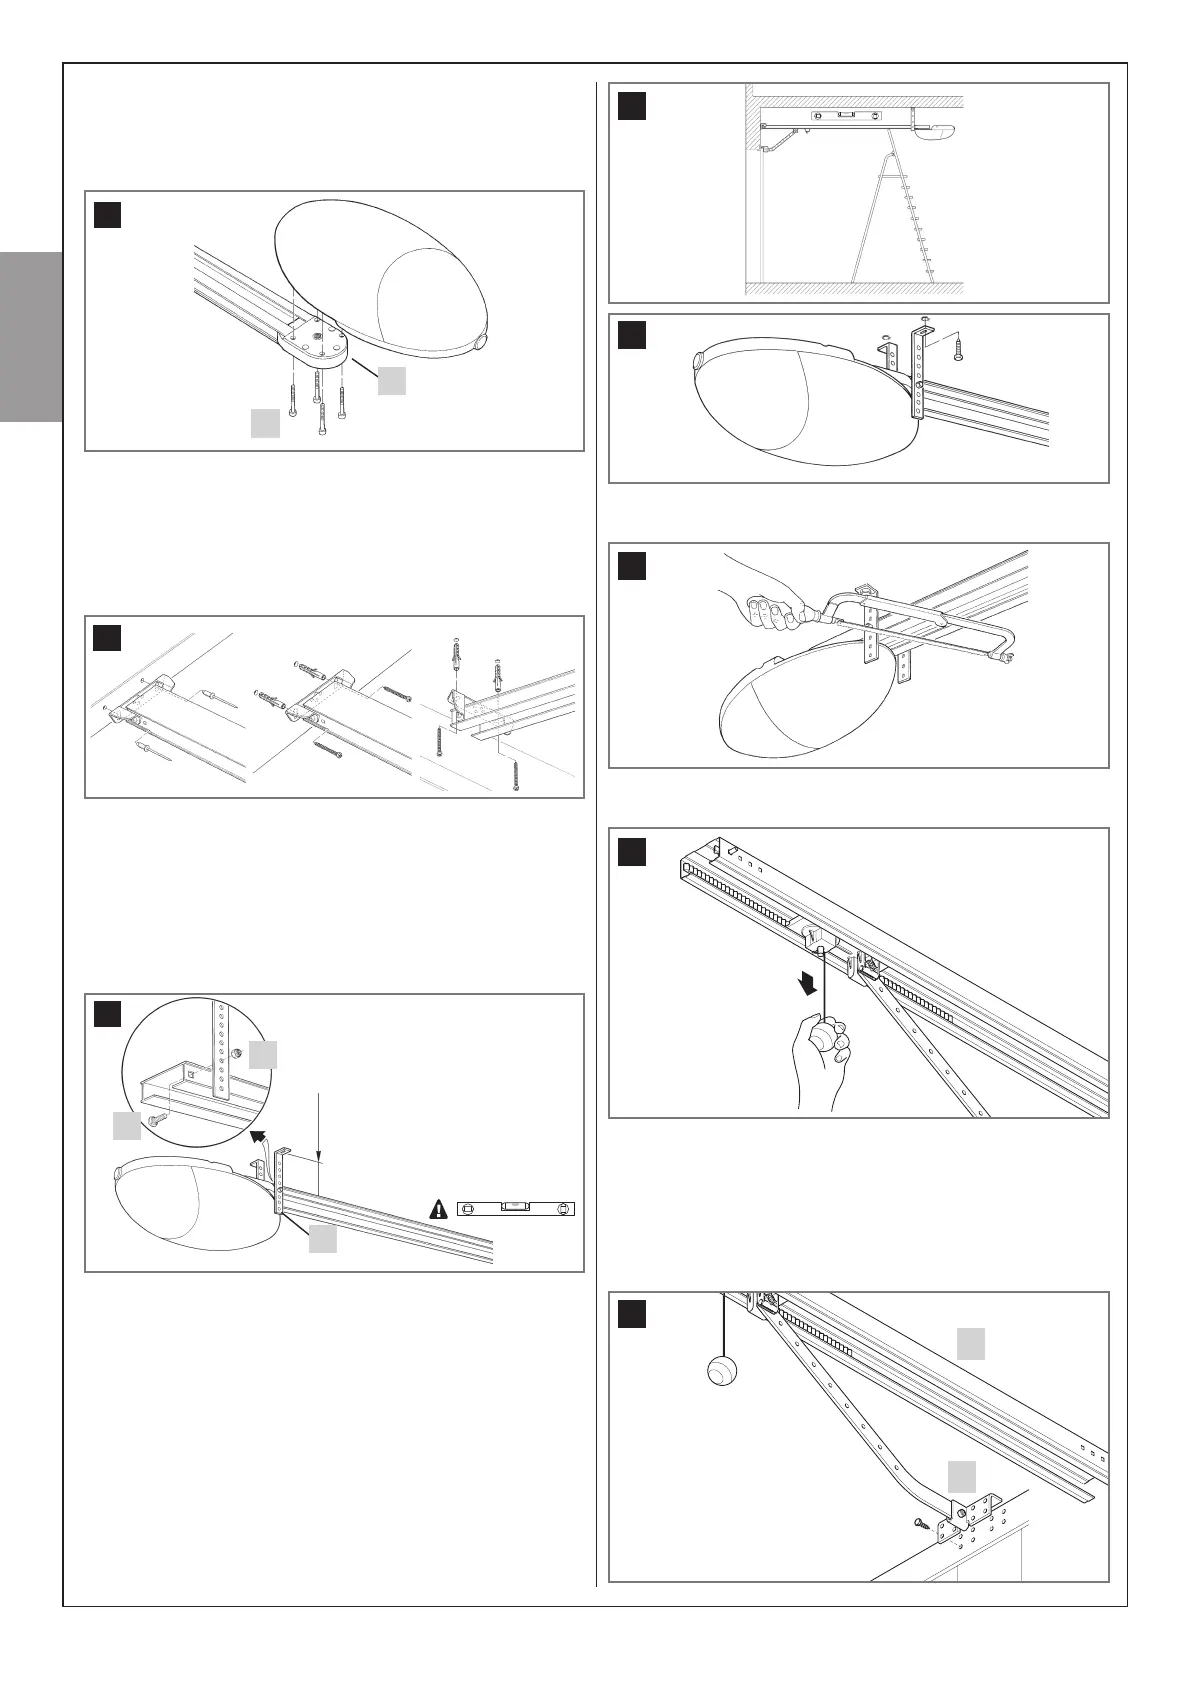
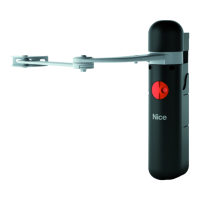
3.2.2 – Fitting the gearmotor to the guide
01. FittheAVIO500gearmotoroutputshafttotheguidehead[A]
andsecureusing4M6.3x38screws[G](g. 14).Thegearmotor
rotatesandcanbepositionedinthreedifferentways(g. 3).
3.2.3 – Mounting the gearmotor to the ceiling
01. OnthebasisofdistancesAing. 2,tracethetwoxingpoints
ofthefrontguidebracketatthecentreofthedoor.Onthebasis
ofthetypeofsupportsurface,thefrontbracketcanbexedwith
rivets,plugsorscrews(g. 15).IfdistancesA,BandC(g. 2 and
3)aresufcient,thebracketcanbexeddirectlyontotheceiling.
15
02. Afterdrillingtheholesintherelevantpoints,leavethegearmo-
torheadontheground,payattentionnottodamageit;thenlift
theguidefromthefrontsectionandpositionithorizontally(usea
bubblelevel)andxitbyusingtwoscrews,plugsorrivets,ac-
cordingtotheinstallationsurface.
03. Securethebrackets[H]usingthescrews[I]andnuts[L],se-
lectingtheholemostsuitedtoensuredistanceB,asshownin(
g. 16)
H
L
I
B
0÷400mm
16
04. Usingaladder,liftthegearmotoruntilthebracketsaretouch-
ingtheceiling.Tracethedrillingpointsandthenreturnthegear-
motortotheground.
05. Drill at theoutlined points and then, using a ladder, lift the
gearmotoruntilthebracketsareplacedagainstthedrilledholes
(g. 17)andsecureusingscrewsandplugssuitedtothesupport
surface(g. 18).
A
G
14
17
18
06. Ensurethattheguideisperfectlyhorizontal,thencutoffthe
excesssectionofthebracketswithasaw(g. 19).
19
07. Withthedoorclosed,pullthecordtoreleasecarriagefrom
theguide(g. 20).
20
08. Slidethecarriageuntilthedoorconnectingbracket[N](g.
21)ontheupperedgeofthedoorisperfectlyperpendicularto
theguide.
09. Thenxthedoorattachmentbracket[N]withscrewsorrivets
(g. 21).Usescrewsorrivetssuitableforthedoormaterialand
checkthat theycansupportalltheeffortrequiredtoopenand
closethedoor.
N
O
21
10–English
English