Chapter 5 Laser Unit
5.3 C-LU3EX Three-laser Unit EX
1-132
Adjusting the He-Ne laser and 405 cylindrical laser
1. Install the dichroic mirror centering tool (for the EX)
on the dichroic mirror unit.
2. Open the shutters for the He-Ne laser and 405
cylindrical laser (Set to OPEN position). Open the
He-Ne laser optical path shutter on the laser unit.
The shutter can be kept open by inserting an Allen
key here.
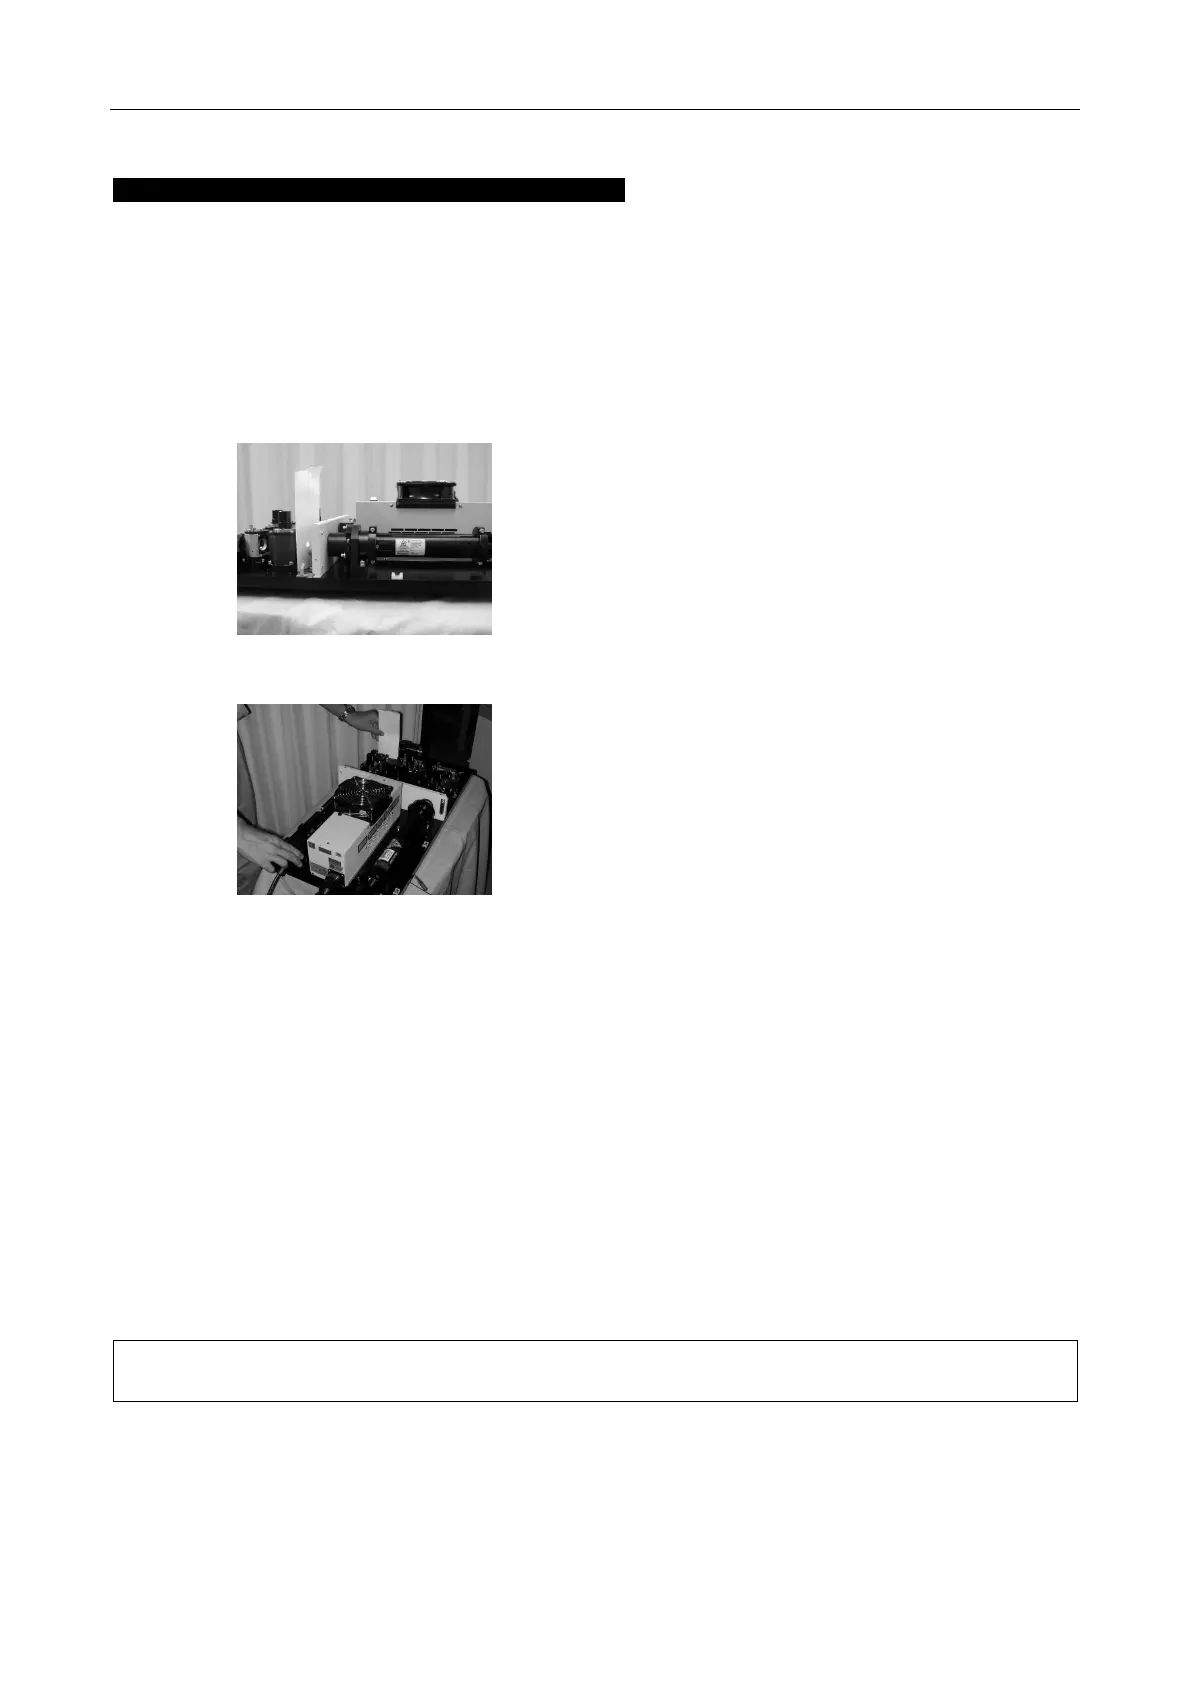
Figure 5.3-25
3.
djust the 405 cylindrical laser orientation so that the
beam cross-section forms an upright ellipse.
Figure 5.3-26
4.
djust by moving the rear mount with the front mount
fixed so that the laser beam passes through the
center of the dichroic mirror centering tool opening
(for the EX). If this cannot be accomplished by
moving just the rear mount, the front mount may also
be moved.
5. On the continuous control range, turn the light control
knob to MAX. Confirm that the optical path is
completely clear.
After checking, return the knob to MAX in the step
control range to adjust the laser. (See step 2 in 5.3.1)
6. Tighten the two sleeve-retaining screws below the
center, leaving the sleeve-retaining screw above the
center and the slot-tightening screw loose. This
permits later adjustment of laser polarization by
rotating the entire laser. (No polarization adjustment
is required for the 405 cylindrical laser.)
The centering tolerance should be within
approximately 0.2 mm.
7. Adjust the other laser in the same way.
8. Close the shutter on the laser unit.
• When the AOM unit will not be used, this completes the rough adjustment of the lasers. Proceed
to Section 5.3.4, “Laser Rough Adjustment 2.”