Chapter 5 Laser Unit
5.3 C-LU3EX Three-laser Unit EX
1-133
4
Attaching the AOM units
1. Turn off power to all units.
2. Remove the tape covering the openings on the AOM
units.
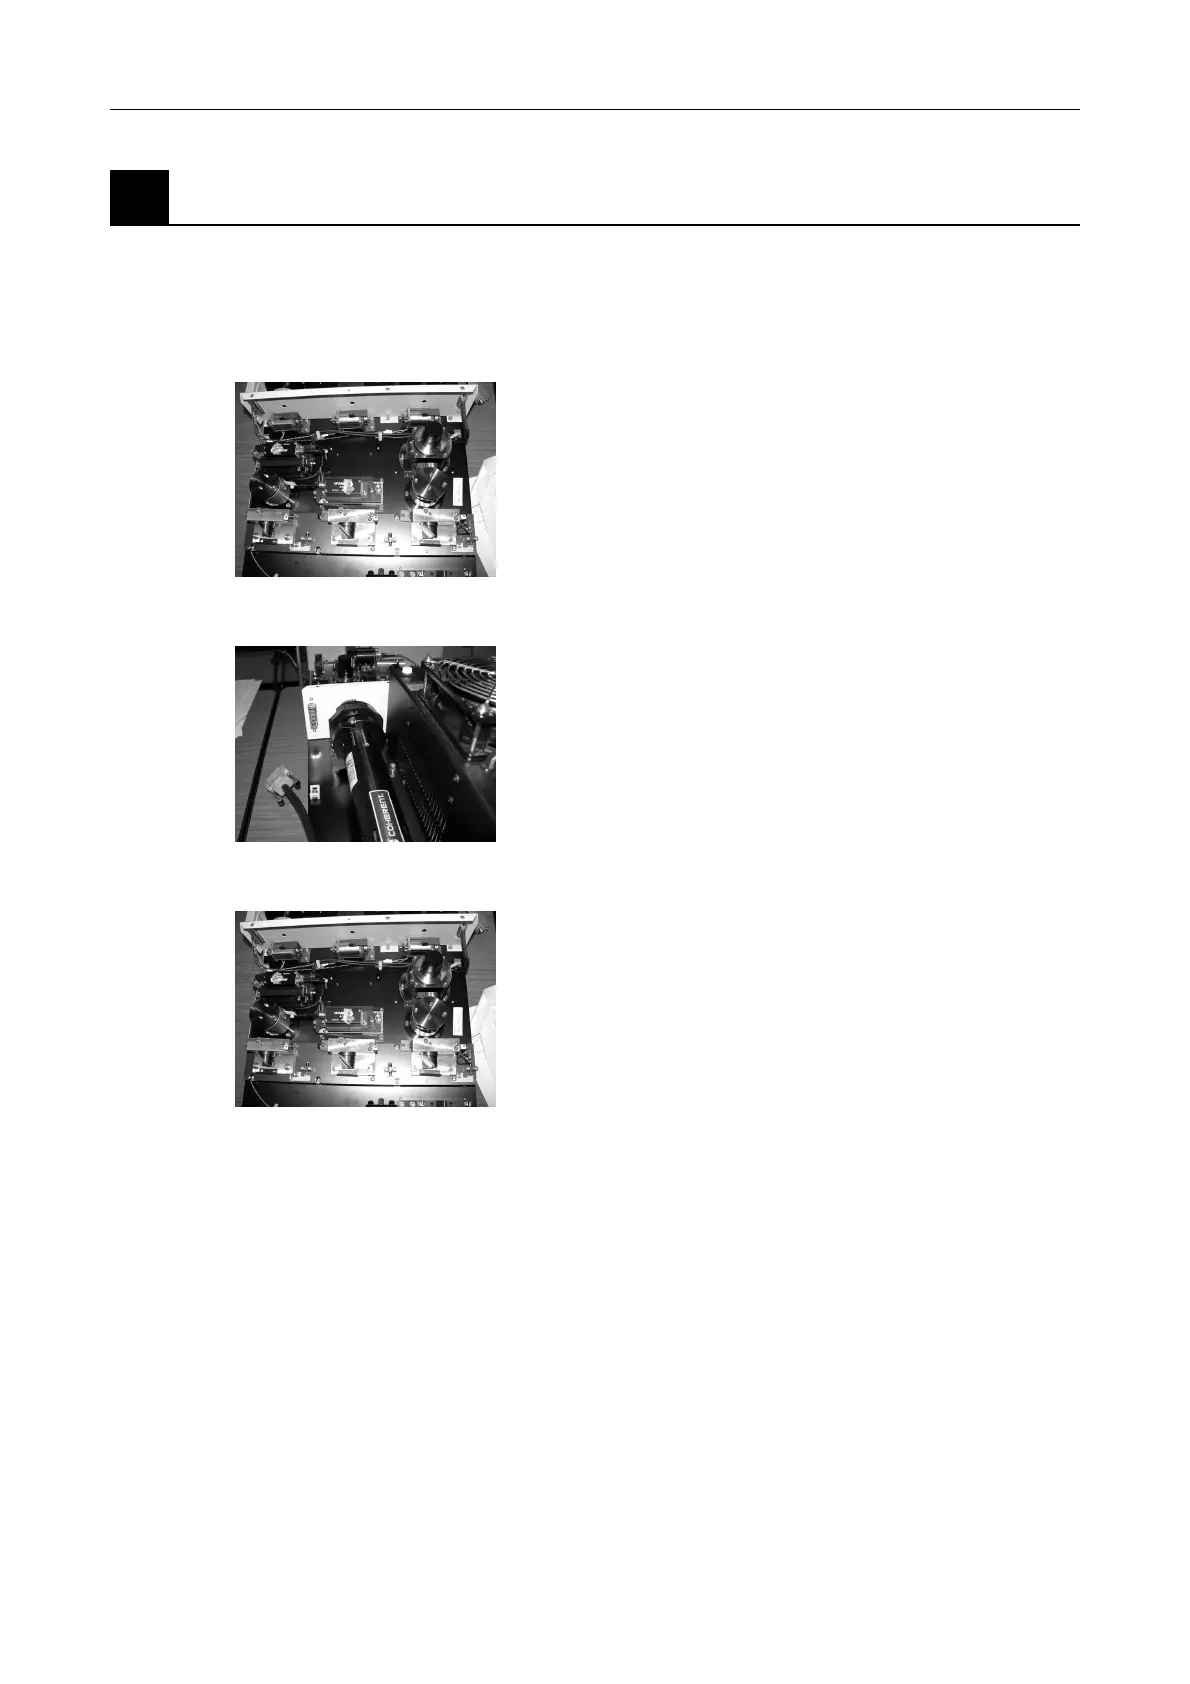
Figure 5.3-27
3. Detach the two light control units at which the AOM
units will be attached, and attach the two AOM units
using three screws provided.
Standard positions for attaching the AOM units are
those of the Ar laser unit and the G-HeNe laser unit.
Figure 5.3-28
4. Detach the metal plates of the laser unit and attach
the AOM cable connectors with panels.
Figure 5.3-29
5. Connect the AOM cables to the AOM units, routing
AOM1 to the Ar laser unit and AOM2 to the Green
HeNe laser unit.
6. Wire the cables as shown in the photograph and
secure with cable retainers.