Chapter 5 Laser Unit
5.3 C-LU3EX Three-laser Unit EX
1-134
5
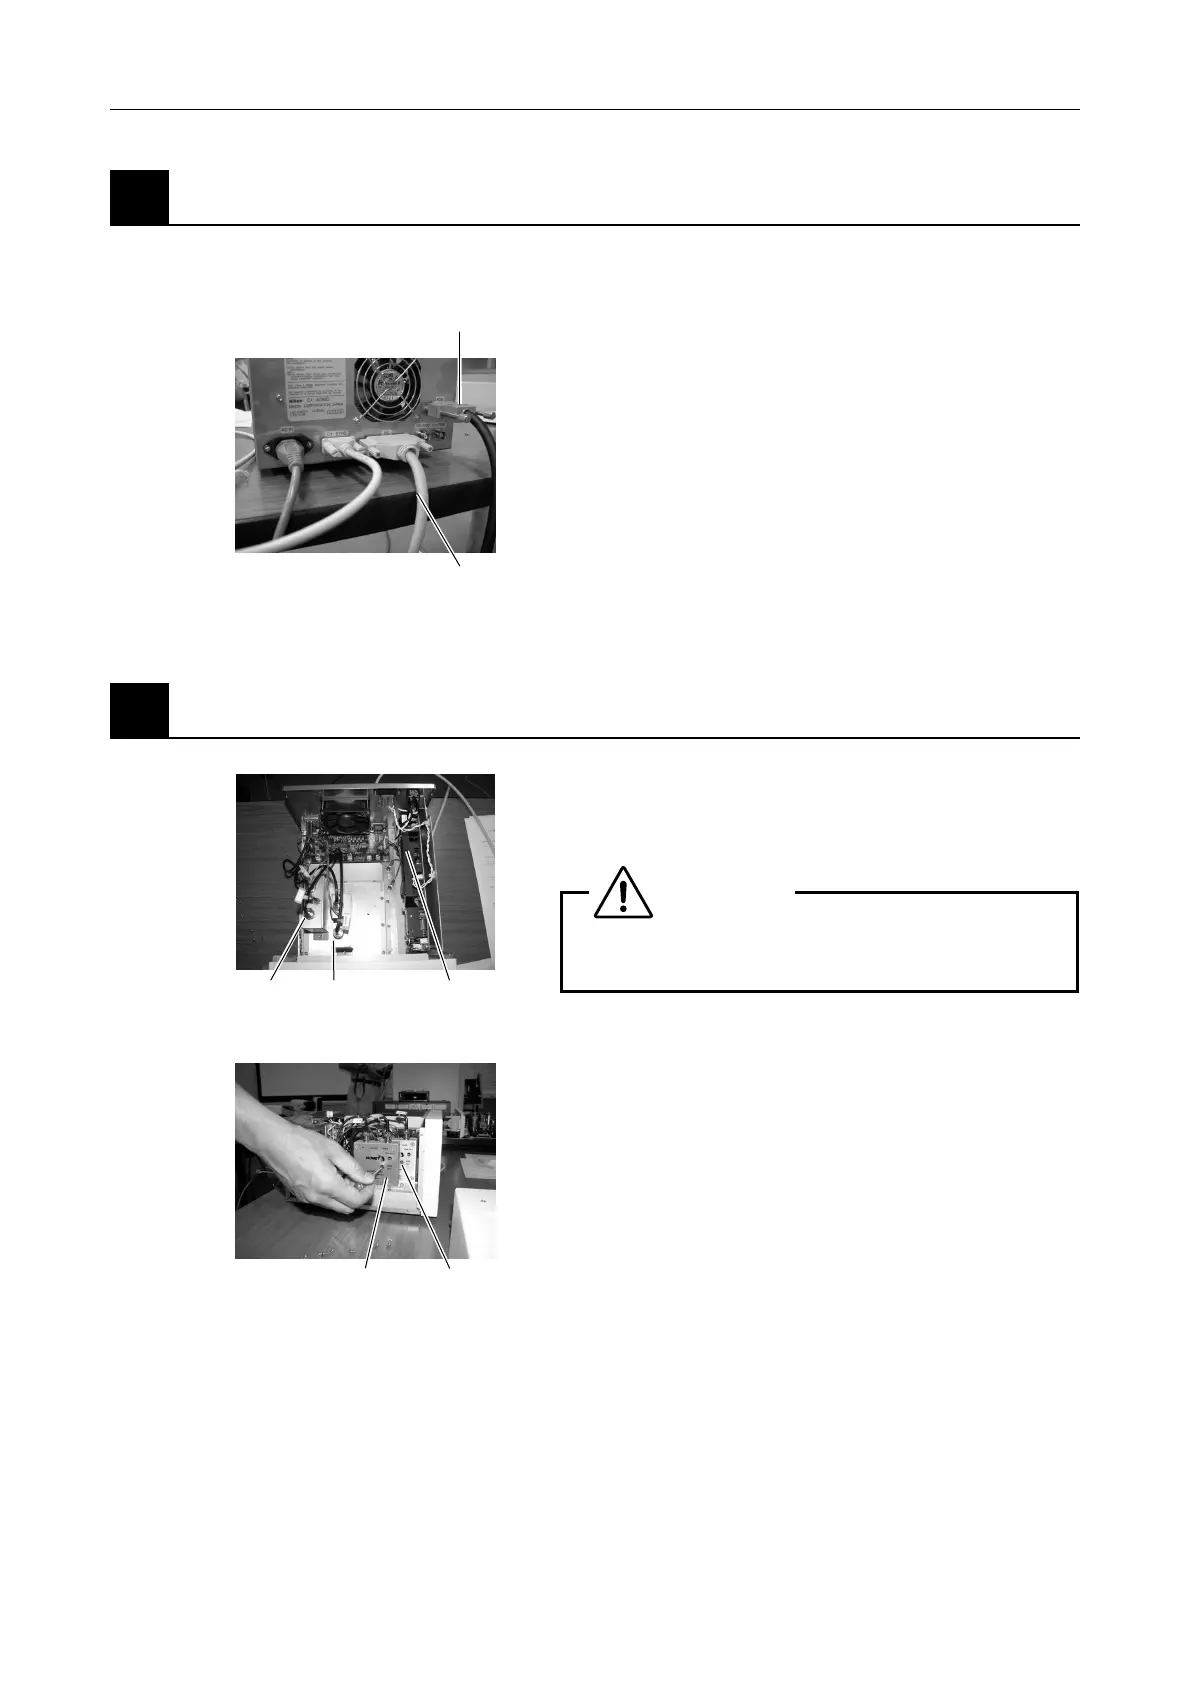
Wiring the AOM controller
1. Connect the AOM cable provided with the C1-AOM
AOM unit to the AOM connector of the AOM
controller and that of the laser unit.
Figure 5.3-30
2. Connect the PC cable supplied with the C1-AOM
AOM unit to the connector of the NI card attached to
your PC and the PC connector of the AOM
controller.
6
Adjusting the AOM controller volume
1. Confirm the AOM controller power switch is turned
off, then remove the screws and the AOM controller
cover.
CAUTION
To avoid electric shock, never touch the power
supply during the adjustment work.
Figure 5.3-31
Figure 5.3-32
2. Using the tip of a screwdriver, remove the silver caps
on the AOM driver's PWR volume (PWRADJ) and
BIAS volume (BIASADJ).
3. Insert the tip of a small screwdriver into the PWR
and BIAS volumes and slowly turn them all the way
counter-clockwise.
< for the new type of AOM >
The AOM controller units manufactured in and after
November 2008 do not have a BIAS adjustment but
a POWER adjustment.
AOM cable
PC cable
AOM1
AOM2
Power su
l
AOM1
AOM2