Chapter 5 Laser Unit
5.4 LU4A Four-laser Module A
1-185
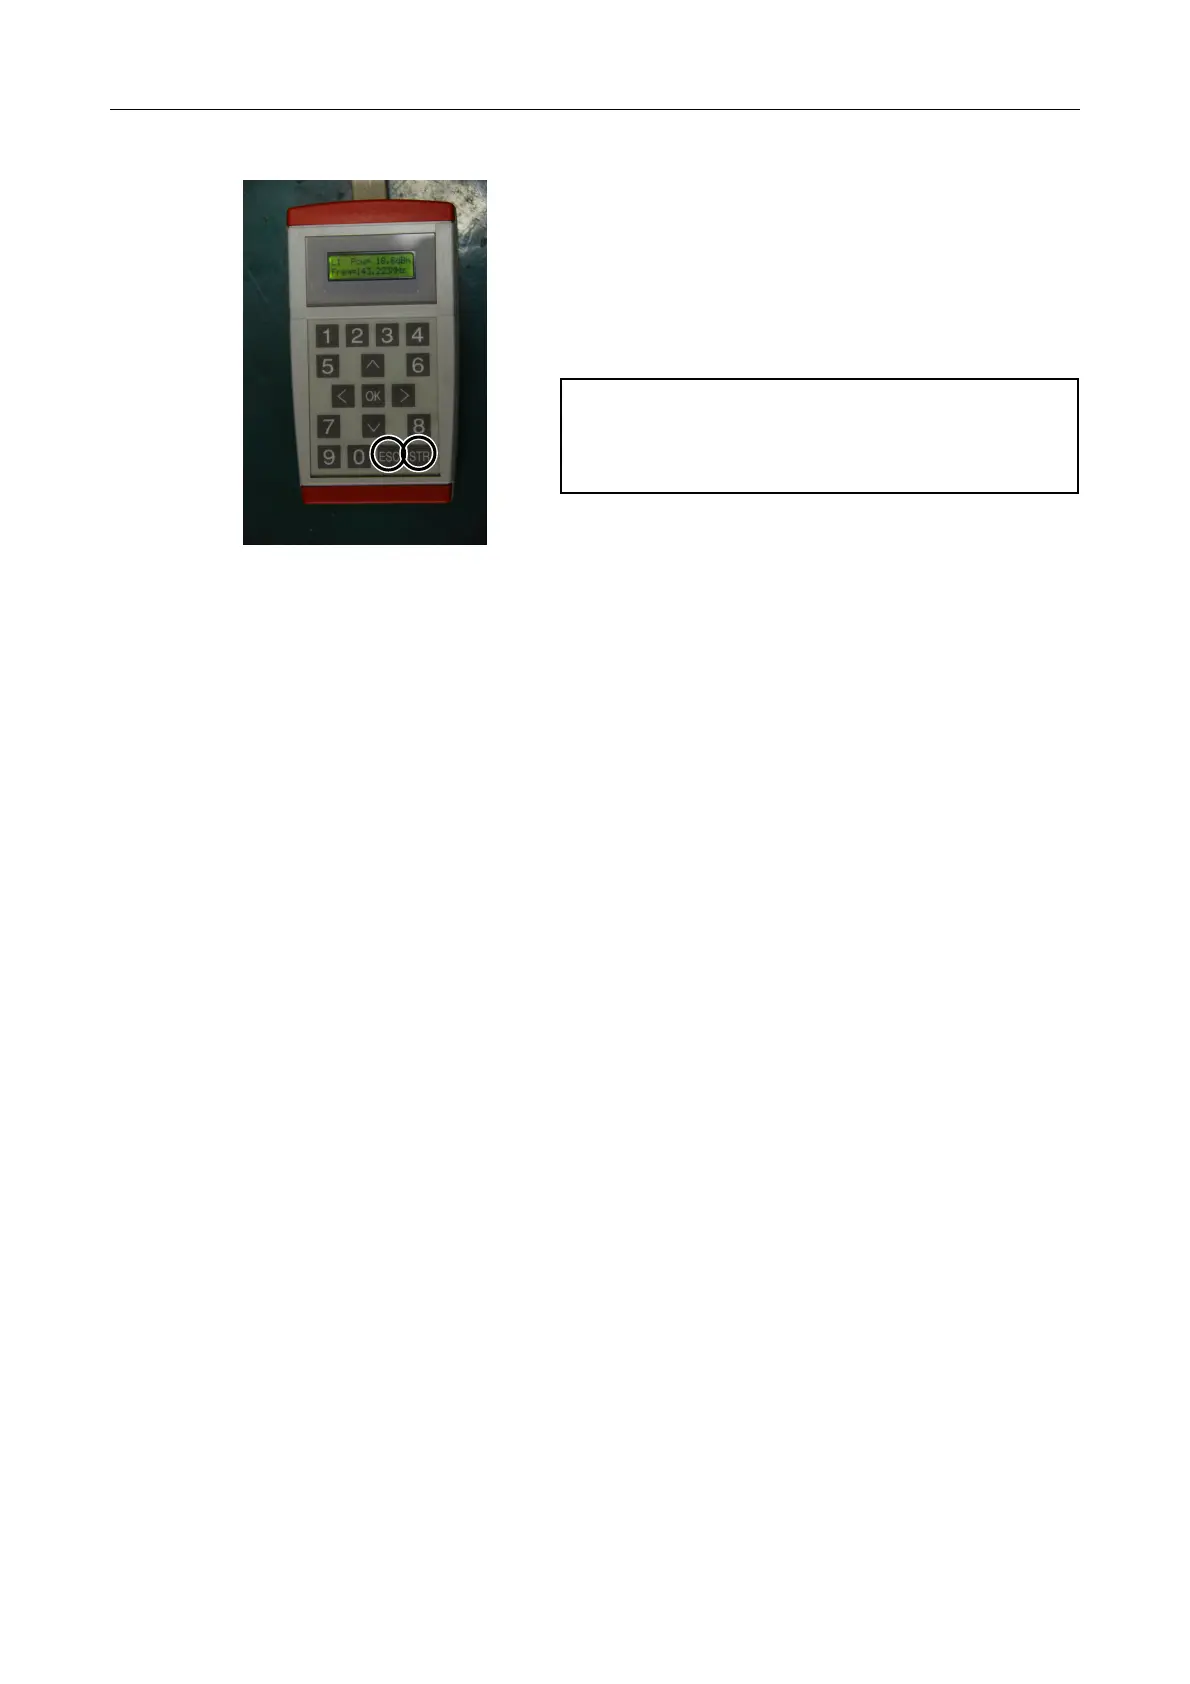
5. Press the [STR] key on the AOTF driver remote
controller after adjustments.
Settings are stored into the AOTF driver.
Press [ESC] key to again display the wavelength
number for the laser beam to be emitted. Another
press on the key turns the display to “external
mode.”
Precautions
Be sure to press the [STR] key after each
adjustment to store the settings. The settings will
not take effect unless the [STR] key is pressed.
Figure 5.4-82
6. Close the L3 laser shutter.
This is the end of the adjustment for the 457-nm laser.
7. Repeat steps 1 to 4 for other lasers; 477-nm Ar laser, 488-nm Ar laser, 514-nm Ar laser, green
HeNe laser, and 561-nm solid-state laser (and 405-nm (440-nm) laser and 638-nm laser for
LU4A).
For details about wavelengths and laser types for each [LINE], refer to "2. Connect the AOTF
driver remote controller" in Section 5.4.3, “Laser Rough Adjustment 1.”