Revision 2
9.
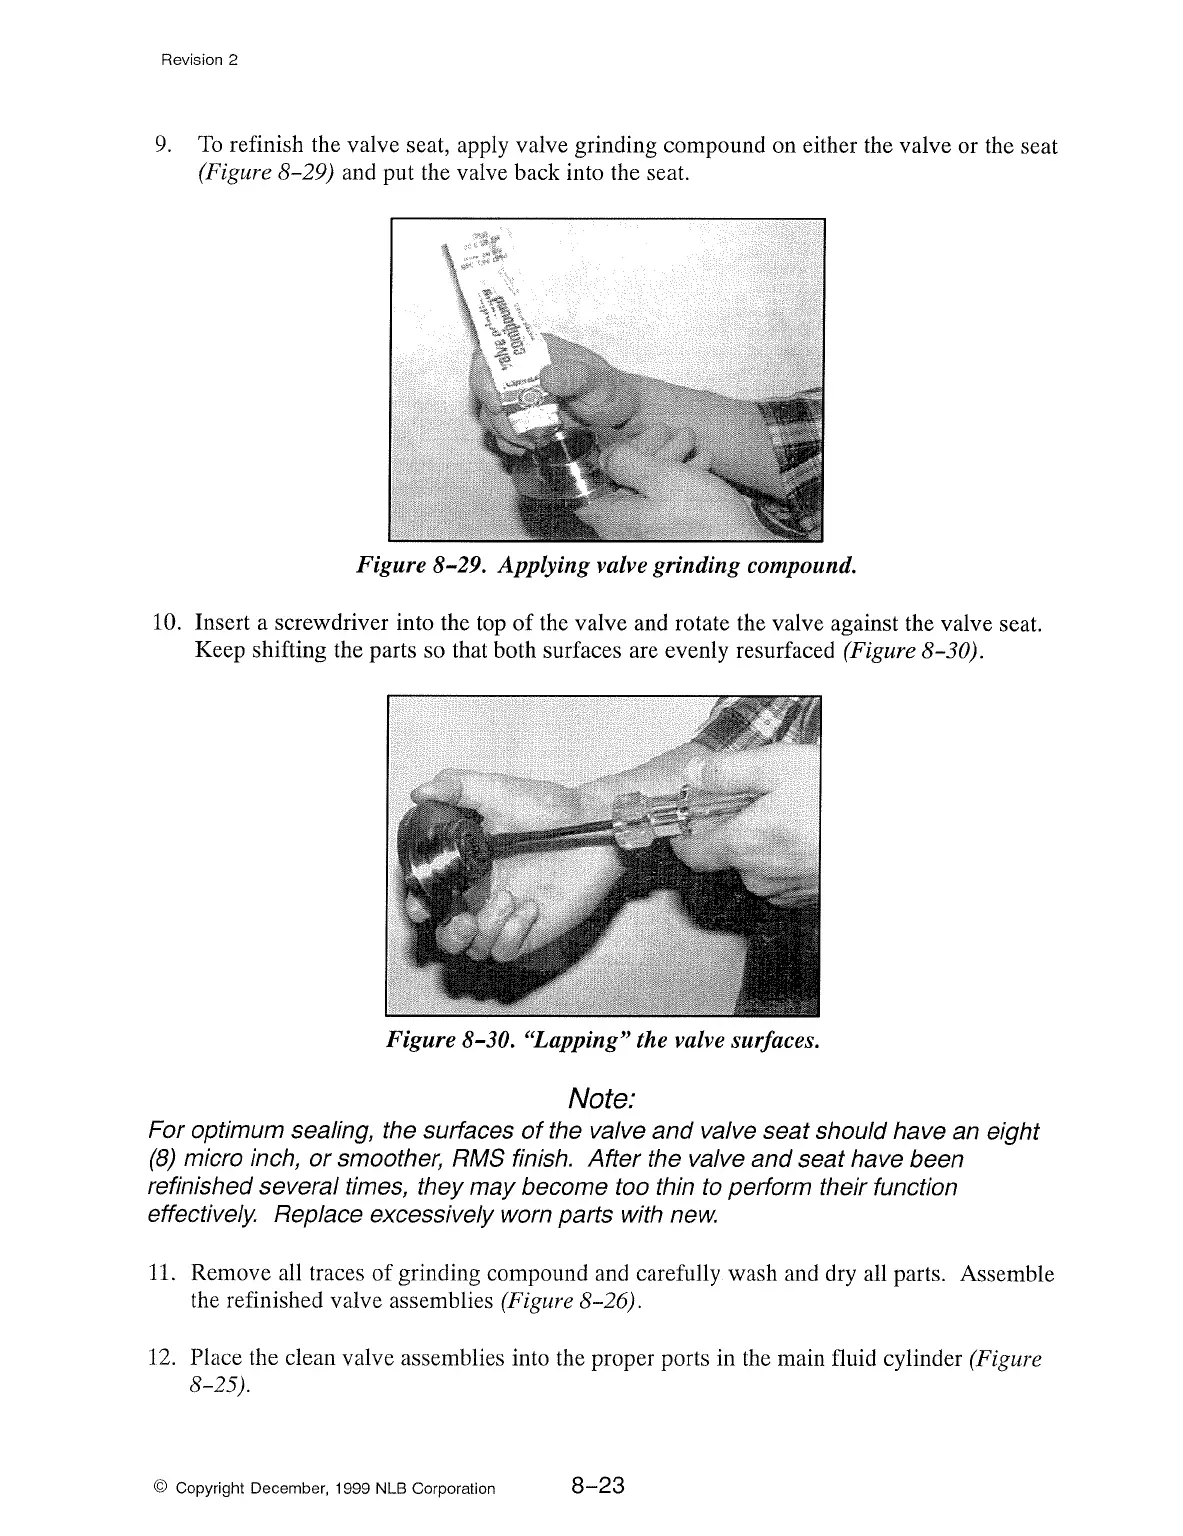
To
refinish the valve seat, apply valve grinding compound on either the valve or the seat
(Figure 8-29) and put the valve back into the seat.
Figure 8-29. Applying valve grinding compound.
10. Insert a screwdriver into the top
of
the valve and rotate the valve against the valve seat.
Keep shifting the parts so that both surfaces are evenly resurfaced
(Figure 8-30).
Figure 8-30. "Lapping" the valve surfaces.
Note:
For optimum sealing, the surfaces
of
the valve and valve seat should have an eight
(8)
micro inch,
or
smoother, RMS finish.
After
the valve and seat have been
refinished several times, they may become too thin
to
perform their function
effectively Replace excessively worn parts with new.
11.
Remove all traces
of
grinding compound and carefully wash and dry all parts. Assemble
the refinished valve assemblies
(Figure 8-26).
12.
Place the clean valve assemblies into the proper ports in the main fluid cylinder (Figure
8-25).
© Copyright December, 1999 NLB Corporation
8-23