UDO LP400 User Guide
_____________________________________________________________________________________________________
LP400 User Guide (02/11) v5.2
4
III. Switches, Indicators and Connections
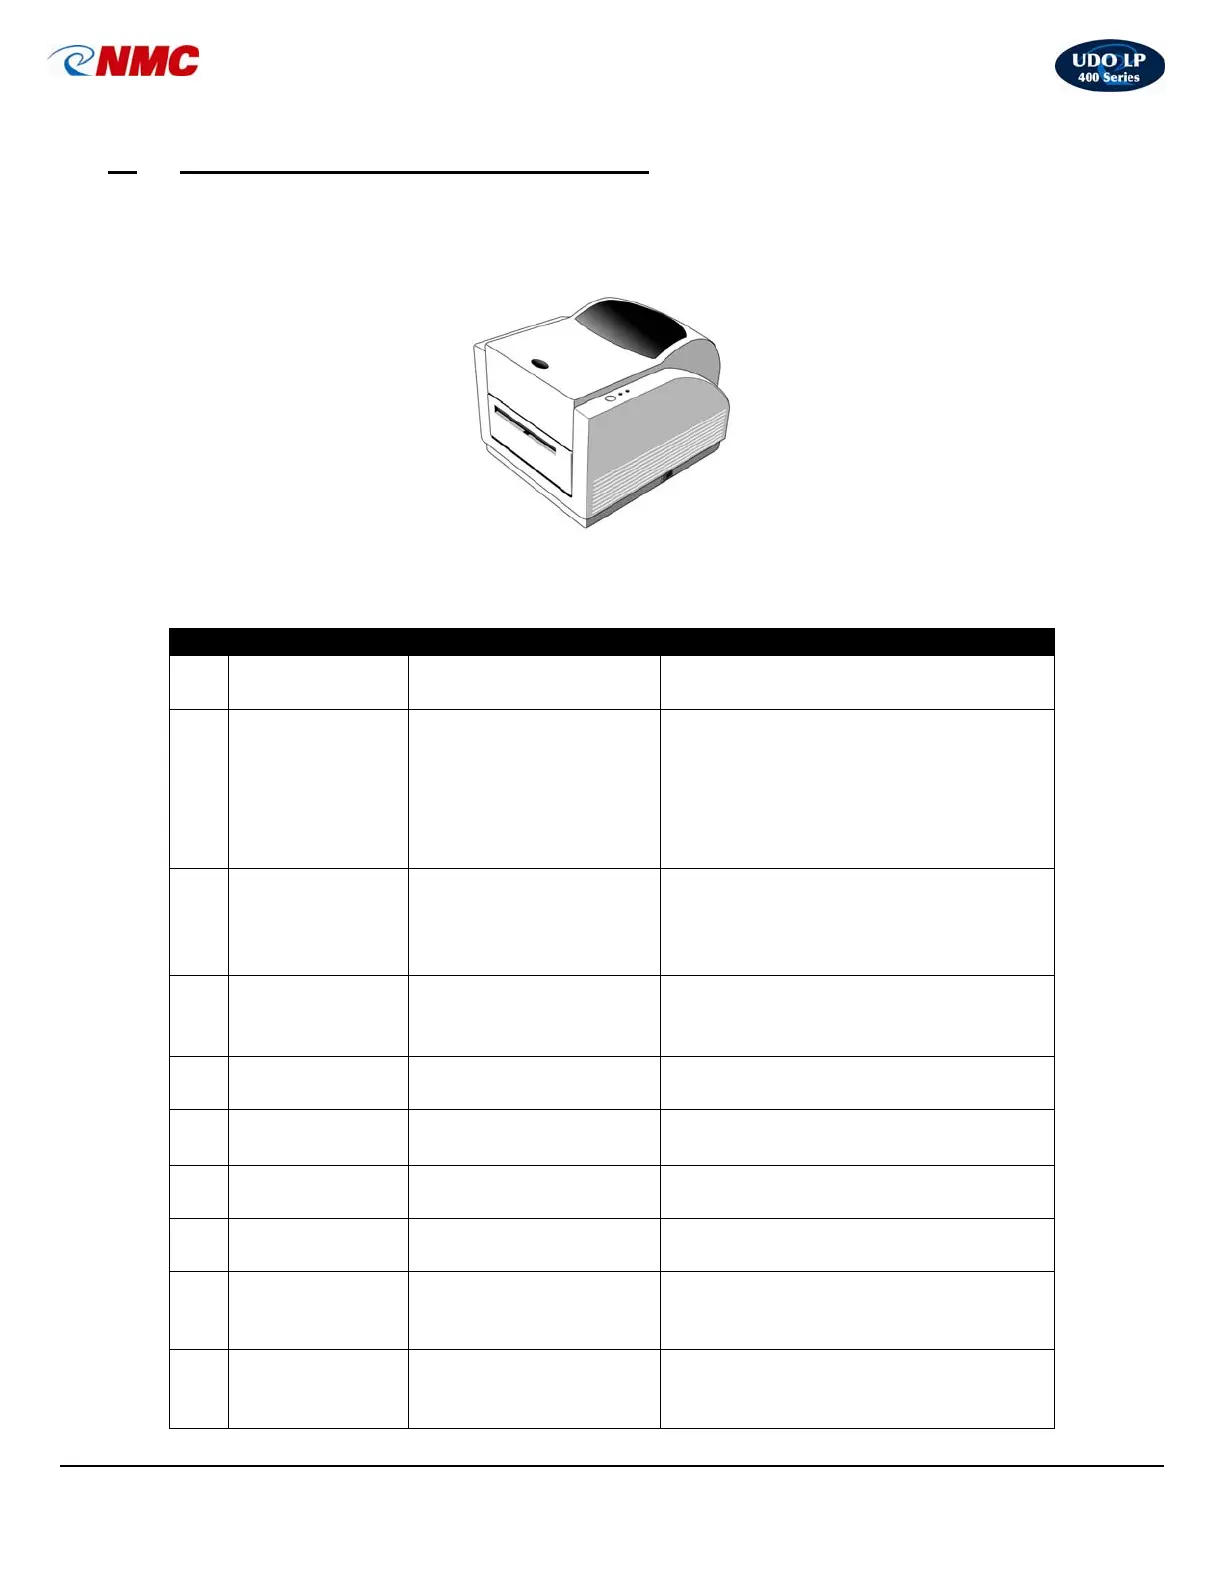
UDO LP 400 LABELMAKER
The table below summarizes the functions of the various printer switches (buttons),
indicators and connections (see diagrams on page 3).
No. Device Name Function Usage
1
ON / OFF
Switch
Controls printer power
On – Normal operating position
• Off – Loading media & ribbon
2 FEED Button
Advances vinyl &
ribbon
Press to advance label.
• Press & hold while turning on
printer to print out the self-test.
• Press to continue printing when
READY light is blinking.
• Press to resume printing.
3 READY Light
Shows the printer
status
Steady green light: the printer is
ready to operate.
• Blinking light: paused.
• Press ‘FEED’ button to continue.
4 POWER Light
Shows the power and
error status
Light off: printer power is off.
• Light on: printer power is on.
• Blinking light: printer error.
5
Power Jack
Connects the power
adapter to the printer
Power adapter plugs into the back
of the printer.
6
USB v2.0 Port
Communication port
• Printer port for USB connection.
7 Top Cover
Protects ribbon and
media
Access ribbon and media by lifting
cover.
8
Cutter /
Discharge
Cuts and discharges
labels
Rotating, self-sharpening blade
trims and discharges labels.
9
USB Cable
Connects PC to printer
Plug into computer USB port and
into printer to transfer information
from computer to printer.
10
Power Adapter
Connects power to
printer
To activate printer: Insert the plug
into the power source & the
opposite end into the power jack.