UDO LP400 User Guide
_____________________________________________________________________________________________________
LP400 User Guide (11/07)
31
B. Pipe Marker Label
This section will take you through the steps of how to design and print a directional
pipemarker label. For more in-depth information, click the ‘H
elp’ menu at the top of the
screen or contact NMC.
Designing this label will require you to incorporate both text and a symbol from the built-
in clipart gallery into your label.
1. Open the ‘F
ile’ menu and select ‘New’ to create a new label.
2. Select the Text tool (Fig. 6). Position the cursor on the label and click.
(Note: The ‘A’ will appear next to the cursor.) Type, in all caps, the text
WASTE WATER on one line. Click on the text box or on the label to select
the text box.
3. With the Text Box selected, Click ‘Increase Font Size’
icon from the
text toolbar (Fig. 6), select from the pull down menu or type in the size.
Increase the font size to 24.
4. With the Text Box selected, click the ‘Bold’ icon (Fig. 4), (just as you
would if you were using MS Word) from the Text Toolbar at the top of the
screen (Fig. 4).
5. With the Text Box selected, Click the ‘Rotate’ icon from the
Design/Alignment Tool Bar or select this option from the ‘T
ransformations’
menu and select ‘R
otate’ from the top menu. The Text Box will rotate 90°
counter clockwise (Fig. 6).
6. With the Text Box selected, hold down the ‘Ctrl’ button and Click ‘Bottom
Alignment’
icon from the Design / Alignment Tool Bar.
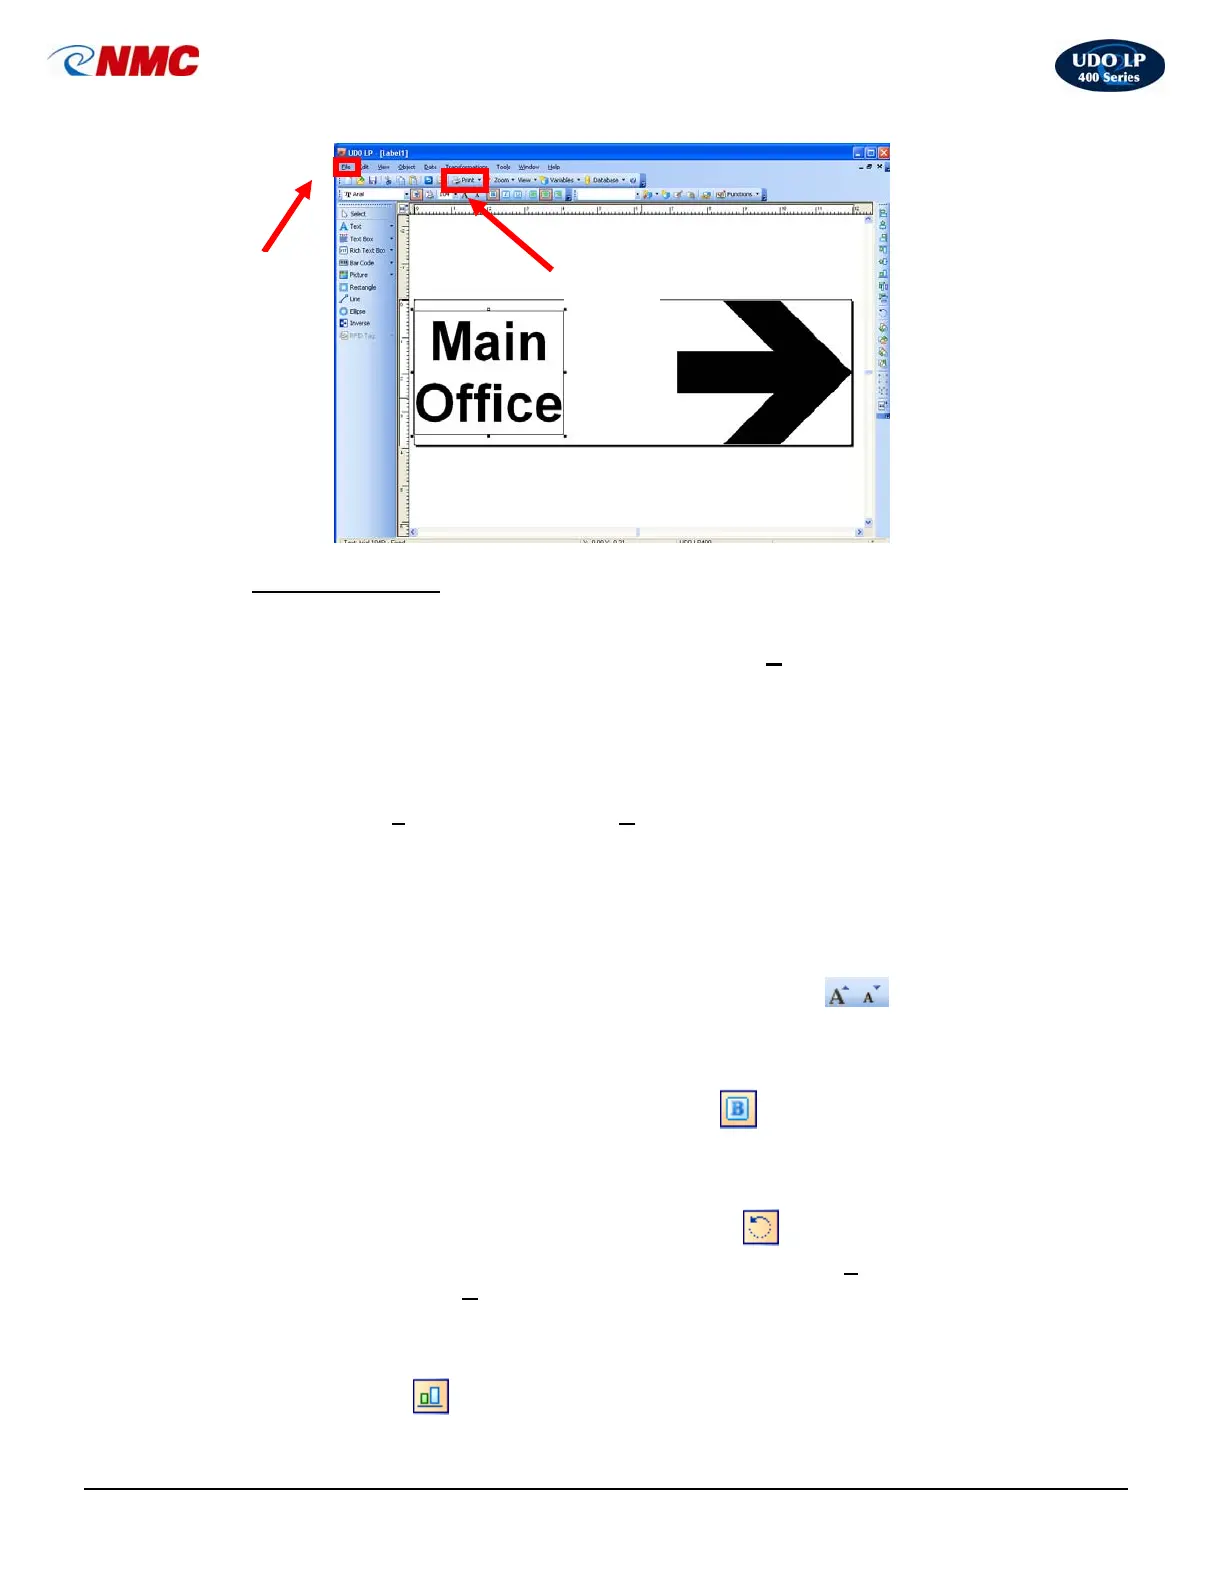
Fig. 5
Print
Icon
File
Menu
 Loading...