UDO LP400 User Guide
_____________________________________________________________________________________________________
LP400 User Guide (11/07)
32
7. Select the ‘Picture’ tool (Fig. 7 located on the toolbar to the left of your
screen. Click the cursor in the label field where you want the image located.
8. Click on Clipart Gallery (Fig. 2)
9. Select the ‘+’
next
to ‘Symbols USA’. Click on the Arrows category; Double-
Click on the top left arrow symbol shown or select the symbol (top left
arrow).Click ‘OK’.
10. Right Click on the arrow image and Select the Properties option. Click the
‘Appearance’ tab from the Graphics Window. Change the ‘W
idth’ to .549
inches and change the ‘H
eight’ to .658. Click ‘OK’.
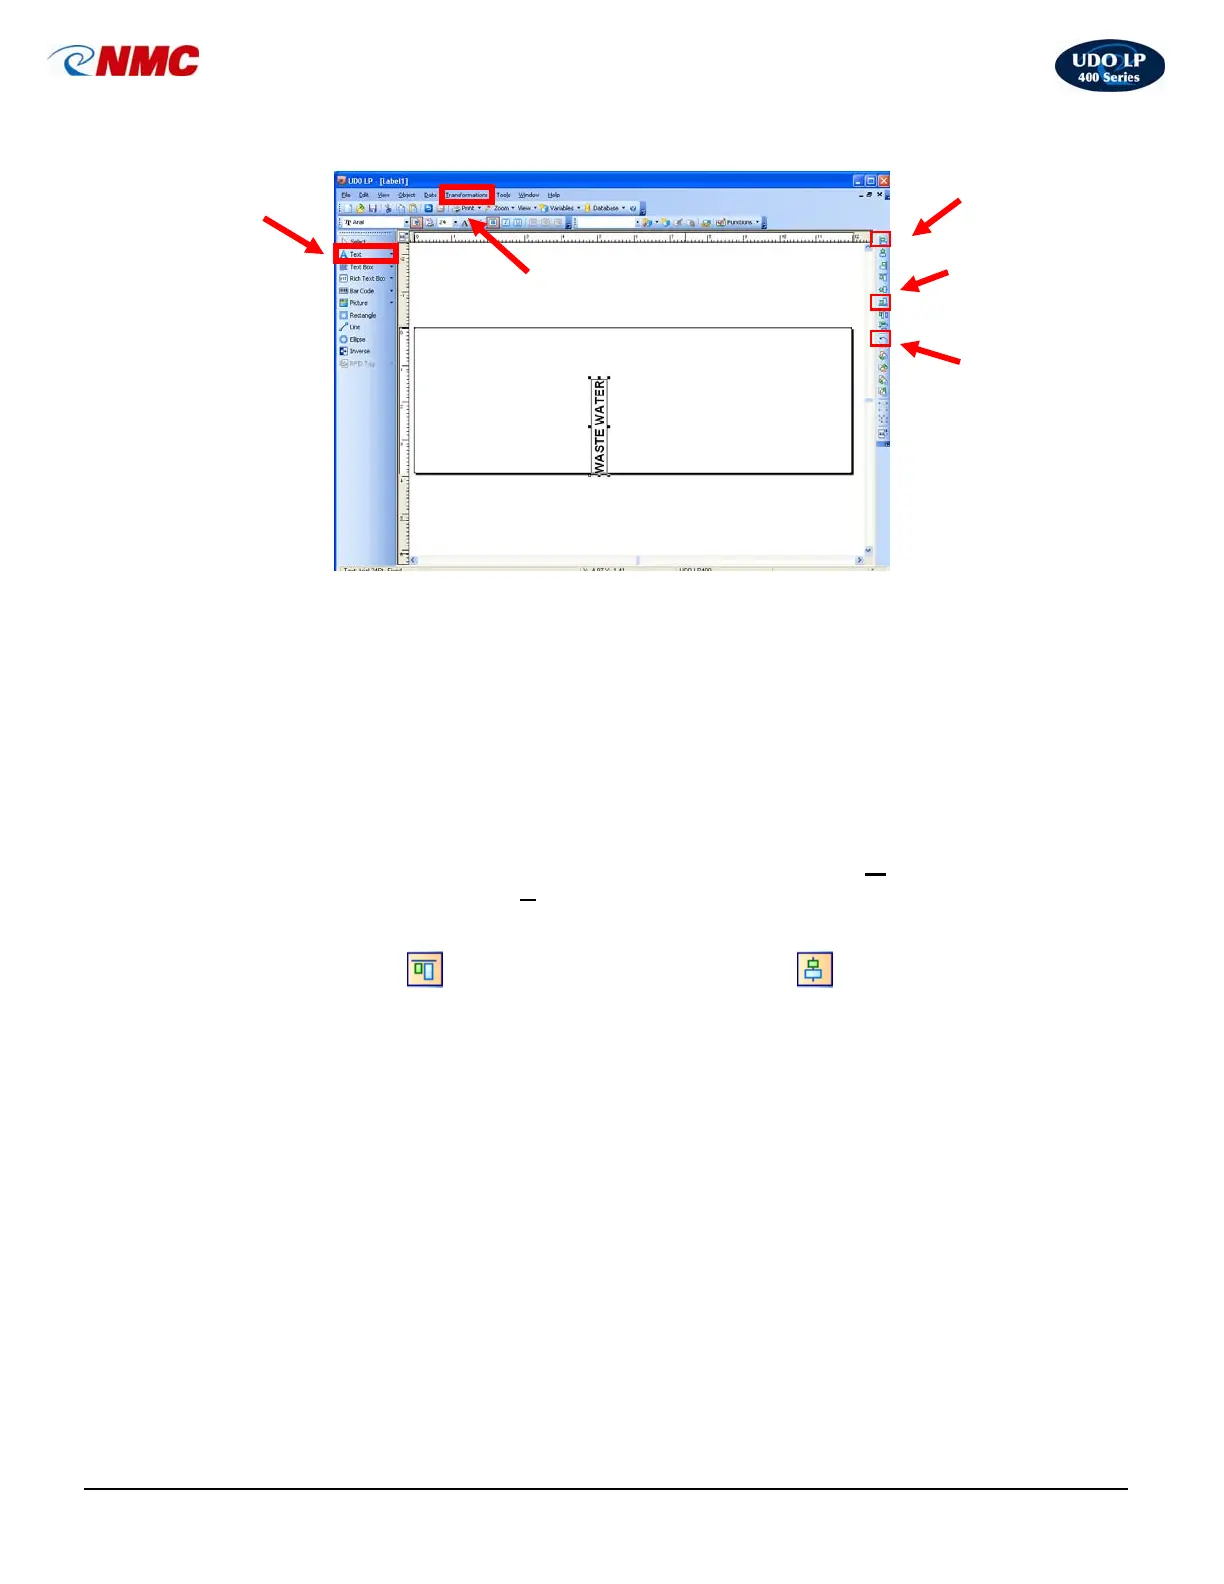
11. With the Picture selected, hold down the ‘Ctrl’ button and Click ‘Top
Alignment’
icon. Click the ‘Center Alignment’ from the
Design/Alignment Tool Bar. The label should appear as in Figure 7.
Fig. 6
Transformations
Menu
Left
Alignment
Bottom
Alignment
Rotate
Object
Text
Option
 Loading...