UDO LP400 User Guide
_____________________________________________________________________________________________________
LP400 User Guide (11/07)
33
12. Click ‘Select’ in the Toolbox on the left. Click and Drag over the objects to
select them both. You can also click ‘E
dit’ from the top menu then click
Select and choose ‘Select Al
l’ or ‘Ctrl + A’.
13. Click on the ‘Group’
icon from the Design/Alignment Tool Bar (Fig. 8).
14. Right Click on the object and select ‘C
opy’. You can also click ‘Edit’ from
the top menu and select ‘C
opy’ or ‘Ctrl + C’.
15. Right Click then select ‘P
aste’. Repeat this step eleven times (11x), spacing
the objects out across the label. Do not be concerned with exact positioning.
You should have a total of twelve objects across the label.
16. Click ‘Select’ in the Toolbox on the left. Click and Drag over all the objects
to select them. Alternatively, you can Select ‘E
dit’ from the top menu, click
‘Select’ and choose ‘Select Al
l’ or press ‘Ctrl + A’.
17. With all the objects selected, hold down the ‘Ctrl’ button and Click the
‘Vertical Center’
icon from the Design/Alignment Tool Bar (Fig. 8).
18. With all the objects selected, hold down the ‘Ctrl’ button and Click the
‘Horizontal Space Equally’
icon from the Design/Alignment Tool Bar.
The label should appear as in Figure 8.
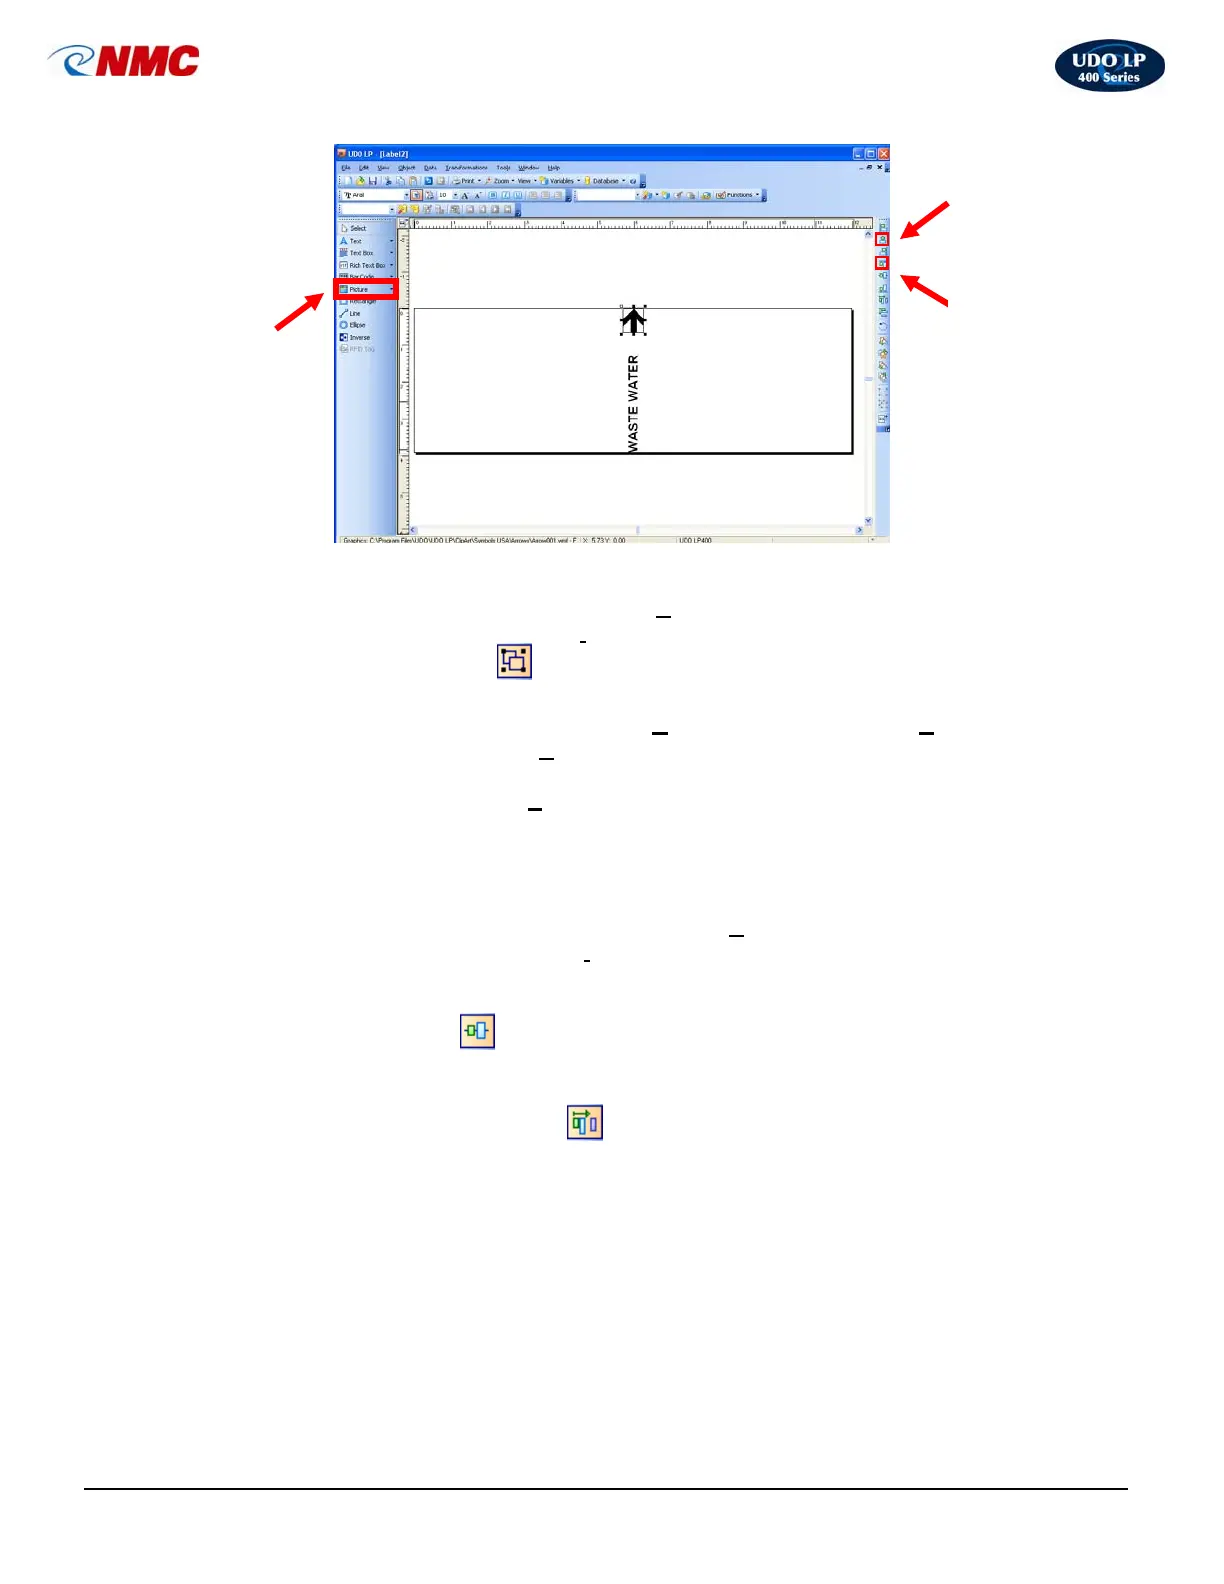
Fig. 7
Top
Alignment
Center
Alignment
Insert
Picture
 Loading...