Chapter 39 Hardware procedures 283
Multiservice Switch 7400 Hardware Installation, Maintenance, and Upgrade 6.1S2
Grip the shelf only by outside surfaces. Do not allow fingers to touch any
part of the inside surfaces since you could damage EMI gaskets or get
finger oil on surfaces that contact the EMI gaskets.
3 Pass the rear of the shelf assembly slowly between the cabinet rails or the
rack uprights until the mounting ears are flush with the rails or uprights.
Before the mounting ears contact the front surface of the rails (or
uprights), the rivets on the side of the assembly may contact the rails. If
you push the shelf gently, one side at a time, the rivets will pass without
needing to pry the rails apart. If it is a seismic cabinet, there is a second
pair of rails to pass through.
4 Allow the guide pins (one on each mounting ear) to slide into the guide
holes on the rack uprights, and continue holding the weight of the shelf
firmly within the rack.
Note: The guide pins on the mounting ears are for alignment purposes
only, and are not meant to support the shelf in the rack. Ensure you are
always holding the shelf in the rack until it is properly screwed in.
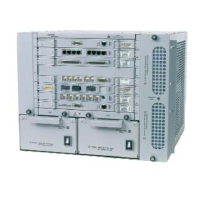
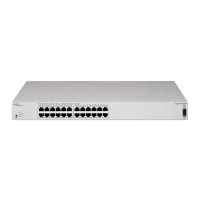
5 Fasten the shelf assembly to the rails or rack using the 8 screws that are
taped to the unit. See the figure “A Multiservice Switch 7460 shelf
assembly” (page 284).
 Loading...