16 LCD-160 P/N 51850:A 09/26/2003
Section 5 Mounting
This section describes how to mount the LCD-160 into an enclosure.
5.1 Mount the Cabinet or Backbox
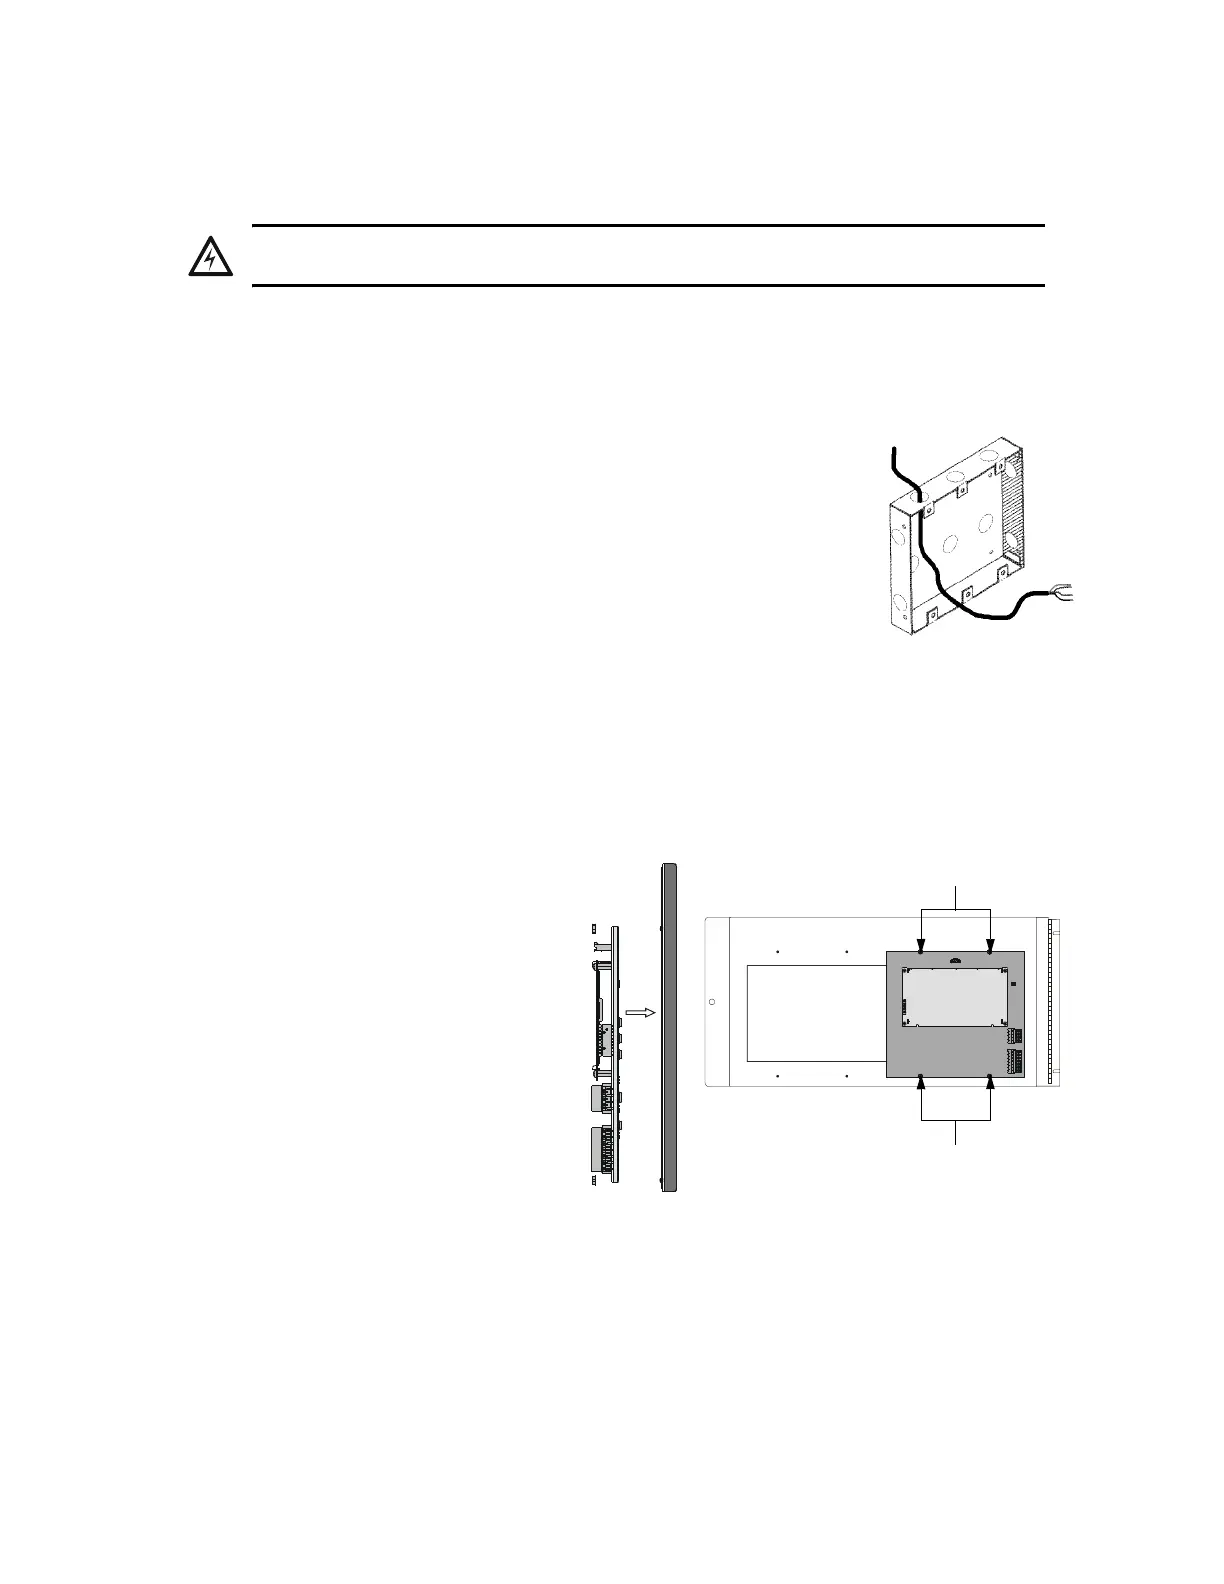
Select an appropriate knockout on the enclosure for your wiring to run
through and snap it out. Fasten the cabinet or backbox to the wall.
Ground the enclosure to a solid metallic ground, such as a grounded cold
water pipe. Pull all LCD-160 wiring into the enclosure as illustrated in
Figure 4. Connect LCD-160 wiring to the removable terminal blocks as
specified in “Connecting the RDP Bus” on page 19.
5.2 Mount the LCD-160
In an CAB-4 Series backbox:
1. Place the annunciator/dress-plate assembly into the backbox and secure with four screws.
2. Plug the two annunciator
terminal blocks into the
annunciator to complete
communication and power circuit
connections as described on
“Connecting the RDP Bus” on
page 19 and “Power Supply
Connections” on page 21.
3. If using a semi-flush-mount
backbox, attach the door. Align
the door with the dress plate, and
slide the door down onto the pins
on the dress plate. When
positioned correctly, the door will
open and close freely.
In an ABS-2D/4D or ABF-2B/4B
backbox:
1. Plug the two annunciator terminal blocks into the annunciator to complete communication and
power circuit connections as described in “Connecting the RDP Bus” on page 19 and “Power
Supply Connections” on page 21.
2. Place the annunciator/dress-plate assembly into the backbox and secure with four screws.
3. If using a semi-flush-mount backbox, attach the door. Align the door with the dress plate, and slide
the door down onto the pins on the dress plate. When positioned correctly, the door will open and
close freely.
!
A
WARNING: Use a grounding strap before handling any circuits so that static charges are removed
from the body.
gure
u
r
ng
into Enclosure
AnWir_in.tif
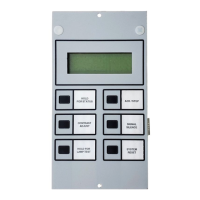
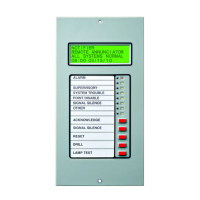
Figure 5 Mounting the LCD-160 to the Dress Panel
Mounting Screws
Mounting Screws