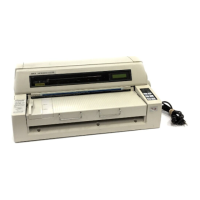
5.Readjust the tractors as necessary to ensure that the left edge of the paper will cover the groove
in the left side of the platen. If it doesn't, the printer will signal paper out (SELECT light flashes).
6.Press the lock levers back to lock the tractors in place.
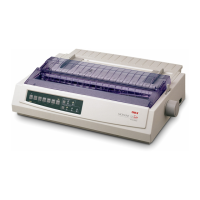
7.If you removed the paper separator, reinstall it. Make sure the paper support arm is swung down
out of the way.
8.Swing the paper separator back to the continuous-form position and slide the paper guides out as
far as they'll go.
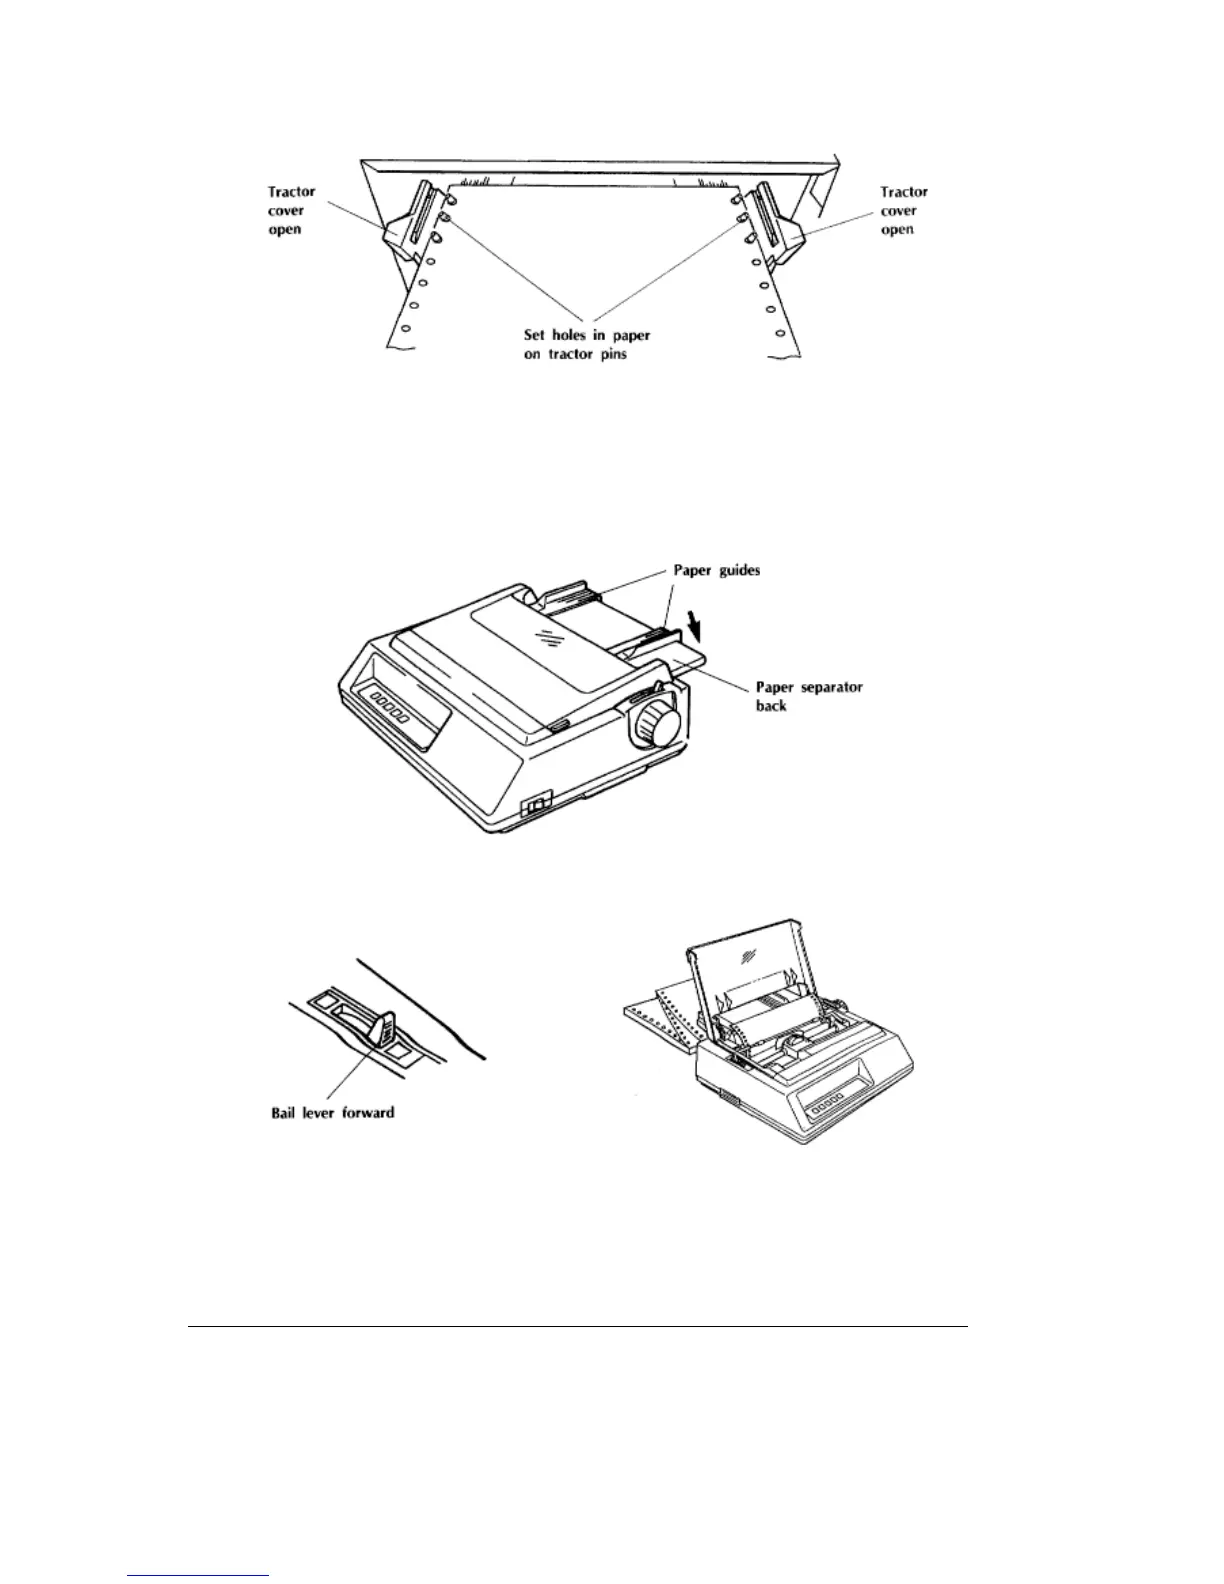
9.Press the TOF/PARK button to position the paper properly for automatic feed.
10.Pull the bail lever forward. ML380 will automatically advance the continuous-form paper into
position.
Note: In the illustration above, the access cover is shown open to provide a clearer picture of the
interior. It is not necessary to open the access cover while installing rear feed paper.
11.Push the bail lever back.
12.Set the top of form, following the instructions below.
ML 380 ( 96-02-03 )