9-Tenendotiratalafunediacciaiosollevarelacolonnaliberaed
inserire2bullonineiforidellapiastracolonna,avvitandolisenza
serrare.
I
ATTENZIONE
Durantequestaoperazioneèindispensabilestareattentianon
schiacciarelafunediacciaiofralapiastradellacolonnaeil
basamento(fig.35).
NOTA:duranteilsollevamentodellacolonnailcarrellonon
cadepoichèèfissatodalmartellettodisicurezza.
10-Inserireilcodulofilettatodellafunediacciaionelforodelcar
-
rellodellacolonnaliberaquindibloccarlomedianteiduedadiM20
(dadoecontrodado)elarelativarondella(fig.43).
Fig.43
I
ATTENZIONE
primadelserraggiodelcodulocondadoecontrodado,verifi
-
carechelafunepassinellegoledellepuleggedellecolonnee
nellagoladellapuleggiacheazionailmicrointerruttoredisi
-
curezza(fig.34).
11-InserireirestantibulloniTEM16x40elerelativerondelletra
colonnaebasamentoserrandoleconcoppiadiserraggioparia
168N/m.
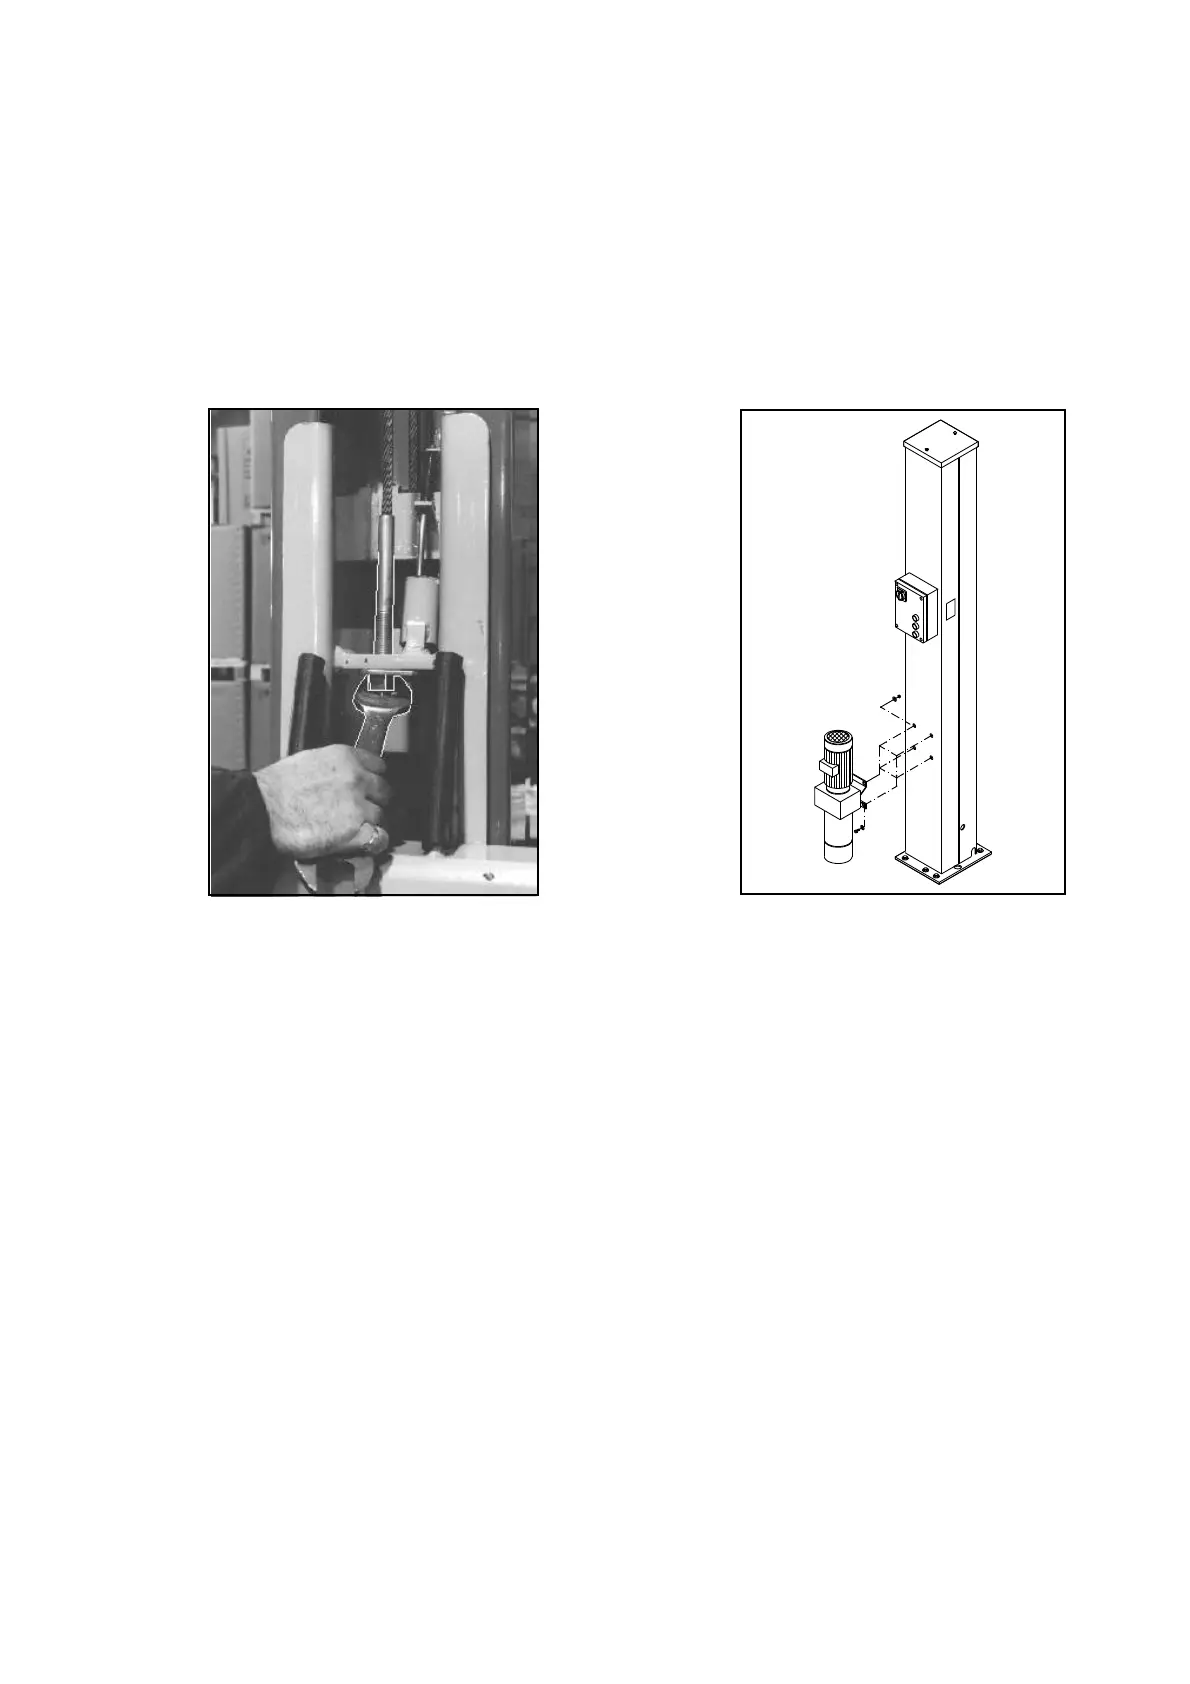
MONTAGGIODELLACENTRALINAIDRAULICA
1-Fissarelacentralinaidraulicaallacolonnacomandocomeindi
-
catoinfig.44conlevitiTEM8x16elerondelleØ8.
9-Keepingthesteelcabletaut,liftthefreepostandinsertthe2
boltsintotheholdsonthepostplate,screwingtheminwithout
tightening.
I
WARNING
whiledoingthisoperationbeverycarefulnottocrushthe
steelcablebetweenthepostplateandthebase(Fig.35).
NOTE:whenliftingthepost,thecarriagewillnotfallsinceitis
connectedbythesafetywedge.
10-Insertthethreadedendofthesteelcableintotheholeofthe
carriageofthefreepostandthenlockitintopositionusingthetwo
nutsM20(nutandcounternut)andtherelativewasher(fig.43).
Fig.44 Montaggiodellacentralinaoleodinamica
Fig.44 Hydraulicoilunitassembly
I
WARNING
beforetighteningtheendwiththenutandcounternut,make
surethatthecablepassesinthepulleyracesofthepostsand
inthepulleyracethatactivatesthesafetymicroswitch(fig.34).
11-Inserttheremainingbolts(TEM16x40)andtherelativewas
-
hersbetweenthepostandthebase,tighteningthemwithatorque
of168N/m.
HYDRAULICOILUNITASSEMBLY
1-Attachthehydraulicoilunittothecommandpostasshownin
fig.44usingthescrewsTEM8x16andthewashersØ8.
23