23
Setup and Connection
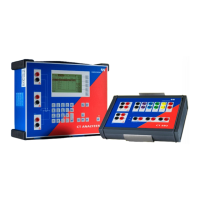
2.3 Connecting the CT Analyzer to a PC (optional)
CT Analyzer devices as of serial number JHxxxx or newer are equipped with a
USB interface and a RS232 interface. You can use both interfaces alternatively
to connect the CT Analyzer to a computer.
Proceed as follows to connect the CT Analyzer to a PC:
1. Select the interface to be used (or check the selection) in the CT Analyzer
settings:
– Open the Main Menu on the CT Analyzer and select Settings.
– In the Setting Menu page, select Remote Interface.
– In the Select remote interface port page, select the interface actually
used to connect the CT Analyzer to the computer: USB or RS232.
2. Connect the CT Analyzer to the PC using a RS232 cable or a USB cable as
shown in the following figure.
CT Analyzer connected via USB
CT Analyzer connected via RS232 interface and a RS232/USB adapter on
the PC side
CT Analyzer connected via RS232 interface
Figure 2-1 Connecting the CT Analyzer to a PC
to PC
USB A/B
CT Analyzer settings:
Main Menu -> Settings ->
Remote Interface -> USB
CT Analyzer settings:
Main Menu -> Settings ->
Remote Interface -> RS232
to PC
RS232
(crossover)
RS232/USB
adapter
CT Analyzer settings:
Main Menu -> Settings ->
Remote Interface -> RS232
to PC
RS232
(crossover)