5-24
CHAPTER 5 Periodic Inspection
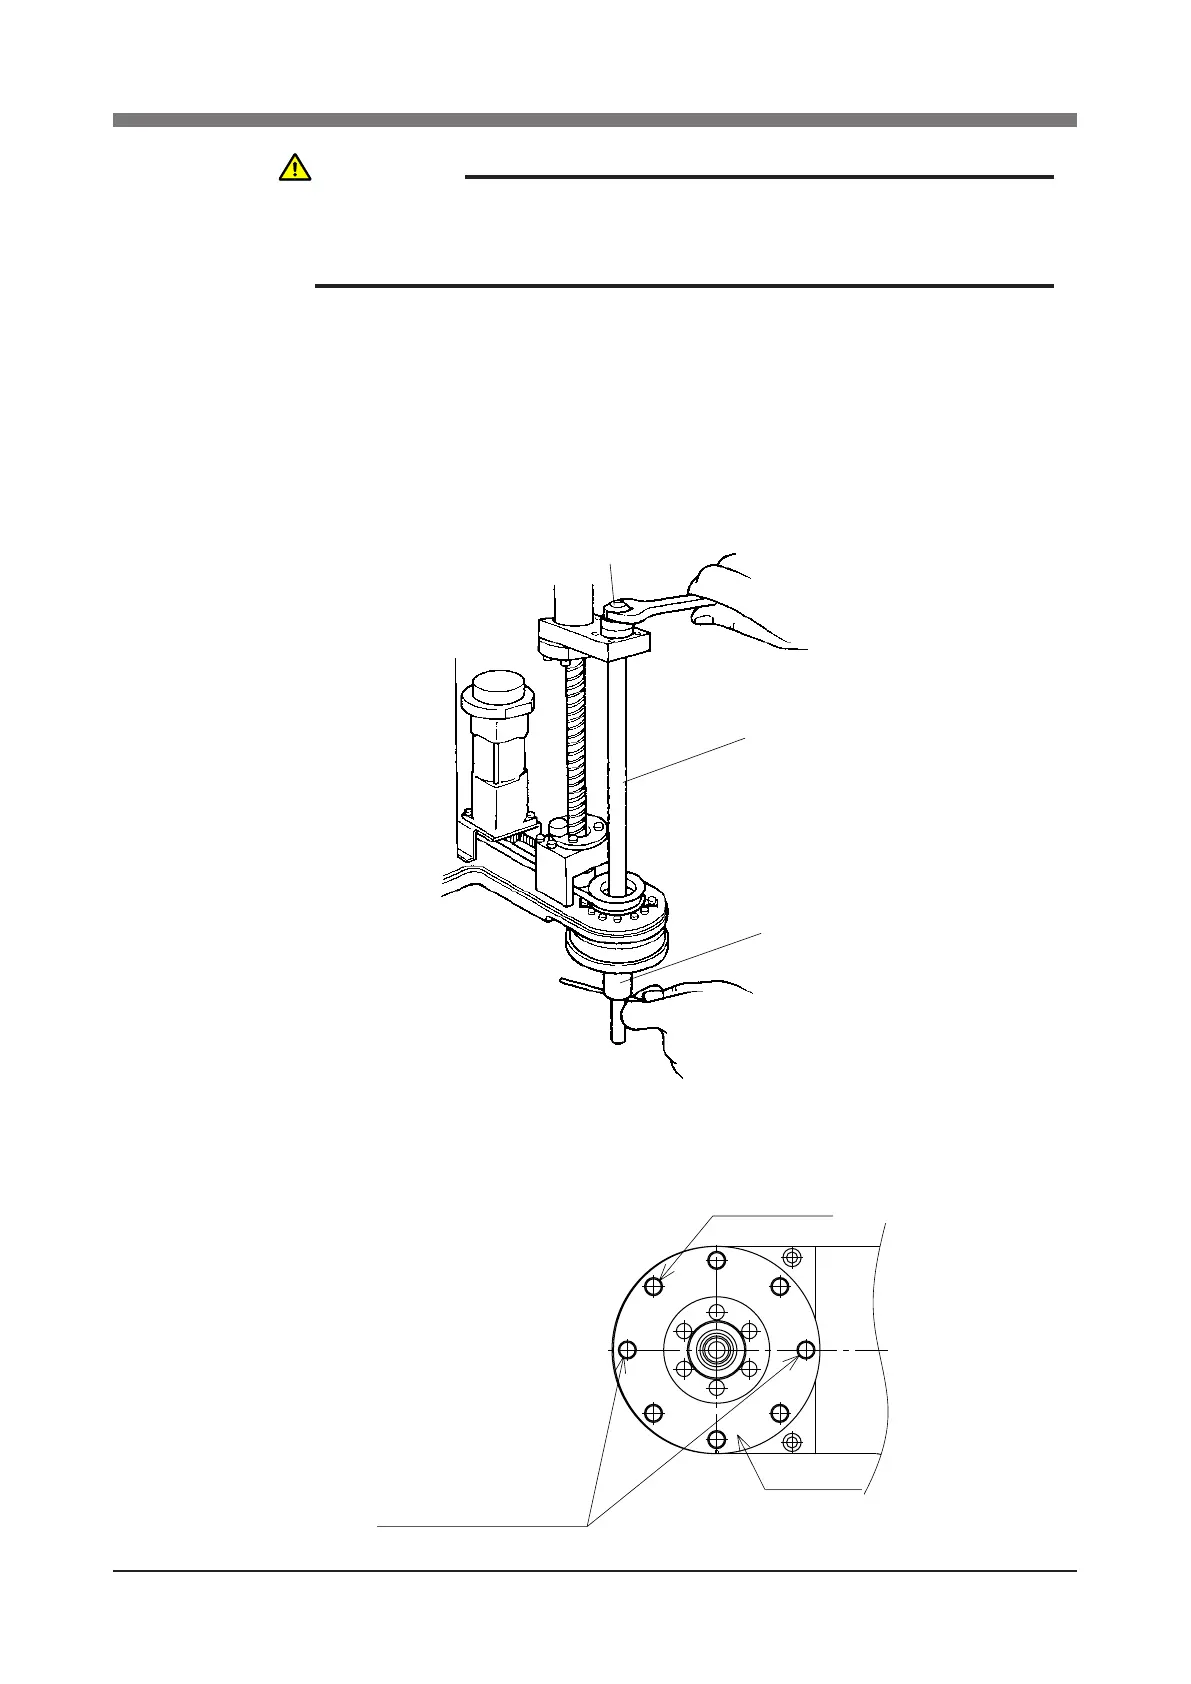
7) While placing a steel rod or similar tool through the 5mm diameter hole at
the lower part of the spline, loosen the U-nut at the top of the spline with
the wrench, and remove the bearing. (See Fig. 5-12.)
Use a round steel rod with a diameter slightly smaller than 5mm. Avoid
using a square rod because the spline might be damaged by the edge of the
rod.
After removing the bearing, ret the U-nut to the top of the spline shaft to
keep the spline shaft from falling out.
U-nut
Spline shaft
Spline nut
Fig. 5-12
8) Remove the button bolts (M3×20L, 6 pieces) on the underside of the Y-axis
arm and remove the plate fastening the spline and the harmonic drive. (See
Fig. 5-13.)
Not necessary to remove these
bolts in through-holes (2 pieces)
Fastening plate
M3×20, Button bolt
Fig. 5-13
WARNING
THE Z-AXIS WILL SLIDE DOWN WHEN THE U-NUT IS REMOVED IN
THE NEXT STEP, CAUSING A HAZARDOUS SITUATION. PROP THE
Z-AXIS WITH A SUPPORT STAND BEFORE LOOSENING THE U-NUT.
 Loading...


