45
Installation Section 3-2
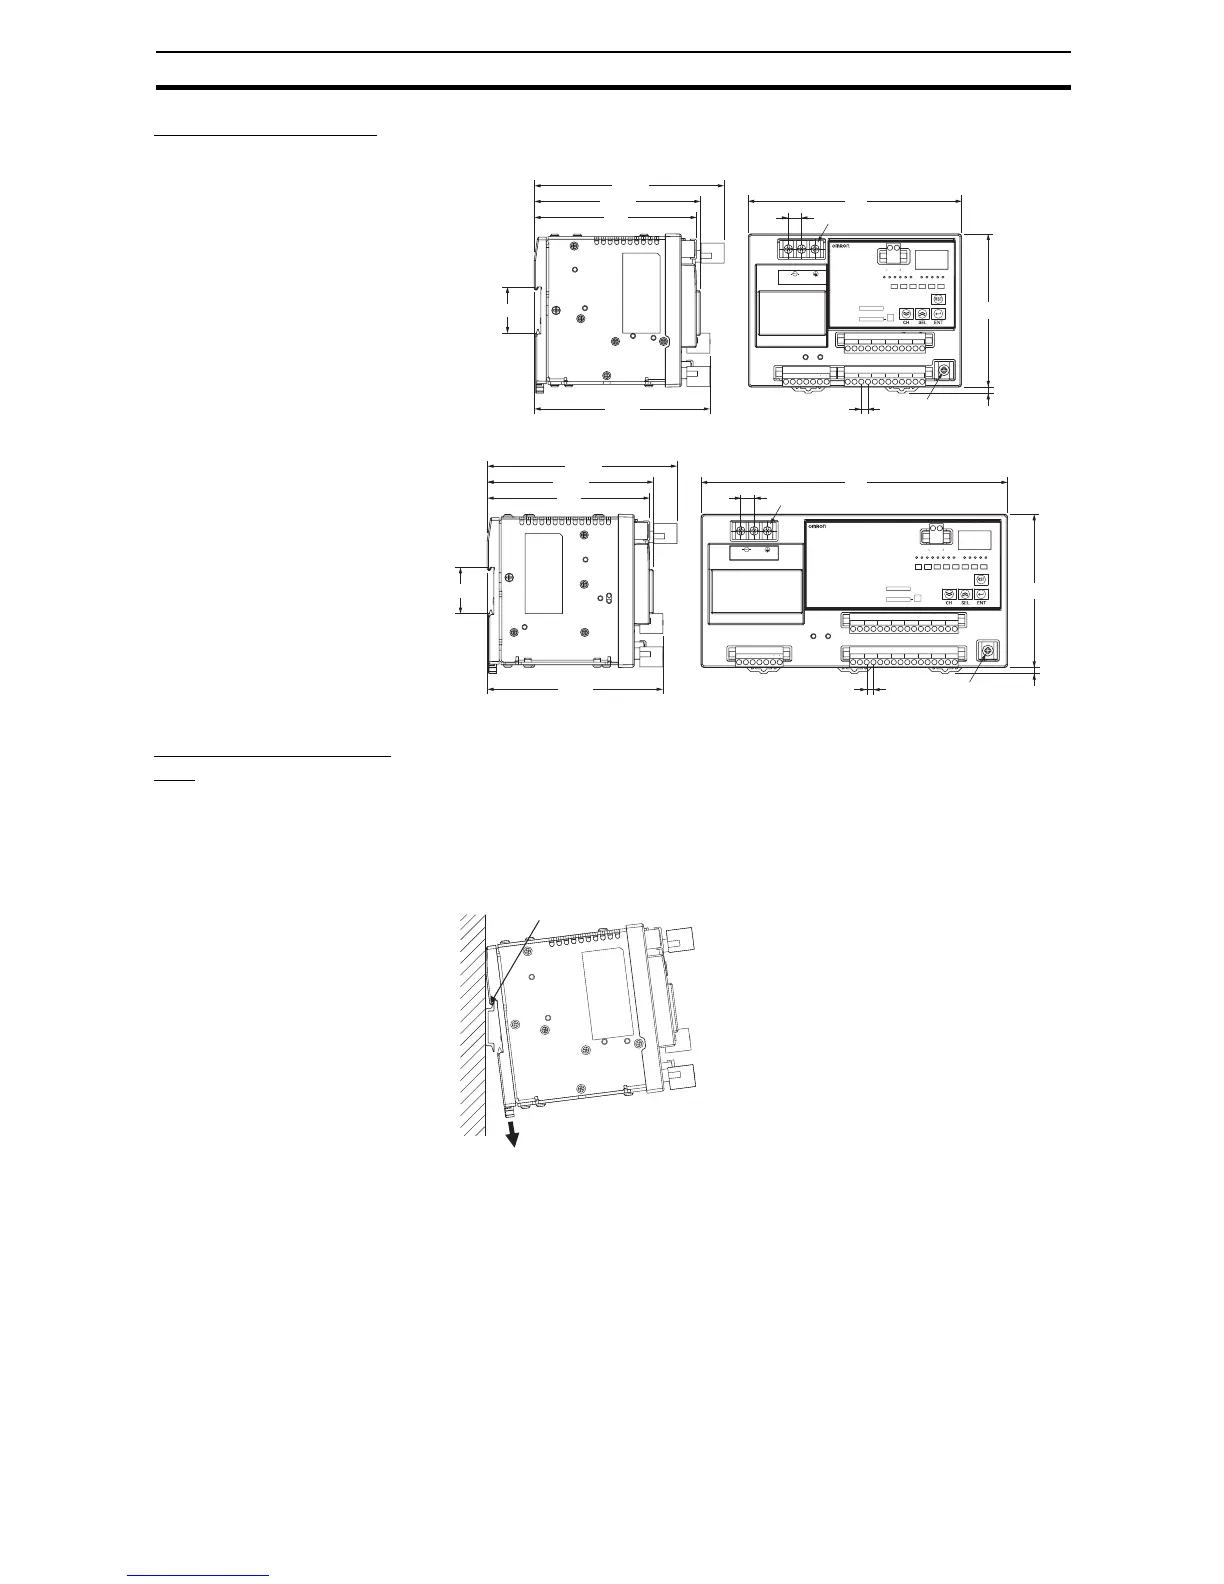
External Dimensions
S8AS-24006@ (240-W
Model with 6 Branch
Outputs)
S8AS-48008@ (480-W
Model with 8 Branch
Outputs)
Attachment to the DIN
Rail
The S8AS attaches to the DIN Rail with one snap. Hang the S8AS on the top
of the DIN Rail with the installation notch on the back of the S8AS, pivot the
S8AS downward, and press until the S8AS locks securely on the Rail.
1,2,3... 1. Pull out the two lock levers on the S8AS.
Lower the S8AS so that the installation notch hooks onto the top of the DIN
Rail.
YrsA
543216
Vs˚C
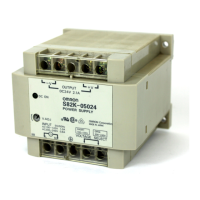
S8AS-24006
POWER SUPPLY
+V
-V
-V
RS485
A(-) B(+)
50/60Hz AC100-240V 3.8A
INPUT
NL
543216
Class2
OUTPUT
DC 24V 3.8A
- 5- 4- 3- 2- 1 - 6
+ 5+ 4+ 3+ 2+ 1 + 6
V.ADJDC ON
COMTMP
TRG
LFELOWTRP
+-
142.4
115
4.5
124.7
122
34.9
131.8 5.08
10
160
Three, M3.5 square washers
M4 square washers
(sliding: 15 max.)
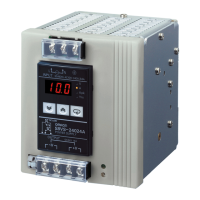
YrsA
543216
7 8
Vs˚C
S8AS-48008
POWER SUPPLY
76543218
50/60Hz AC100-480V 3.8A
INPUT
NL
COMTMP
TRG
LFELOWTRP
+-
V.ADJDC ON
+ 5+ 4+ 3+ 2+ 1 + 6 + 7 + 8
- 5- 4- 3- 2- 1 - 6 - 7 - 8
+V
-V
-V
Class2
OUTPUT
DC 24V 3.8A
RS485
A(-) B(+)
10
115
4.5
124.7
122
34.9
131.9 5.08
230
142.4
Three, M3.5 square washers
M4 square washers
(sliding: 15 max.)
2. Hook the installation notch on the top of the DIN Rail.
1. Pull out the lock levers.