EasyManuals Logo
Home>Omron>Robotics>SCARA R6Y-XC Series

Omron SCARA R6Y-XC Series User Manual

Omron SCARA R6Y-XC Series
203 pages
To Next Page IconTo Next Page
To Previous Page IconTo Previous Page
Page #183 background imageLoading...
Page #183 background image
5-55
CHAPTER 5 Periodic Inspection
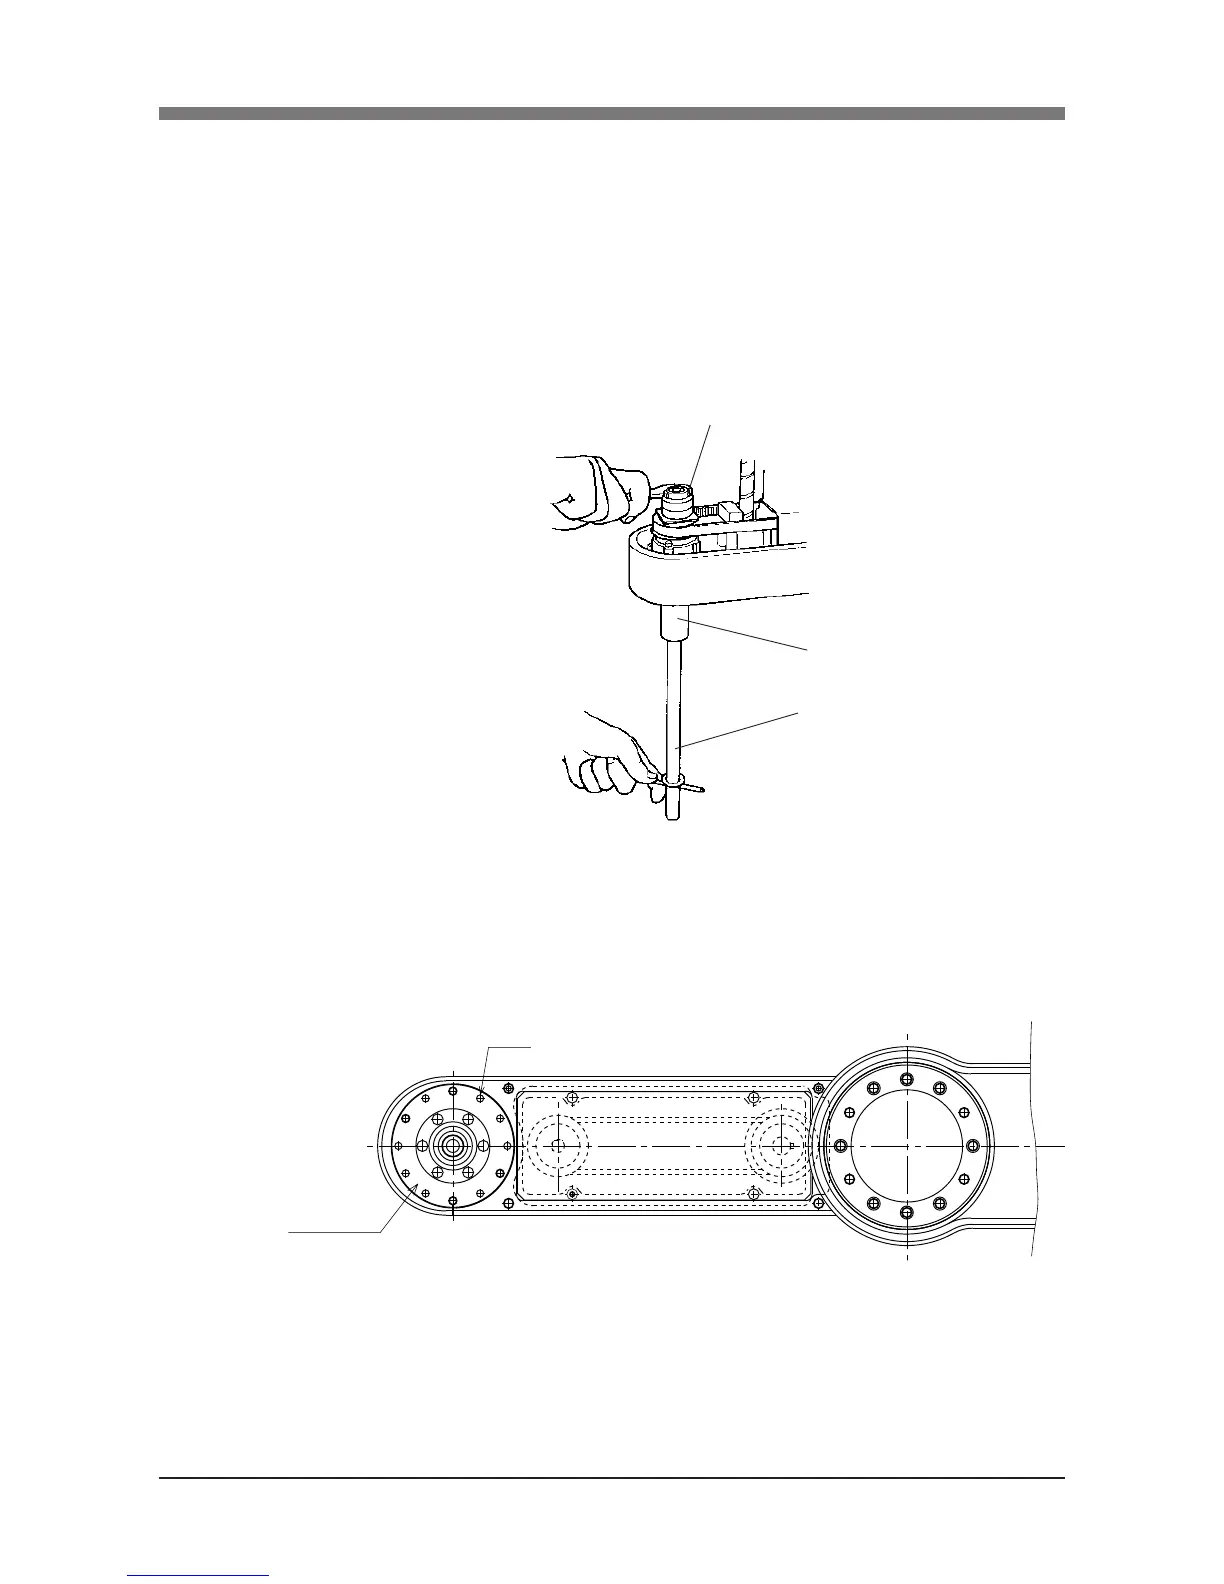
7)
While placing a steel rod or similar tool through the 8mm diameter hole at
the lower part of the spline, loosen the U-nut at the top of the spline with the
hook wrench, and remove the bearing and bearing mount plate.
(See Fig. 5-47.)
Use a round steel rod with a diameter slightly smaller than 8mm. Avoid
using a square rod because the spline might be damaged by the edge of the
rod.
At this time, be careful to keep the spline shaft from coming off the spline
nut.
Spline nut
U-nut
Spline shaft
Fig. 5-47
8) Remove the bolts (M3×30L, 8 pieces) on the underside of the Y-axis arm
and remove the plate fastening the spline and the harmonic drive.
(See Fig. 5-48)
M3×30
Fastening plate
Fig. 5-48

Table of Contents

Questions and Answers:

Question and Answer IconNeed help?

Do you have a question about the Omron SCARA R6Y-XC Series and is the answer not in the manual?

Omron SCARA R6Y-XC Series Specifications

General IconGeneral
BrandOmron
ModelSCARA R6Y-XC Series
CategoryRobotics
LanguageEnglish

Related product manuals