5-58
CHAPTER 5 Periodic Inspection
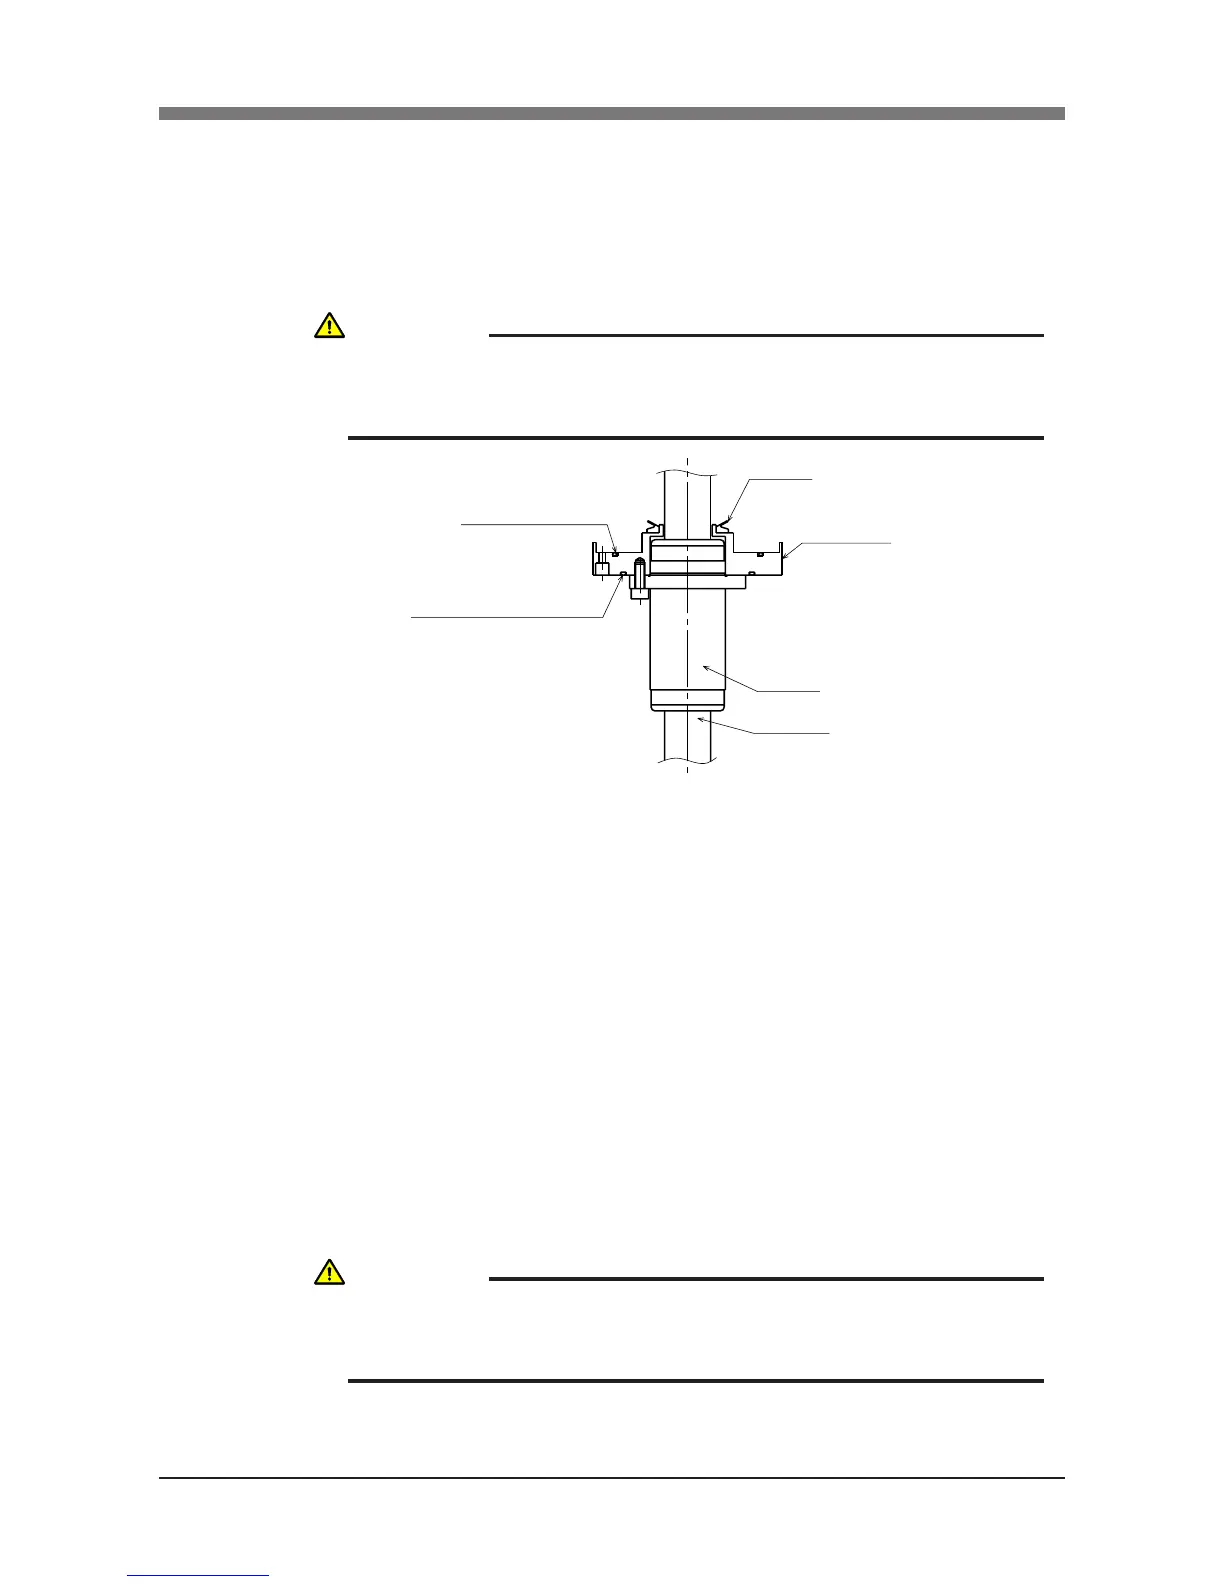
19) Fit a new O-ring into the O-ring groove on the fastening plate and also
replace the edge seal with new one. Then secure the fastening plate to the
harmonic drive with the bolts (M3×30L, 8 pieces) you removed earlier.
(See Fig. 5-48 and Fig. 5-52.)
At this point, be careful to keep the spline shaft from coming off the spline
nut.
Fig. 5-52
20) Insert the bearing mount plate and bearing onto the spline from the top, and
tighten the U-nut to secure the baring. (Utilize the φ8 through-hole when
tightening the U-nut like you did to loosen it.) (See Fig. 5-47.)
21) Insert the spline and bearing through the holder and secure them with the
bolts you removed earlier (M5×16L, 4 pieces). (See Fig. 5-46.)
22) Reattach the Y-axis arm upper cover.
23) Go outside the safeguard enclosure.
24) Check that no one is inside the safeguard enclosure, and then turn on the
controller.
CAUTION
THE HARMONIC DRIVE SERVICE LIFE MAY SHORTEN IF THE EDGE
SEAL EFFECT IS INSUFFICIENT, SO CAREFULLY REASSEMBLE THE
PARTS.
CAUTION
AFTER THE HARMONIC DRIVE IS REPLACED, THE ABSOLUTE RESET
MUST BE PERFORMED, AND THE POINT DATA MUST BE RESET. REFER
TO "CHAPTER 4 ADJUSTMENT" TO ADJUST IT.

 Loading...


