Step-by-step configuration Crocus CNV
52 User manual
5 Step-by-step configuration
This chapter describes in a step-by-step method how to perform a basic configuration on Crocus CNV. It
also explains how DIP switch configuration tables and TMA attribute strings should be interpreted.
You are advised to read this chapter in a sequential manner, from the beginning to the end, without
skipping any part. By doing so, your Crocus CNV will be completely configured and ready for use when
you reach the end of this chapter.
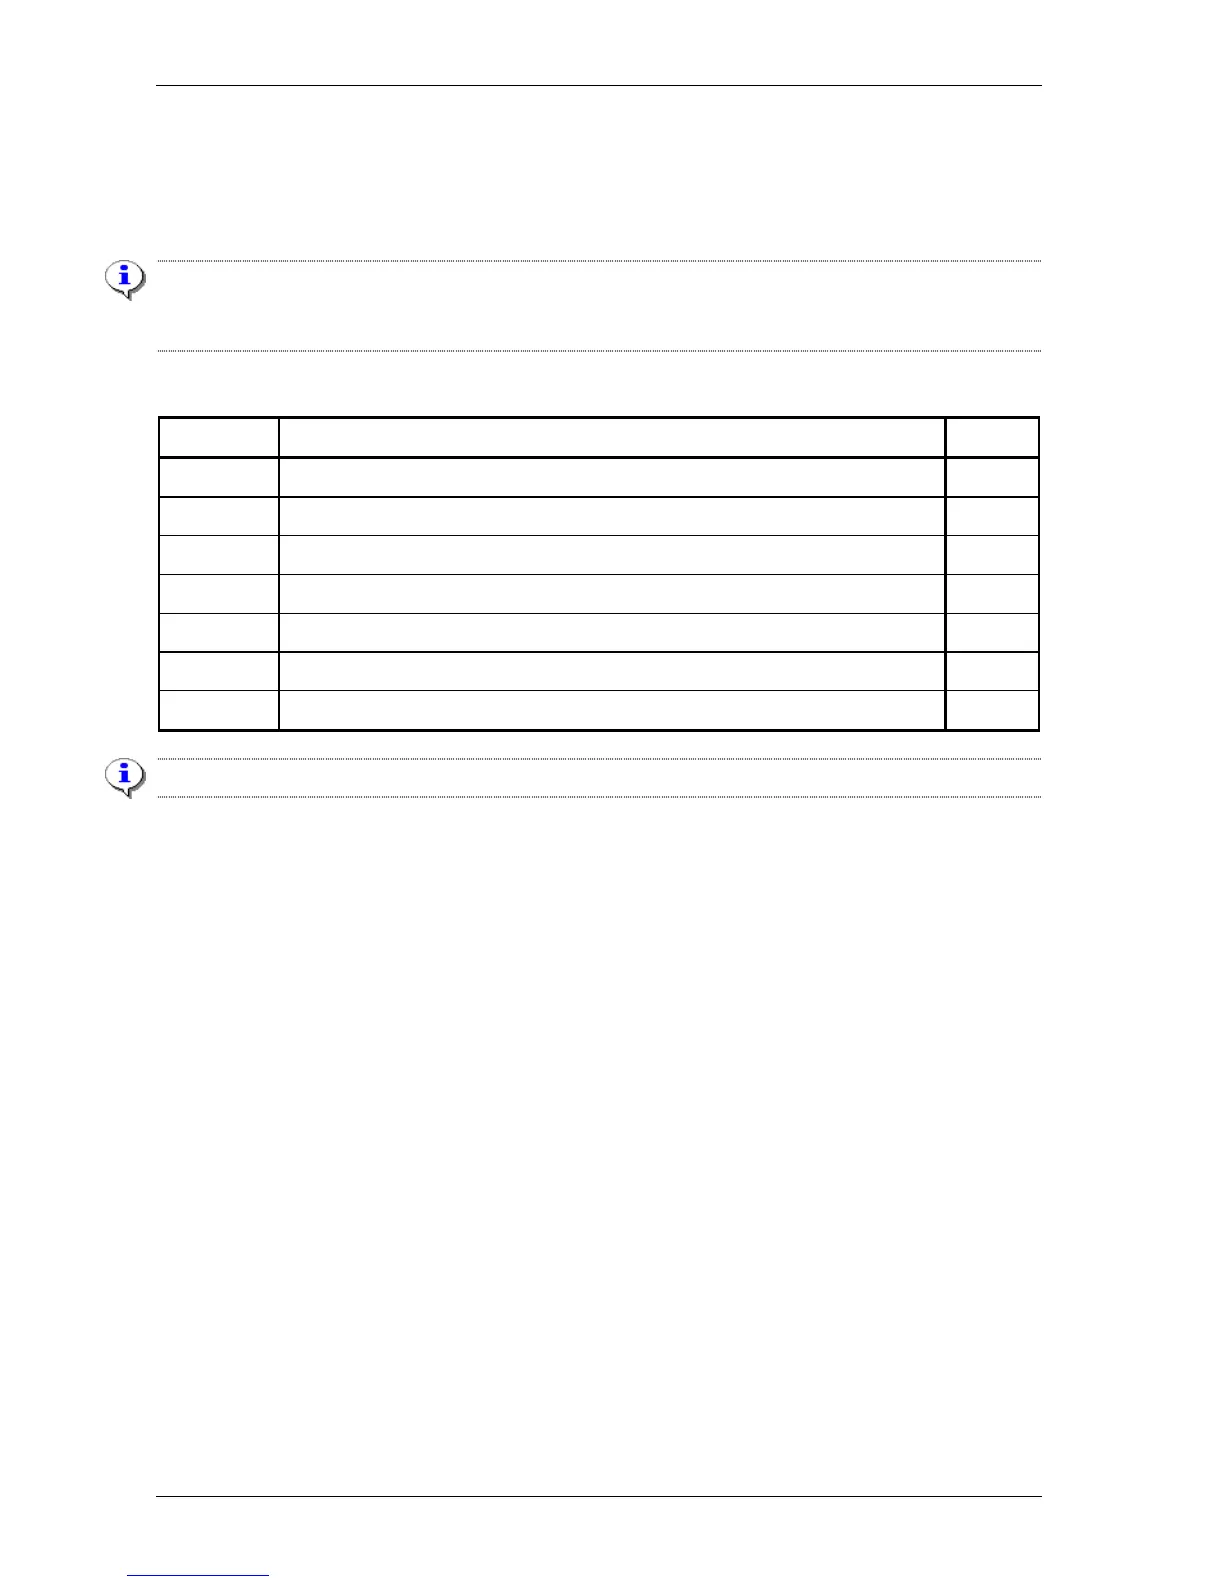
The following table gives an overview of this chapter.
Section Title Page
5.1 Reading the configuration settings 53
5.2 Loading the default configuration 55
5.3 Configuring the clocking mode 58
5.4 Configuring the onboard G703 interface 65
5.5 Configuring the interface specific attributes 67
5.6 Configuring the management attributes 70
5.7 Activating the configuration 73
For a complete overview of the attributes of the Crocus CNV, refer to the reference manual.