Crocus CNV Maintenance of the Crocus CNV
User manual 45
4.2 Connecting to a Crocus CNV with TMA
This section explains how you can connect to the Crocus CNV using TMA.
There are two ways to establish a connection with TMA to the Crocus CNV:
• over a serial connection, through the auxiliary connector of the Crocus CNV.
• over an IP or a serial connection, through the Orchid 1003 LAN
Connecting through the auxiliary connector
To establish a link between TMA and the Crocus CNV through the auxiliary connector, proceed as
follows:
Step Action
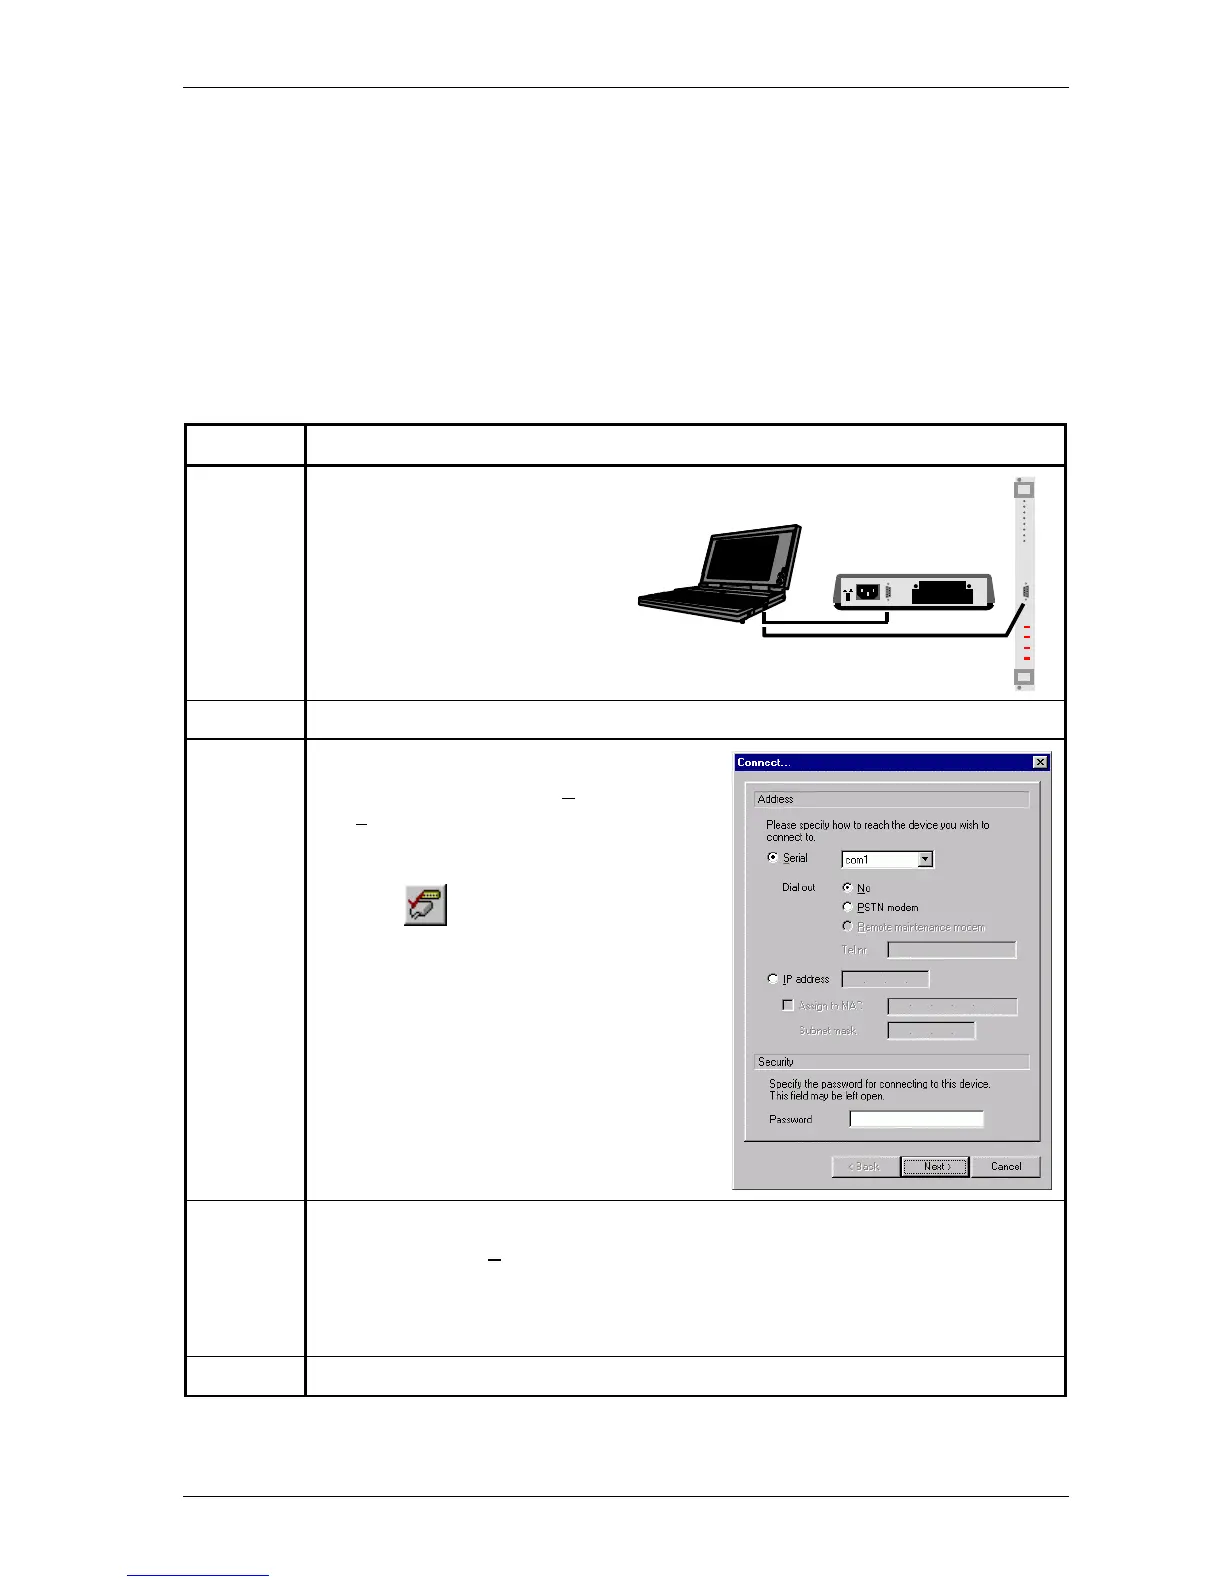
1 Connect the COM port of your PC through
a straight DB9 male-female cable with the
auxiliary connector of your Crocus CNV as
shown in the following figure:
2 Start TMA.
3 In the TMA window, either …
• select from the menu bar: C
onnect Æ
De
vice…
• or press the shortcut key: Ctrl+N
• or press on the Connect to device
button:
The Connect (to a device) window is being
displayed as in the following figure:
4 In the Connect (to a device) window, configure the following parameters:
• Select the option S
erial, and specify the COM port of your computer the Crocus CNV
is connected to.
• If a password has previously been configured in the Crocus CNV then also fill in the
password field.
5 If the necessary parameters are filled in, press the Next > button.